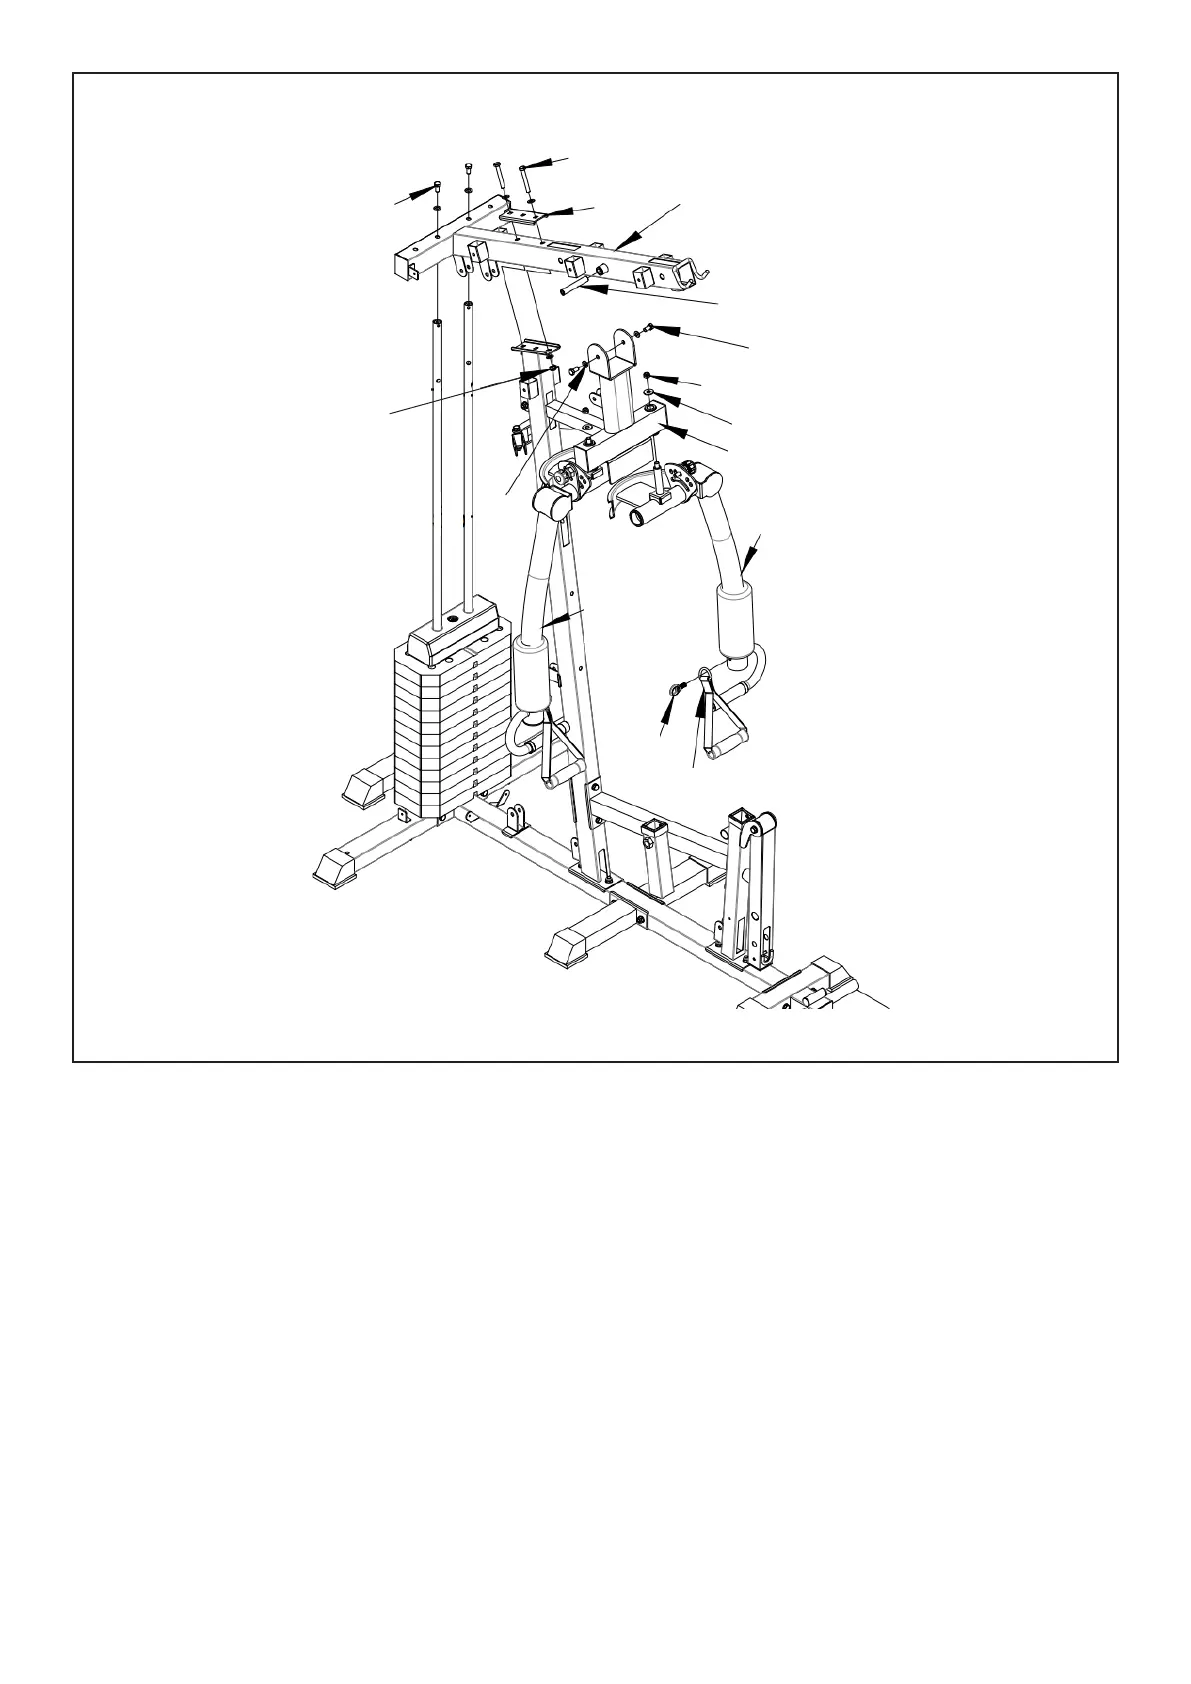
12
1. Cover (#7) into the (#13) upper column, and secure with (#56-3) bolts and flat gasket (#56-12).
2. Connect (#13) to (#10) with bolt (#56-1), flat gasket (#56-12) and nut (#56-14).
3. Install (#53-9) into (#13), then install (#14) onto (#13) with bolts (#56-3) and flat gasket (#56-12) on
both sides as shown.
4. Insert (#15) into (#14) and lock with flat gasket (#56-13) and nut (#56-14). Repeat for the other side.
5. Part (#55) can be fitted onto the arms (#15 & #16) as shown.
STEP 4
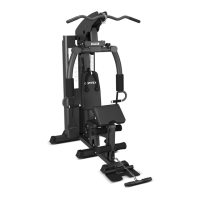
| ASSEMBLY INSTRUCTIONS
56-3
56-1
53-1
13
53-9
56-3
56-14
56-13
14
15
15
16
56-12
56-14
55