6
ENGLISH
4.5 Reconditioning of battery (pulse charging) (7.5 V to 10.5 V)
The charger automatically enters this setting for weak batteries and which do not respond
to normal charging. Connect thecharging clamps to thebattery (red to + and black to
-), then press [ MODE ] to select thedesired function and start charging. The charger
automatically detects thebattery’s voltage. Ifthevoltage is 7.5 V (±0.5V) to 10.5 V
(±0.5) pulse charging commences until thevoltage reaches 10.5 V (±0.5V) and then
thecharger switches over to thecharge setting you selected when charging began.
NOTE: The charger cannot charge batteries that have a lower pole voltage than
7.5 V (±0.5V).
• When everything is OK will light up during theentire charging cycle until
thevoltage reaches 14.4 V (±0.25 V).
• When charging is complete will switch off and will belit.
Charging will switch to maintenance charging.
• Weak batteries can often be recharged using this method.
4.6 Protection features
The charger has aprotection features which switch thecharger off automatically in theevent of:
• Reversed polarity
• Low voltage in batteries (under 7.5 V ±0.5 V)
• Short circuiting
• Charging clamps are not connected
If thebattery is connected with reversed polarity, the lamp lights up.
4.7 Temperature protection
The charger has aprotection feature which reduces charging automatically if
thetemperature in thecharger gets too high. Thecharging current returns to normal
when thetemperature is reduced.
4.8 Switch between charging settings 1 (<14 Ah) – 2 (>14 Ah) – 3 (COLD)
Press [ MODE ] several times to select thedesired charge setting. Inthis order:
STANDBY – Charge setting 1 - Charge setting 2 - Charge setting 3 – STANDBY etc.
Attention! Ifthebattery is fully charged, continue maintenance charging even if theuser
selects another charge setting. Theprotection feature prevents over-charging of thebattery.
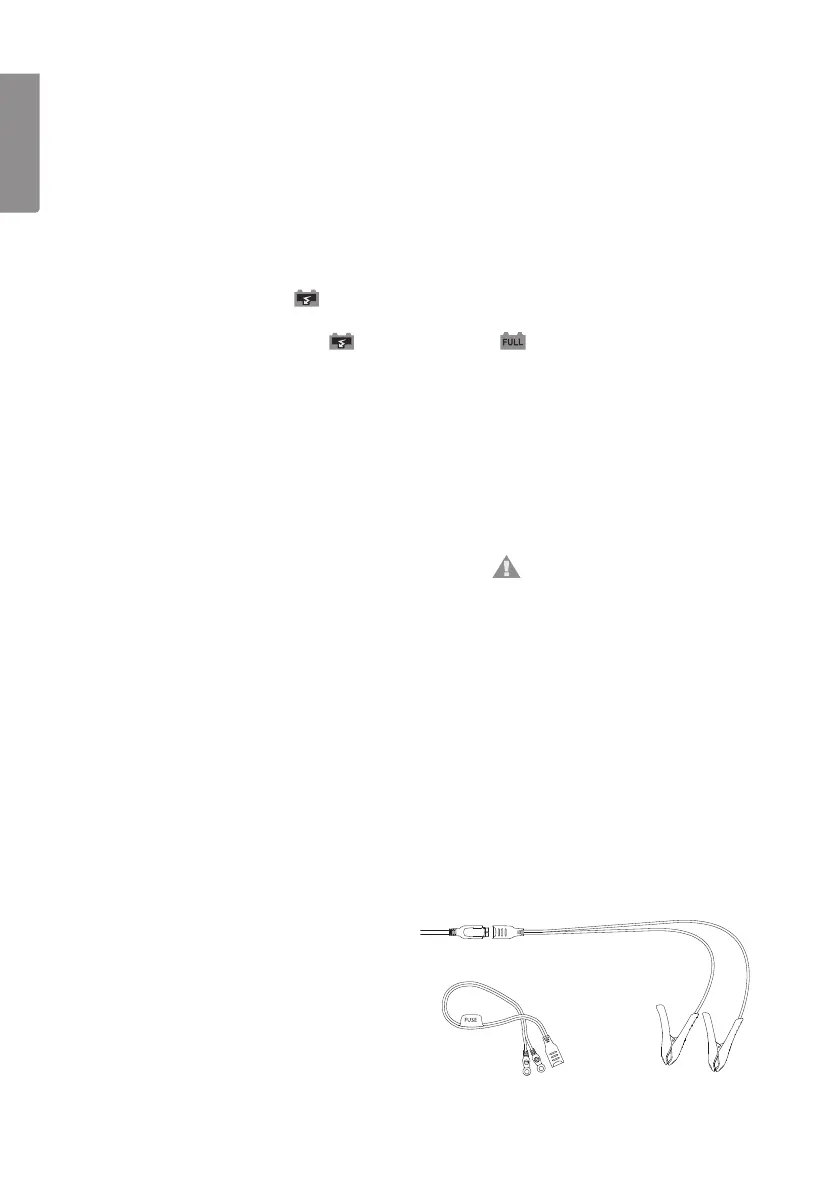
5. Using the quick connectors
Perfect accessory for hard to access batteries
on e.g. motorbikes, lawnmowers, etc.
1. Screw on the positive (RED) battery
clamp to the battery’s positive terminal
(+) and the negative (BLACK) to
thebattery’s negative terminal (-).
2. Position the quick-connector in an
easy accessible area to make it easy
to connect a charger when needed.