828019 REV B 08/2023
DW2450 and DW2450WS Service Manual
service.subzero.com 800.222.7820
Base Component Removal and Installation
FRONT THERMAL CUTOUT AND BRACKET
INSTALLATION
CAUTION
When servicing, use caution and monitor the unit
for leaks before installing the unit into the product
opening.
After installing the front thermal cutout and bracket, first
connect the temperature and turbidity sensor wire
connectors. Then, install:
Sump filter screen and fine filter
Lower spray arm
Lower rack
Upper front cover
Lower front cover
Kickplate
Door panel
INSTALL THE FRONT THERMAL CUTOUT AND
BRACKET
Use a hand driver and T-20 driver to install the front
TCO, bracket, and wire assembly. Use one screw on
each side of the sensor. On one side, place the
screw in the higher hole. On the other side, place the
screw in the lower hole.
TIP: Tighten the screws until snug. To avoid
stripping the plastic boss, do not overtighten the
screws.
Remove the red/blue wire and blue wire from the old
front TCO bracket assembly.
Connect the red/blue wire and blue wire to new front
TCO bracket assembly.
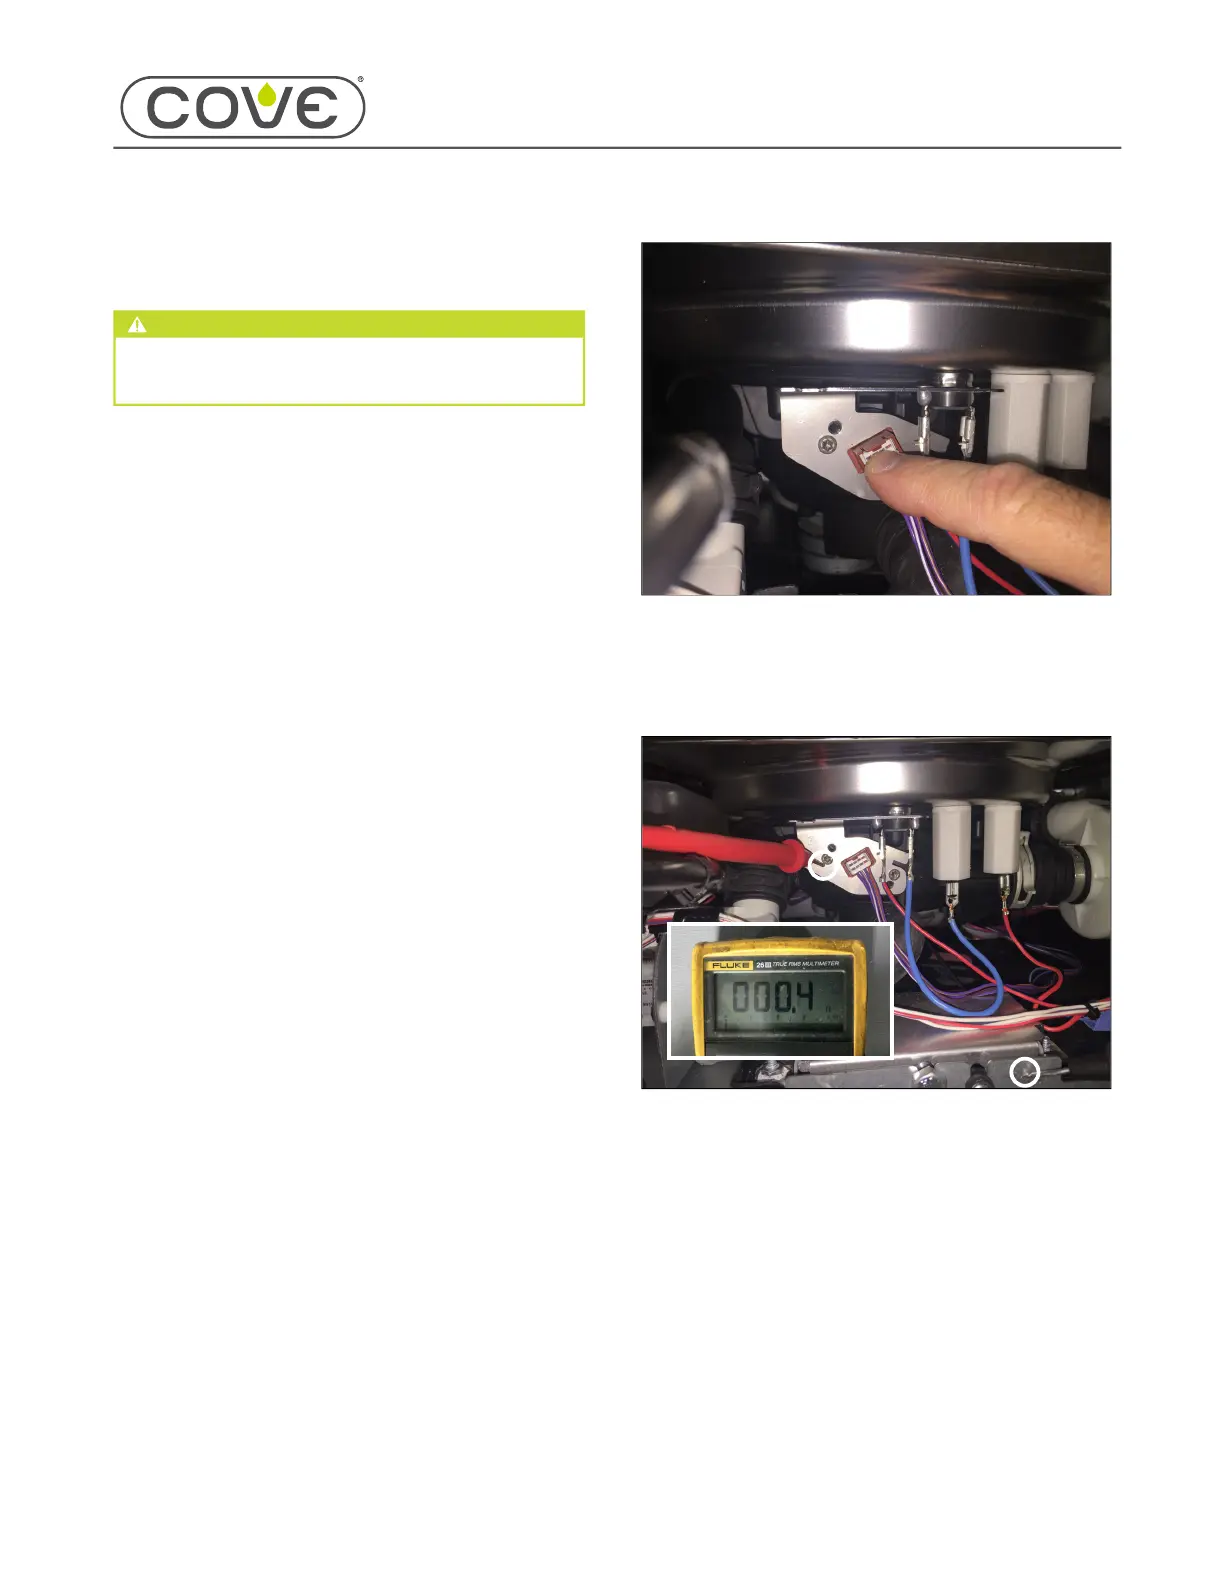
Connect the wire harness to the temperature and
turbidity sensor by pushing straight in until the plastic
snap locks the connector in place.
TIP: The connector can only be inserted in one
direction.
Use a digital multimeter to confirm contact between
the TCO and the tub bottom. The resistance between
the TCO bracket and the chassis should be near
zero.
1
2
3
4
5
6
7
1
2
3
4
5
57


 To Next Page
 Loading...