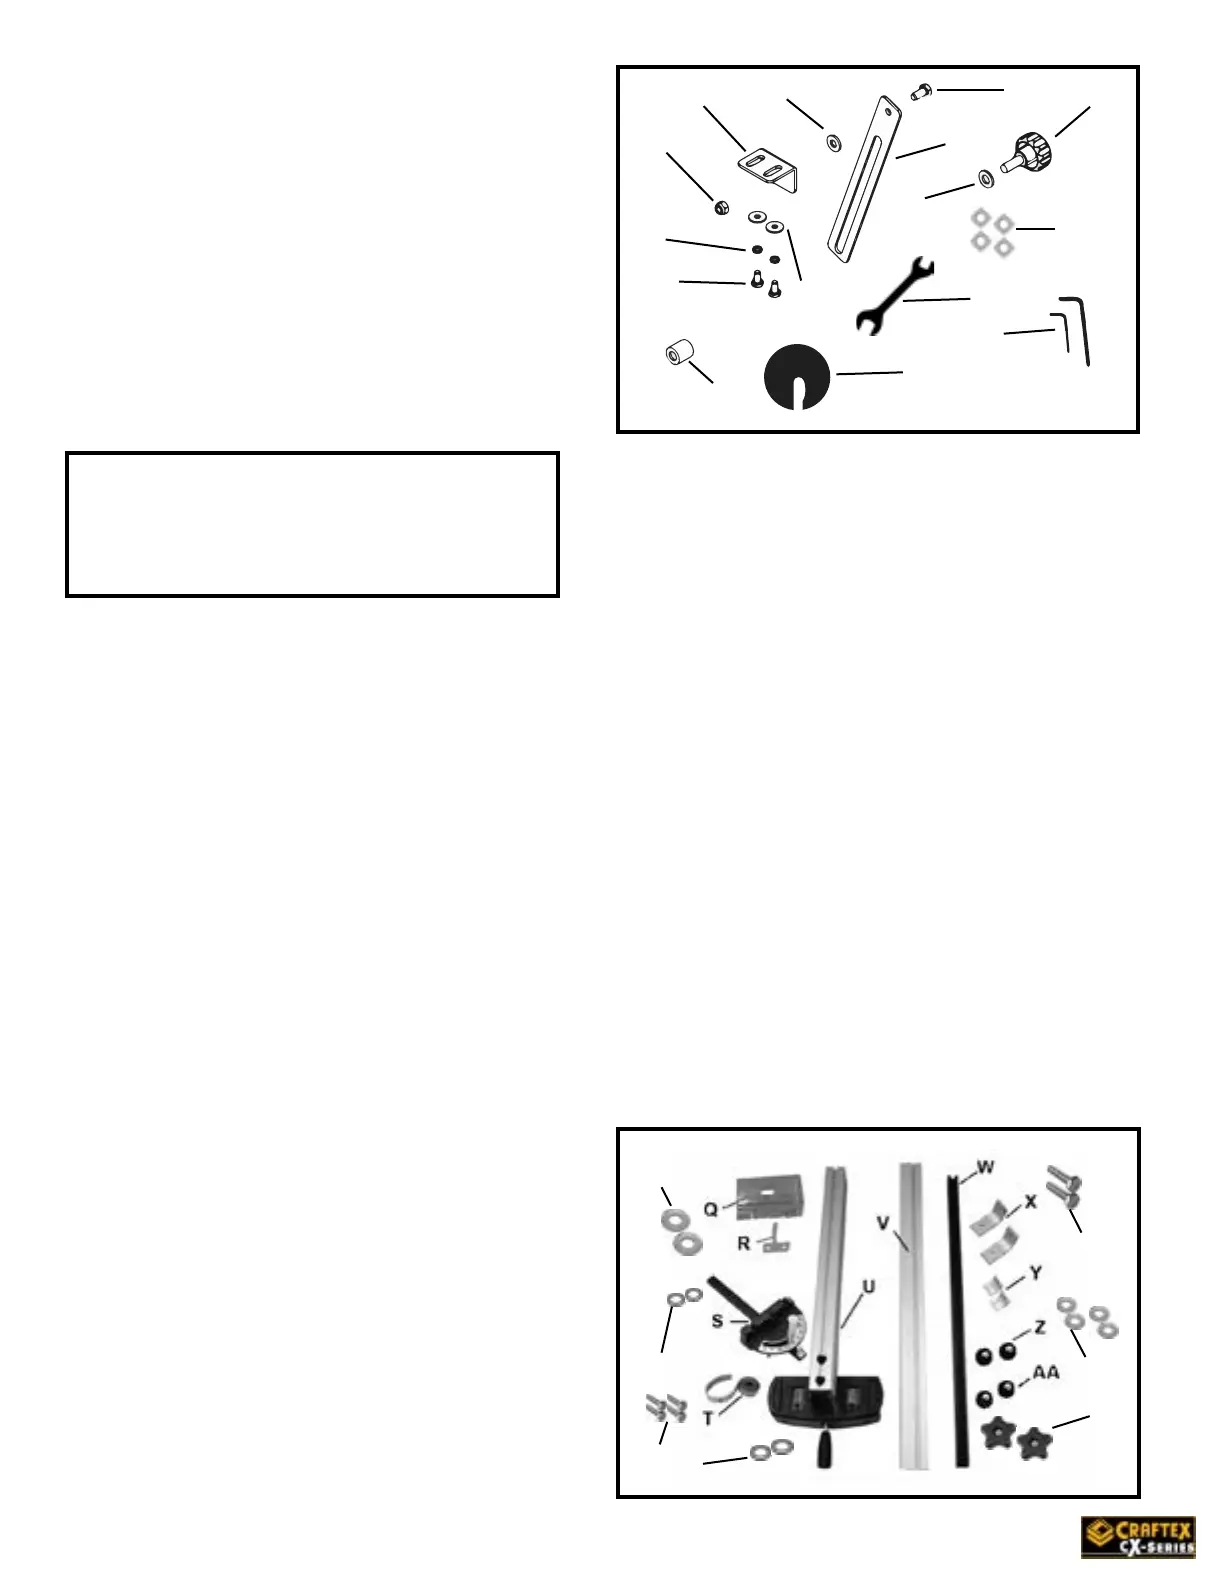
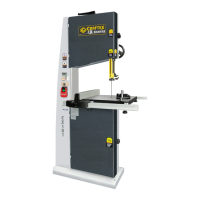
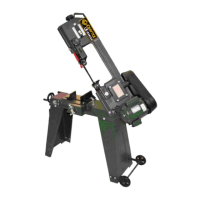
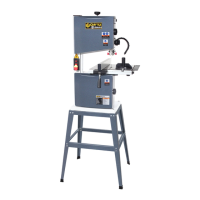
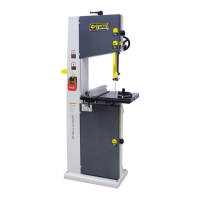
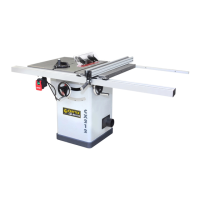
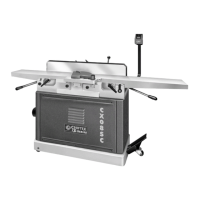
Figure-1 Inventory
List of Contents
O. Flat Washer 1/4”-16 1.2mm ......................... 4
P. Hex Bolt 1/4”*5/8” .................................... 4
Q. Miter Gauge Holder ..................................... 1
R. Fence Holder ................................................ 1
S. Miter Gauge .................................................. 1
T. Scale (for the front rail) .................................. 1
U. Fence Assembly ............................................ 1
V. Front Rail ....................................................... 1
W. Rear Rail ....................................................... 1
X. Front Rail Brackets ....................................... 2
Y. Rear Rail Brackets ......................................... 2
Z. Front Rail Knobs ............................................ 2
AA. Rear Rail Knobs ......................................... 2
BB. Flat Washers 3/8” ....................................... 2
CC. Knobs 3/8”-16 ............................................ 2
DD. Hex Bolts 1/4”-20x1/2” ........................................ 2
EE. Lock Washer 1/4” ...................................... 2
F F. Flat Washers 1/4” ........................... ........... 2
GG. Table Insert................................................. 1
Figure-2 Inventory
Setup
Before setting up your machine you need to
read and understand this user manual
completely.
The unpainted surfaces of this band saw are
coated with a rust preventive waxy oil and you
will want to remove this
before you begin assembly. Use a
solvent cleaner that will not damage painted
surfaces. amount of cleaner/degreaser, then let it
soak for 5-10 minutes.
WARNING
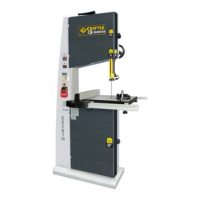
CX108N is a heavy machine. Do not
over-exert yourself. Use a fork truck or
get the help of an assistant or a friend.
Unpacking
The machine is properly packaged in a carton
for safe transportation. When unpacking,
carefully inspect the crate and ensure that noth-
ing has been damaged during transit. Open the
crate and check that the machine is in good
condition.
The hardware (screws, washers etc) might be
shipped in a plastic bag.
After the machine has been un-packed, check
that all loose parts and
hardware are present.
List of Contents
A. Allen Keys 2, 3mm ................................... 2
B. Wrench ..................................................... 1
C. 1/4” Lock Washer .................................... 2
D. Flat Washer 5/16” .................................... 1
E. 1/4” Lock Washer .................................... 2
F. Flat Washer ............................................. 1
G. Knob Bolt 3/8-16 x 1 1/4 ........................ 1
H. Hex Bolt 5/16-18x1 .................................. 1
I. Angle Adjustment Plane ............................ 1
J. Hex Bolt 1/4-20x1/2 ................................. 2
K. Bushing .................................................... 1
L. Nylon Nut 5/16-18 ................................... 1
M. Adjustment Bar Bracket ......................... 1
N. Square Nut 5/16 ...................................... 4
H
G
A
B
GG
E
K
J
C
L
M
D
I
DD
CC
EE
BB
FF
F
O
P
N


 To Next Page