10
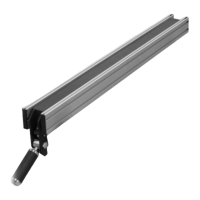
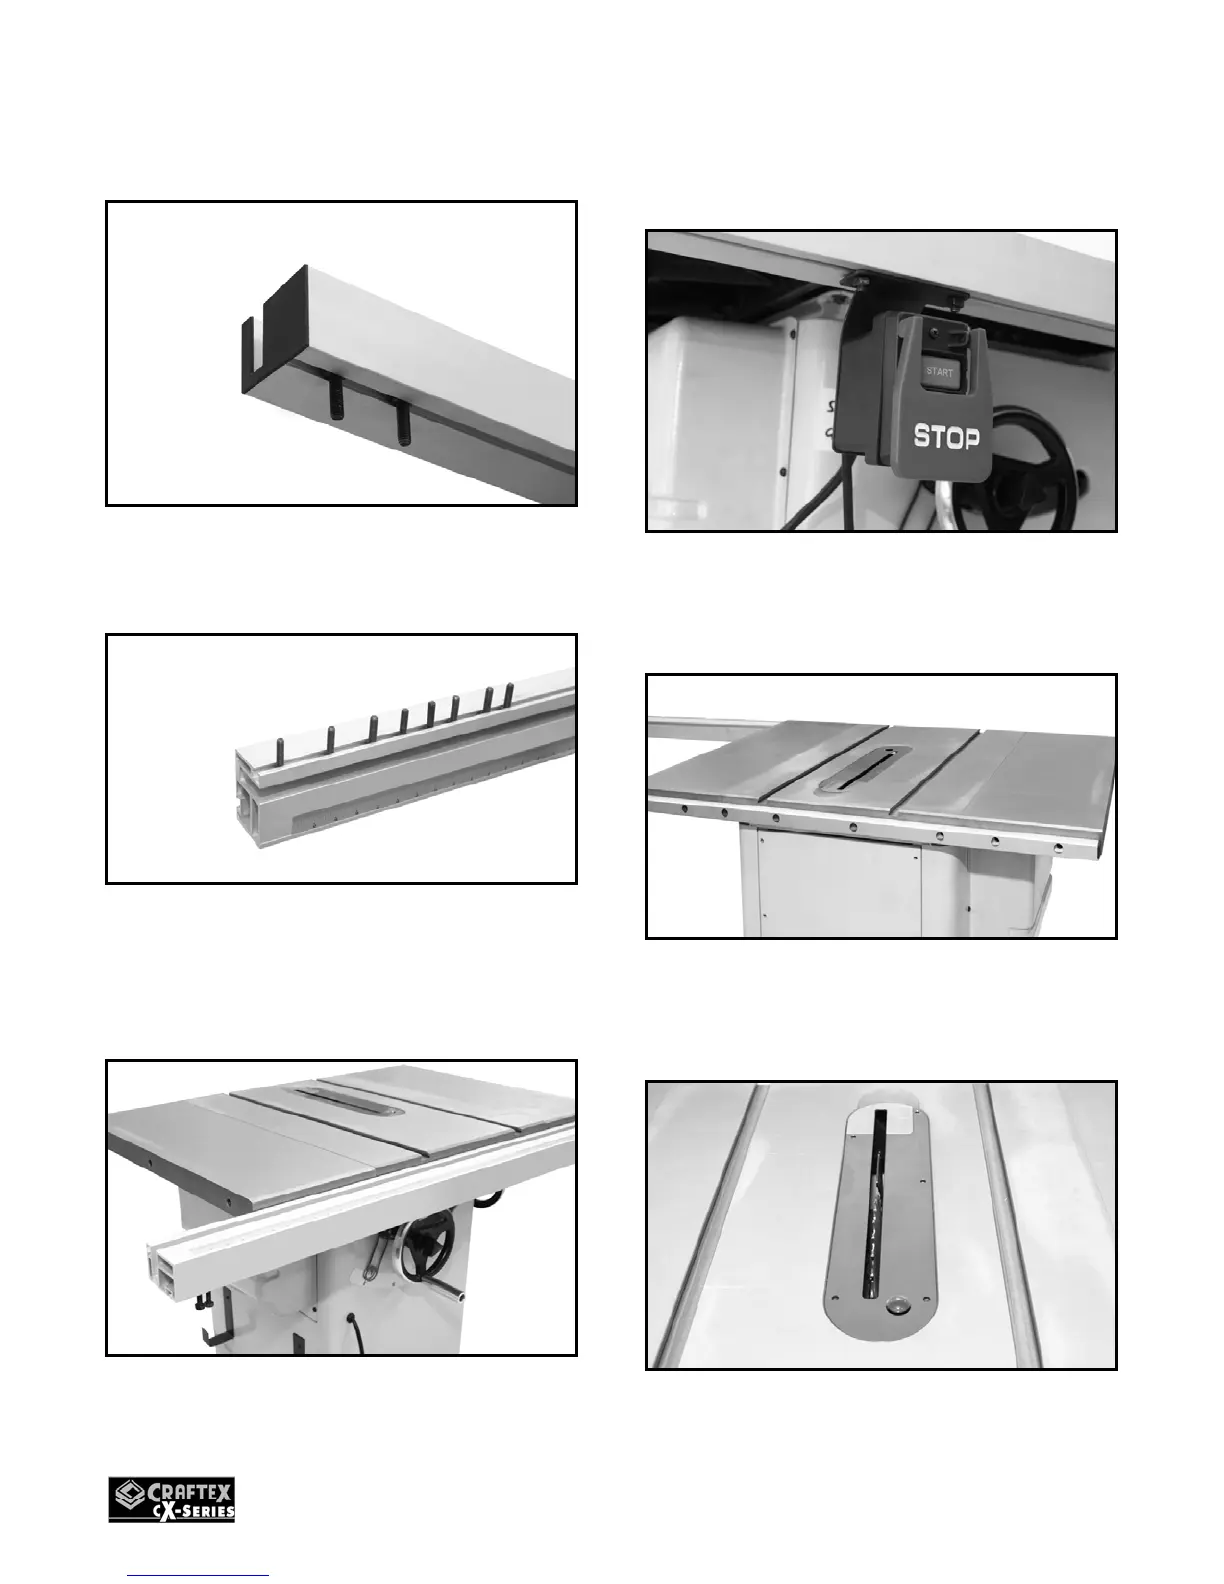
Install the end cap on the left end of the
front fence rail. See figure-6.
Figure-6 Installing the end cap onto the rail
Slide eight hex bolts into the open slot on
the fence rail. See figure-7.
Figure-7 Inserting bolts into the slot on the
front fence rail
Align the hex bolts with the hole on the
table and extension wings and insert them
into the holes. Hand tighten the hex bolts.
Figure-8 Installing the front fence rail
Install the switch onto the hex bolts
previously inserted into the fence rail slot.
See figure-8.
Figure-8 Installing the switch
Attach the rear fence rail on the rear of the
table and extension wings and secure it
using cap screws provided. See figure-9.
Figure-9 Installing the rear fence rail
Install the table insert onto the table
opening and make sure it is flush with the
table surface. See figure-10.
Figure-10 Installing the table insert

 Loading...