Do you have a question about the Craftsman 139.53403 and is the answer not in the manual?
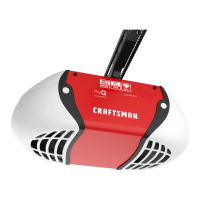
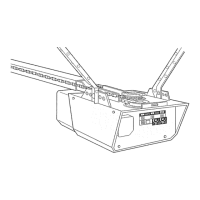
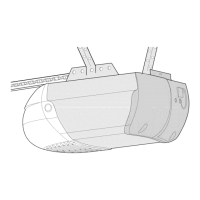
Details the various features and functionalities of the garage door opener.
Provides technical details about the motor, drive system, and dimensions.
Lists all parts and hardware included in the opener package for verification.
Identifies the necessary hand tools for setting up the garage door opener.
Explains how to activate the opener and perform manual door operation.
Provides guidance on maintaining the opener and outlines periodic maintenance tasks.
Connects the tee rail sections and attaches the cable pulley bracket.
Slides the trolley onto the rail and attaches the chain retainer bracket.
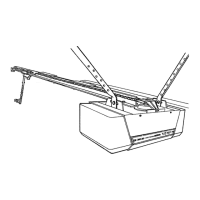
Connects the assembled tee rail to the main opener chassis.
Attaches the drive chain and cable to the trolley and sprocket.
Adjusts the chain tension for proper operation.
Mounts the header bracket securely to the garage wall or ceiling.
Connects the tee rail assembly to the header bracket.
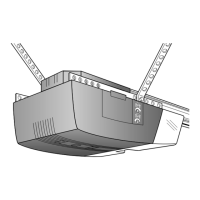
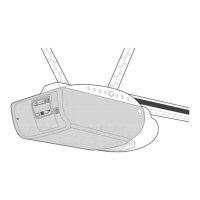
Places the opener chassis at the correct height and position for operation.
Secures the opener chassis to the garage structure using hanging brackets.
Installs the emergency release mechanism for manual operation.
Mounts the wall control button and connects wiring for opener activation.
Installs the opener's light bulb and protective lens.
Connects the opener to a power source, ensuring proper grounding.
Attaches the door bracket and plate to the garage door for arm connection.
Attaches the door arm assembly to the trolley for movement.
Sets the points where the door stops during opening and closing cycles.
Sets the amount of power needed to move the door, ensuring safety reverse.
Verifies the door reverses correctly upon encountering an obstacle.
Installs an optional safety sensor for enhanced protection against entrapment.
Explains how to set or change the radio control codes for transmitters and receivers.
Provides instructions and necessary information for ordering replacement parts.
Information on purchasing service agreements for future maintenance and repairs.
Outlines the terms and conditions of the Sears limited warranty for the opener.
| Model Number | 139.53403 |
|---|---|
| Brand | Craftsman |
| Type | Garage Door Opener |
| Drive Type | Chain Drive |
| Horsepower | 1/2 HP |
| Voltage | 120V |
| Frequency | 60 Hz |
| Remote Control | Yes |
| Remote Control Quantity | 1 |
| Keyless Entry | Yes |
| Safety Sensors | Yes |
| Travel Limits | Adjustable |
| Lighting | Yes |
| Warranty | 1 Year |