EasyManua.ls Logo

Craftsman 139.53918D User Manual

Craftsman 139.53918D
79 pages
To Next Page IconTo Next Page
Page #1 background imageLoading...
Page #1 background image
Owner's Manual/Manual Del Propietario
I:RRFTSMR
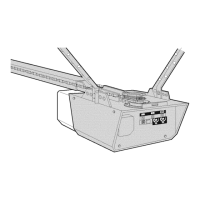
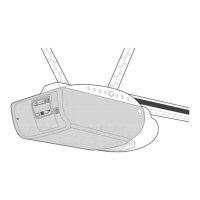
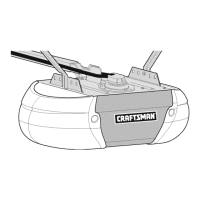
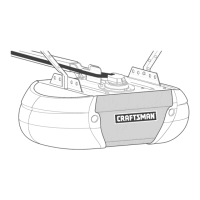
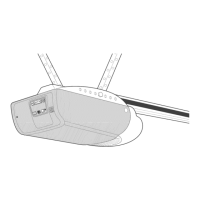
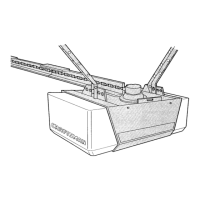
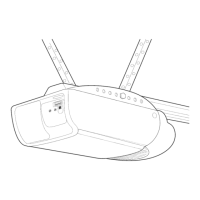
315MM= GARAGE DOOR OPENER
ABRIDOR DE PUERTA DE COCHERA 315MN_,
For Residential Use Only/Solo para uso residencial
Model/Modelo 139.53918D
m
G3
m
Z_
O
Read and follow all safety rules
and operating instructions before
first use of this product.
Fasten the manual near the garage
door after installation.
Leer y seguir todas las reglas de
seguridad y las instrucciones de
operacion antes de usar este
producto por primera vez.
Guardar este manual cerca de la
puerta de la cochera.
Periodic checks of the opener are
required to ensure safe operation.
Se deben realizar revisiones
periodicas del abridor de puertas
para asegurar su operacion
segura.
Sears, Roebuck and Co., Hoffman Estates, IL 60179 U.S.A
www.sears.com/craftsman

Table of Contents

Question and Answer IconNeed help?

Do you have a question about the Craftsman 139.53918D and is the answer not in the manual?

Craftsman 139.53918D Specifications

General IconGeneral
BrandCraftsman
Model139.53918D
CategoryGarage Door Opener
LanguageEnglish

Summary

Introduction to Craftsman Garage Door Opener Manual

Safety Symbol and Signal Word Review

Explains the meaning and importance of safety symbols and signal words used in the manual.

Assembly Step 1: Assemble Rail and Install Trolley

Assembly Step 2: Fasten Rail to Motor Unit

Assembly Step 3: Install Idler Pulley

Assembly Step 4: Install Belt and Belt Cap Retainer

Assembly Step 5: Set Belt Tension

Important Installation Instructions and Warnings

Installation Step 1: Determine Header Bracket Location

Installation Step 2: Install Header Bracket

Installation Step 3: Attach Rail to Header Bracket

Installation Step 4: Position the Opener

Installation Step 5: Hang the Opener

Installation Step 6: Install Control Console

Installation Step 10: Electrical Requirements

Installation Step 11: Install Safety Sensors

Installing Safety Sensor Brackets

Mounting and Wiring Safety Reversing Sensors

Aligning Safety Reversing Sensors

Installation Step 12: Fasten Door Bracket

Installation Step 13: Connect Door Arm to Trolley

Adjustment Step 1: Program Travel Limits

Adjustment Step 2: Setting the Force

Adjustment Step 3: Test Safety Reversal System

Adjustment Step 4: Test Protector System (Safety Sensors)

Garage Door Opener Operation and Safety

Battery Backup System Operation and Testing

Troubleshooting Common Opener Problems

Diagnostic Chart for Opener Issues

Programming Remote Controls and Keyless Entry

Related product manuals