Do you have a question about the Craftsman 139.53919 and is the answer not in the manual?
Explains safety symbols and signal words used throughout the manual for user safety.
Lists all necessary hand tools required for assembly and installation of the garage door opener.
Guides on joining rail sections and installing the trolley onto the assembled rail.
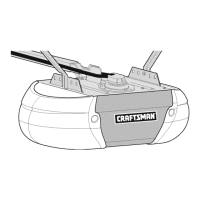
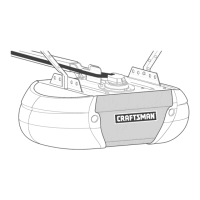
Details on securely attaching the assembled rail to the garage door opener motor unit.
Instructions for placing and securing the idler pulley at the end of the rail assembly.
Step-by-step guide for threading the belt and securing the belt cap retainer.
Procedure for adjusting the belt tension to the optimal level for proper operation.
Instructions for finding the correct mounting position for the header bracket on the garage wall or ceiling.
Guidance on how to securely mount the header bracket to structural supports, either on the wall or ceiling.
Steps for connecting the assembled rail to the mounted header bracket using a clevis pin.
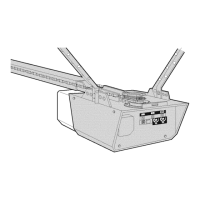
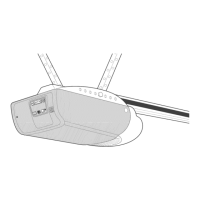
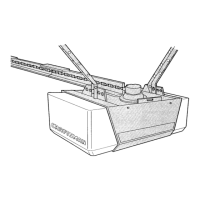
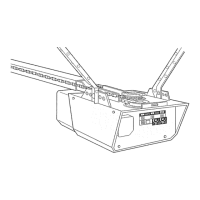
Instructions on how to correctly position the motor unit on its support for sectional or one-piece doors.
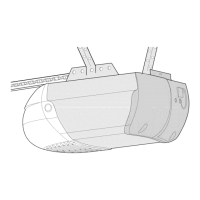
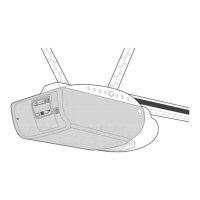
Details on using hanging brackets to securely mount the opener motor unit to the ceiling or supports.
Guide for wiring and mounting the wall-mounted door control console.
Instructions for installing the light bulbs and lenses into the motor unit housing.
Steps for attaching the rope and handle to the trolley's emergency release mechanism.
Information regarding power connection, grounding, and wiring compliance for the opener.
Instructions for installing the safety reversing sensors to detect obstructions.
Details on mounting brackets for the safety sensors on door tracks, walls, or floor.
Guide for physically mounting and wiring the safety sensor units to the opener.
Procedures for aligning the safety sensors to ensure a clear, unobstructed beam.
Steps for attaching the door bracket to the garage door, including reinforcement considerations.
Specific instructions for fastening the door bracket on one-piece garage doors.
Guide for connecting the garage door arm to the opener's trolley mechanism.
Specific guidance for assembling the door arm for one-piece garage doors.
Steps to set the open and close limits for the garage door opener.
Instructions on how to adjust the force required to open and close the garage door.
Procedure to verify the safety reversal system functions correctly upon contact with an obstruction.
Steps to test the functionality of the safety reversing sensor system.
General instructions on how to operate the garage door opener using various controls.
Details on operating the opener and its features using the wall-mounted console.
Instructions on how to manually open or close the garage door in case of power failure.
Guide on how to disconnect the trolley from the drive mechanism for manual operation.
Steps to re-engage the trolley with the drive mechanism after manual operation.
Instructions for mounting the battery backup unit directly onto the opener's motor unit.
Guide for securing the battery backup unit to a ceiling joist or support.
Steps for wiring the battery backup unit to the opener's motor unit.
Explains LED indicators and diagnostic codes for the battery backup unit.
Instructions for testing and charging the battery backup unit.
Provides a schedule for routine checks and maintenance tasks for the garage door opener.
Information on how to replace the battery in the remote control transmitter.
Addresses common problems such as the door not closing, remotes not working, or unexpected reversal.
A chart detailing error codes indicated by flashing LEDs on the motor unit for troubleshooting.
Instructions for programming additional remote controls or reprogramming existing ones.
Guide for setting up or modifying the PIN for the keyless entry system.
Illustrated list of replacement parts for the garage door opener rail assembly.
Illustrated list of replacement parts used for installing the garage door opener.
Illustrated breakdown of replacement parts for the garage door opener's motor unit.
| Type | Chain Drive |
|---|---|
| Horsepower | 1/2 HP |
| Max Door Height | 7 ft |
| Remote Control | Yes |
| Voltage | 120V |
| Frequency | 60 Hz |
| Remote Controls Included | 2 |
| Safety Features | Safety Sensors |