Do you have a question about the Craftsman 139.53910D and is the answer not in the manual?
Explains safety symbols and signal words used in the manual for hazard communication.
Provides crucial safety warnings for garage door preparation before opener installation.
Lists the essential hand tools required for assembly and installation of the garage door opener.
Details considerations for installing openers on sectional garage doors, including reinforcement.
Covers installation specifics for one-piece garage doors, including reinforcement and gap requirements.
Lists all components typically found in the garage door opener package for verification.
Details the specific hardware required for assembling the garage door opener components.
Lists the hardware needed for installing the garage door opener system into the garage.
Guides on assembling the opener's rail sections and inserting the trolley.
Instructions for securely attaching the assembled rail to the garage door opener motor unit.
Details the process of installing the idler pulley into the rail assembly.
Step-by-step guide to installing the drive chain or cable onto the opener's system.
Instructions on properly tensioning the chain or cable for correct opener operation.
Crucial safety guidelines and requirements that must be followed before and during installation.
Guides on selecting the correct mounting location for the header bracket based on door type.
Details on how to securely mount the header bracket to the wall or ceiling.
Instructions for connecting the assembled rail to the installed header bracket.
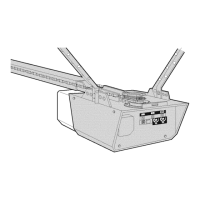
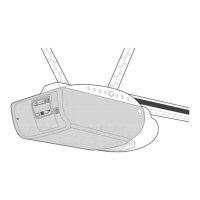
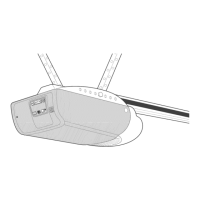
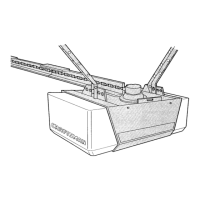
Guidance on placing the motor unit correctly relative to the door and rail.
Procedures for securely mounting the opener unit using hanging brackets.
Steps for mounting the wall-mounted door control button and wiring it.
Instructions for installing the light bulb and lens into the motor unit.
Guidance on attaching the emergency release rope and handle to the trolley.
Details electrical connections, grounding, and wiring requirements for the opener.
Steps for installing and aligning the safety reversing sensor system.
Describes methods for mounting the safety sensor brackets to door tracks, walls, or floors.
Details how to mount and wire the safety sensors, and troubleshooting common issues.
Instructions on attaching the door bracket to the garage door, with reinforcement notes.
Specific instructions for fastening the door bracket on one-piece garage doors.
Guides on connecting the door arm to the trolley assembly for both sectional and one-piece doors.
Details arm assembly and crucial travel limit adjustments for one-piece doors.
Explains how to set the door's fully open and fully closed positions.
Guides on setting the force required for opening and closing the garage door.
Procedures to verify the safety reversal system functions correctly by testing obstructions.
Instructions for testing the safety reversing sensor system's functionality.
Critical safety guidelines for operating the garage door opener safely.
How to activate and operate the garage door opener with various controls.
Explains how to use the wired door control button for opening, closing, and stopping.
Instructions on how to disconnect the trolley and operate the door manually.
Information on re-adjusting limits and force due to weather or time.
A recommended schedule for routine maintenance tasks for the opener.
Instructions on how to replace the battery in the remote control.
Addresses common problems like door not closing, remote issues, and door reversing.
A chart correlating flash codes from the diagnostic LED to specific opener problems.
Step-by-step guide to programming additional remote controls to the opener.
Instructions for setting up or modifying a Keyless Entry system PIN.
Lists and illustrates replacement parts for the opener's rail assembly.
Lists and illustrates replacement parts used during the installation process.
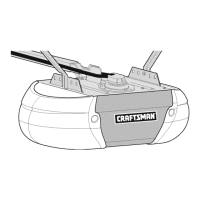
Identifies and illustrates the various components that make up the motor unit.
Lists optional accessories available for the garage door opener.
Outlines the terms and conditions of the product's warranty coverage.
| Model Number | 139.53910D |
|---|---|
| Type | Garage Door Opener |
| Drive Type | Chain Drive |
| Horsepower | 1/2 HP |
| Voltage | 120V |
| Frequency | 60Hz |
| Remote Controls | 2 |
| Battery Backup | No |
| Max Door Height | 7 feet |
| Safety Features | Safety sensors |