Do you have a question about the Craftsman 139.5399211 and is the answer not in the manual?
Explains safety symbols and signal words used in the manual.
Highlights essential safety measures and checks before installing the opener.
Lists the hand tools required for assembly and installation procedures.
Covers surveying the installation area and checking garage door condition.
Outlines requirements and checks specific to sectional garage doors.
Details planning steps and considerations for one-piece garage doors.
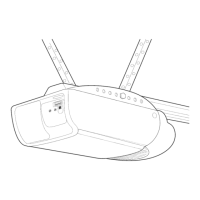
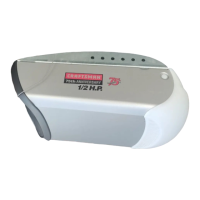
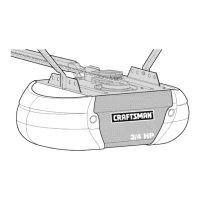
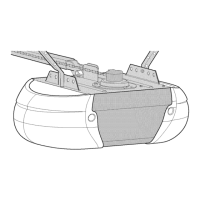
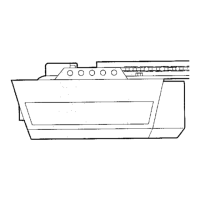
Lists all parts included in the opener package and any accessories.
Details the hardware required specifically for assembling the opener unit.
Details the hardware required specifically for installing the opener.
Provides step-by-step instructions for assembling the opener's rail sections.
Details how to connect individual rail sections using bolts and alignment.
Explains how to connect the assembled rail to the motor unit and install the trolley.
Outlines the process for attaching the rail brackets to the rail assembly ends.
Provides crucial safety warnings and general instructions before starting installation.
Guides on selecting the proper location for the header bracket based on door type.
Details the procedure for securely mounting the header bracket on the wall.
Details the procedure for securely mounting the header bracket to the ceiling.
Explains how to connect the assembled rail to the header bracket.
Details the installation and function of the safety reversing sensors.
Describes mounting sensor brackets directly onto the garage door track.
Describes mounting sensor brackets onto the garage wall.
Describes mounting sensor brackets onto the garage floor.
Guides on how to properly route and connect the safety sensor wires.
Details how to position the opener unit for sectional garage doors.
Details how to position the opener unit for one-piece garage doors.
Explains how to securely mount the opener unit to structural supports.
Provides instructions for wiring the wall-mounted door control console.
Covers electrical safety, grounding, and compliance with codes.
Details the process of aligning the safety sensors for correct operation.
Describes how to install the light bulbs and protective lens covers.
Details the correct procedure for attaching the emergency release rope and handle.
Explains how to securely attach the door bracket to sectional garage doors.
Provides instructions for attaching the door bracket to one-piece garage doors.
Details how to connect the door arm to the trolley for sectional doors.
Explains how to connect the door arm to the trolley for one-piece doors.
Outlines the process for adjusting travel limits on one-piece doors.
Explains how travel limit settings control door stop points and when to adjust them.
Details how to test and adjust the force required to close the garage door.
Details how to test and adjust the force required to open the garage door.
Provides the procedure to test the door's safety reversal system.
Explains how to test the functionality of the safety reversing sensors.
Lists important safety instructions for operating the garage door opener.
Explains how to activate the opener using various controls and remotes.
Describes the features and operation of the premium control console.
Details how to manually operate the door by disengaging the trolley.
Reminds users to re-adjust limits and force as needed due to weather.
Outlines the recommended monthly and yearly maintenance tasks.
Provides instructions for replacing the battery in the remote control.
Addresses issues where the door won't close or indicator lights blink.
Troubleshoots problems with remote controls not operating the opener.
Explains why the door might reverse unexpectedly and how to address it.
Addresses the security light feature staying on when the door is open.
Explains the meaning of different diagnostic LED flash codes on the motor unit.
Provides instructions for programming additional remote controls to the opener.
Details how to erase all previously programmed remote control codes.
Instructions for adding or changing the PIN for the keyless entry system.
Guides on how to set a temporary PIN for visitors or service personnel.
Lists the part numbers and names for the rail assembly components.
Lists the part numbers and names for installation parts and accessories.
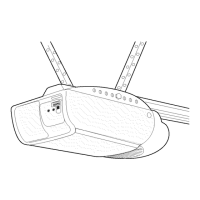
Lists and identifies the various internal parts of the motor unit assembly.
Lists optional accessories like keyless entry systems and remote controls.
Lists accessories for door clearance and extending the rail length.
Provides details on the warranty coverage for the garage door opener.
| Type | Chain Drive |
|---|---|
| Model Number | 139.5399211 |
| Horsepower | 1/2 HP |
| Voltage | 120V |
| Frequency | 60 Hz |
| Remote Controls Included | 2 |
| Safety Sensors | Yes |
| Maximum Door Height | 7 ft |
| Warranty | 1 Year |