Do you have a question about the Craftsman CMXEOCG231 and is the answer not in the manual?
Explains safety symbols and signal words used in the manual for hazard identification.
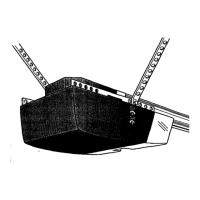
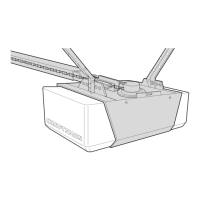
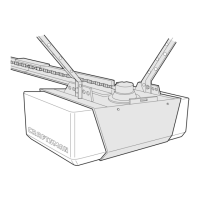
Details on connecting the rail sections and installing the trolley assembly.
Instructions for securely attaching the assembled rail to the motor unit housing.
Guide for installing the idler pulley at the end of the rail assembly.
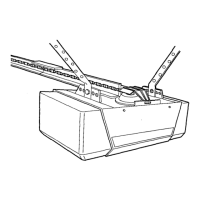
Steps for threading and connecting the chain or cable to the trolley and sprocket.
Procedure for setting the correct chain tension for optimal operation.
Finding the correct position for the header bracket based on door type and height.
Steps for securely mounting the header bracket to the wall or ceiling.
Connecting the main rail assembly to the installed header bracket.
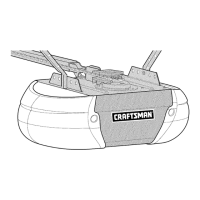
Placing the motor unit correctly relative to the door and rail.
Securing the motor unit assembly to the ceiling or wall supports.
Installing the light bulb and lens into the opener housing.
Connecting the manual release rope and handle for emergency operation.
Attaching the bracket to the garage door for arm connection.
Joining the door arm assembly to the opener's trolley mechanism.
Applying important safety and warning labels to the wall and door.
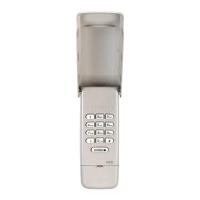
Mounting the wall-mounted push button control for the opener.
Installing and connecting the safety reversing sensors.
Information on power connection and grounding for the opener.
Adjusting the safety sensors for proper beam detection.
Overview of the opener's electronic controls for setup and adjustments.
Setting the open and close limits for the garage door.
Verifying the door reverses correctly upon encountering an obstruction.
Checking the functionality and alignment of the safety sensors.
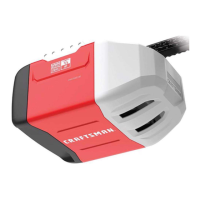
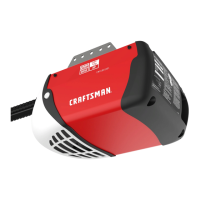
Overview of the opener's features like remote controls and safety systems.
How to activate the opener using various controls and its behavior.
Steps to synchronize and use the wall-mounted door control.
Information on programming and using remote controls.
Procedures for disconnecting and manually operating the door.
Maintenance schedule and tips for long-term opener care.
A table correlating flashing codes with symptoms and solutions.
List of replacement parts for the rail assembly.
List of replacement parts related to the installation process.
List of replacement parts for the motor unit.
| Horsepower | 1/2 hp |
|---|---|
| Drive System | Chain Drive |
| Remote Control | Yes |
| Safety Sensors | Yes |
| Battery Backup | No |
| Security Light | Yes |
| Operating Voltage | 120V |
| Warranty | 1 Year |