Do you have a question about the Craftsman WEEDWACKER 358.791010 and is the answer not in the manual?
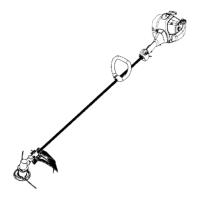
Guide on how to adjust the assist handle on the trimmer shaft.
Instructions for properly installing the trimmer shield and line limiter blade.
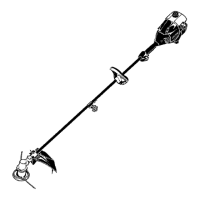
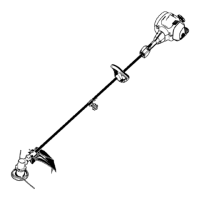
Familiarize yourself with the location of controls and adjustments on the unit.
Read fuel information and safety rules before fueling the unit.
Instructions on safely refueling the gasoline weedwacker with mixed fuel.
Step-by-step guide for starting a cold engine on the weedwacker.
Procedure for starting a warm engine, typically after a short break.
Instructions on how to safely stop the engine of the weedwacker.
Steps to start a weedwacker engine that may be flooded.
General guidelines for efficient and safe operation of the weedwacker.
Proper stance and body positioning for operating the weedwacker safely.
How to advance the trimmer line using the tap-on-ground method.
Different techniques for cutting with the weedwacker, including trimming and scalping.
A table outlining regular maintenance tasks and when to perform them.
General advice regarding warranty and maintenance responsibilities.
Inspect the unit for loose or damaged parts before use.
Identifying and replacing parts that are chipped, cracked, or broken.
Procedures for inspecting unit labels and cleaning the unit.
Instructions for cleaning the air filter to maintain engine performance.
Checking the muffler and spark arresting screen for proper function.
Guidance on replacing the spark plug for better engine starting and running.
Steps for removing the old spool and installing new trimmer line.
Instructions for removing and installing the trimmer head assembly.
Procedure for adjusting the carburetor for optimal engine performance.
Steps to follow for storing the unit after use, including safety precautions.
Preparation for long-term storage at the end of the season.
Instructions on emptying the fuel system before storage to prevent issues.
Steps to prepare the engine for storage, including oiling and spark plug replacement.
Advice on fuel storage and gasoline can maintenance.
Explains owner's and manufacturer's warranty rights and responsibilities.
Details when the warranty period begins for the small off-road engine.
Specifies that warranted parts will be repaired or replaced at no charge.
States that diagnostic labor for defective parts is free.
Mentions Sears' potential liability for damages to other components.
Lists failures caused by abuse, neglect, or improper maintenance.
Explains that modified parts can void the warranty claim.
Provides contact information for warranty claims and questions.
| Engine Type | 2-Cycle |
|---|---|
| Engine Displacement | 25cc |
| Cutting Swath | 17 inches |
| Type | Gas Trimmer |
| Shaft Type | Straight |
| Line Diameter | 0.095 inches |