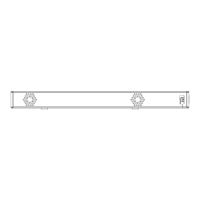
IEMOTE
CONTROL
-
LOCATION
OF CONTROLS
ON REMOTE IIANI)SI[
ANI) FUNCTIONS
REMOTE
CONTROL
-
LOCATION
OF CONTROLS
ON
RIMOTE
HANDSET AND FI.INCTIONS
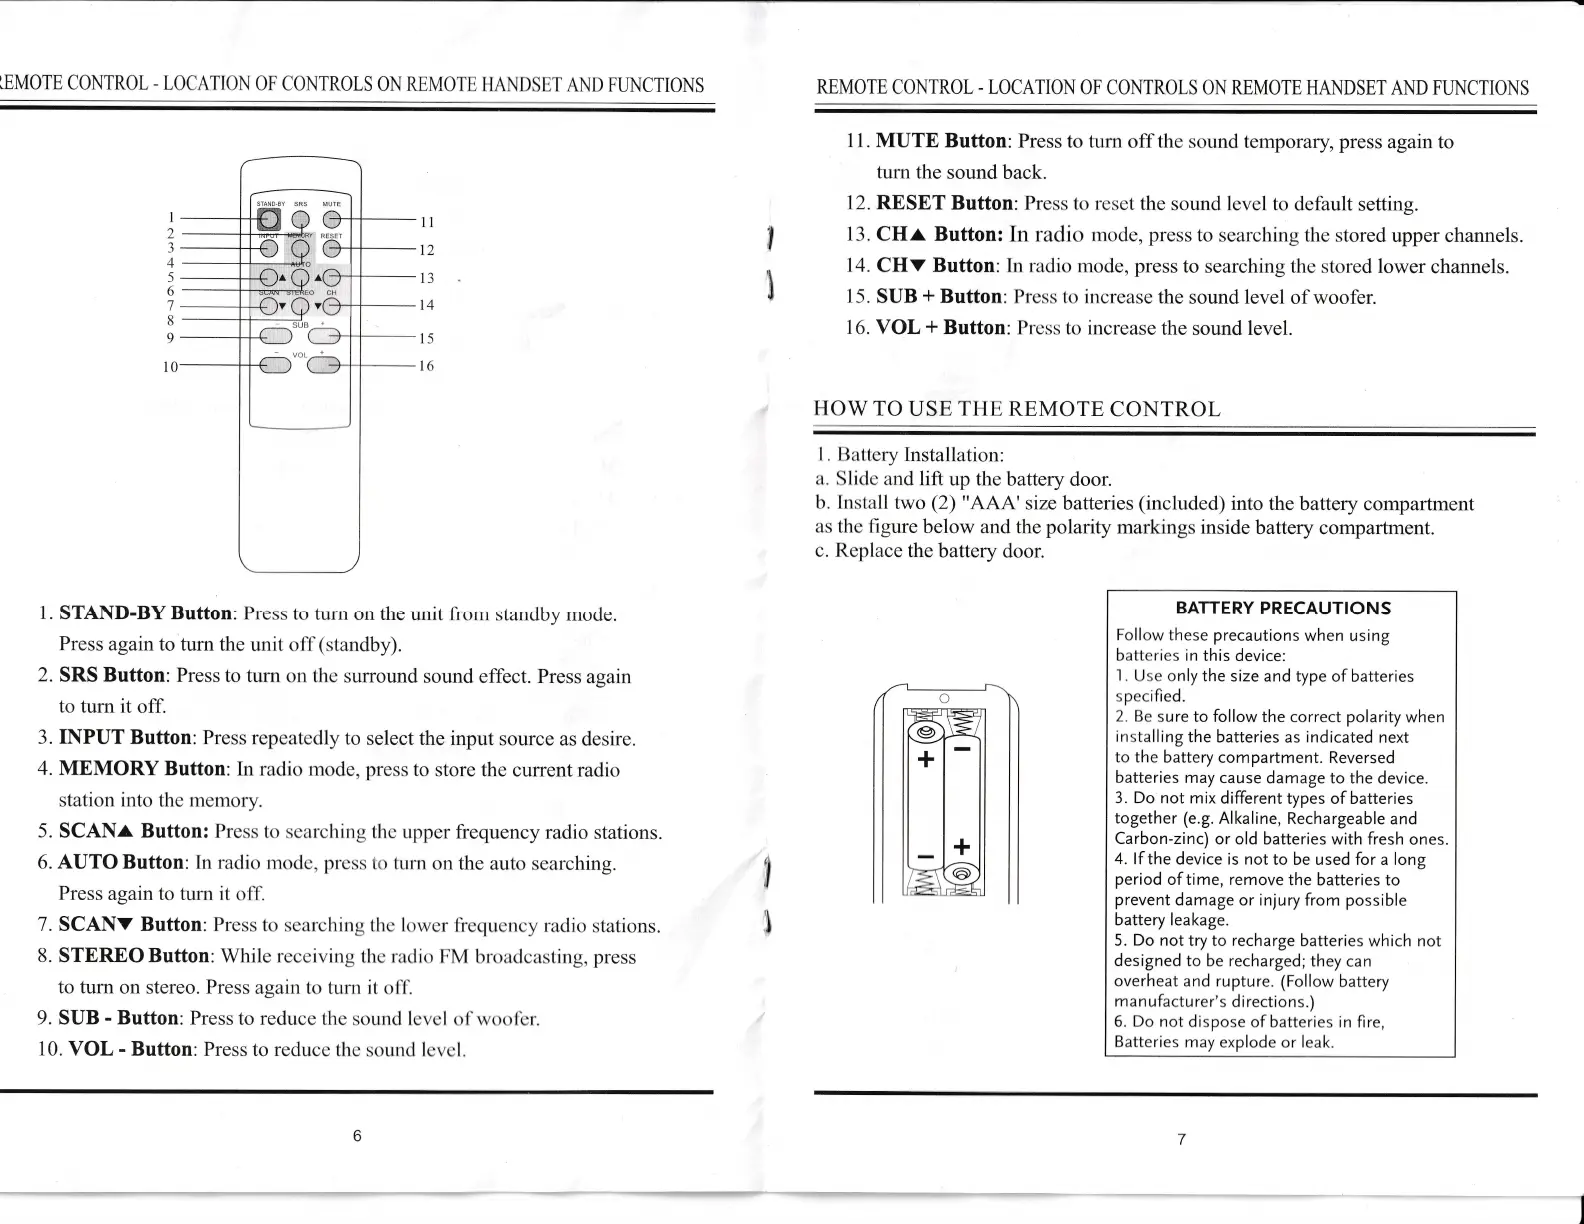
11. MUTE
Button: Press to turn
off
tho
sound temporary
press
again to
turn
the sound
back.
12.
RESET Button: Prcss lo rcsot
the
sound
lcvol
to dcfault
setting.
13. CHA Button:
In
raclirl
rnode, press
to
scarchirrg thc stored
upper channels.
14.
CHV Button: In radio mode, press
to
searching thc stored lower
channels.
15. SUB
*
Button: Prcss lo incrcase
the
sound level of
woofer.
16.
VOL
*
Button: I)r'css
to increase
the sound level.
HOWTO
UStr
TIILi
REMOTE
CONTROL
I . llirltcry
Installation:
l.
SIirlo
and lift
up
the
battery
door.
b. Irrstall
two (2)
"AAA'
size batteries
(included)
into
the battery compartment
as thc tigure
below and the
polarity
markings inside
battery compartment.
c. Rcplace
the battery door.
C
BATTERY
PRECAUTIONS
Follow
these
precautions
when using
battcries in
this
device:
I
l.Jse
only
the
size and type of
batteries
s pecified.
2
Bc
sure
to follow
the correct
polarity
when
installing
the
batteries as indicated
next
to the
battery
compartment.
Reversed
batteries
may
cause
damage to
the device.
3. Do
not mix
different
types
of batteries
together
(e.9. Alkaline,
Rech argeable
and
Carbo n-zinc)
or old batteries
with
fresh
ones
4. lf
the device is not
to
be
used for
a
long
period
of time,
rernove
the
batteries to
prevent
damage or tnjury from possible
battery leakage.
5.
Do not
try to rech
arge batteries which not
designed to be recharged;
they can
overheat and rupture.
(Follow battery
ma n
u factu rer's
d
i rection
s.)
6. Do not
dispose
of batteries in fire,
Batteries
may
explode
or
leal<.
fl
b
I
2
.)
J
4
5
6
7
B
9
11
T2
13
14
15
l(r
1.
STAh{D-BY Button: Pross
to turn
on the
unit
fiom
standby mode.
Press
againto
turn the unit ol-l'(standby).
2.
SRS
Button:
Press
to turrr
orr
thc
surround
sound
effect. Press
again
to turn it
off.
3.
INPUT
Button: Press
rcpcatcclly
to
select
the input
source
as desire.
4.
MEMORY Button:
In
radio
nrode, press
to
store the
cuffent radio
station
into
tho
nrcnrory.
5.
SCANr
Button: Prcss
to scarc:hins
lhc
upper
frequency
radio
stations.
6.
AUTOButton:
In t-aclio
rttoclc, prcsis
trr tunr
olr
the ar-rto
scar-ching.
Press
agaLn to turn
it
ol'l-.
7" SCANv
Button:
Prcss to scurc:hirts
llrc
lowcr-li'crlucncy
r-irdio
stations.
B. STEREO Button:
Whilo
t'c:cc,ivirrg
Ilrcr
rrrtlio
lrM brorrrlcirsting,
press
to
turn on
stereo.
Press
again
to tr,rrn
it ol'l .
9. SUB
-
Butto[: Press
to
reducc thc
sor,rnrl lcvcl
ol'w()olL'r'.
10.
VOL
-
Button: Press
to redr-rcc thc sorurrl
lcvcl
I
L
7
6
1o
+
I
+
-
 Loading...