ENGLISH
8
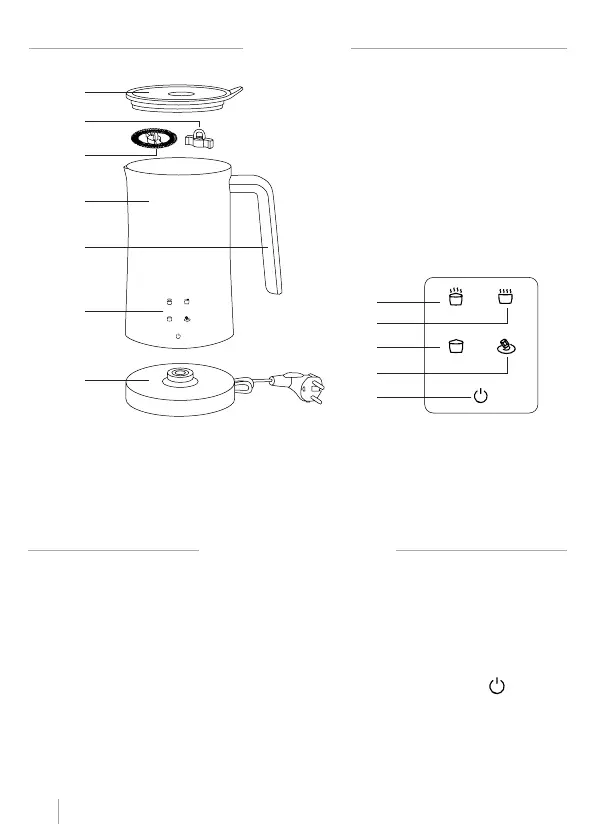
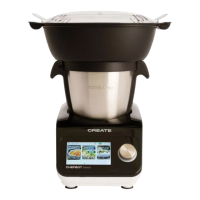
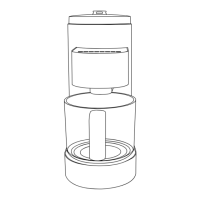
PARTS LIST
CONTROL PANEL
1. Transparent lid
2. Mixer accessories
3. Skimmer Accessories
4. Non-stick jug
5. Grab handle
6. Touch control panel
7. Power base
8. Hot foam button
9. Milk heating button
10. Cold foam button
11. Hot chocolate button
12. On/Off button
1
5
4
6
7
8
10
12
9
11
2
3
1. Connect the power supply with the power base and pour the milk into the milk frother. Please
note that the amount of milk poured must not exceed the mark (see maximum capacity).
2. Connect the main body with milk to the power base and hear the sound of “D”. The four function-
al indicator lights will all be on for 1 second and then turn off in the non-operation condition. It
goes into the standby state, indicating that the power is on.
3. Choose the function mode you want. After the set time has elapsed for the mode you choose, the
frother will stop and the frother will go into standby mode.
4. Cancel the selection. If you need to cancel the selection, you can press the button once while
the skimmer is running.
5. After canceling the selection the lights will turn on. At this time, you can select any function
button to continue using the frother. If you do not select any button for 10 seconds, the frother
will automatically enter the standby state.
INSTRUCTIONS FOR USE