27
Note: place the product at a distance less than 70 cm
from the sensor� Attach the product within a 30° angle to
the sensor (Fig� C)�
3� Make sure the sensor is as close as possible to the
magnet, to ensure an optimal connection�
Note: in the event that you have another bicycle comput-
er and want to mount it on a second bicycle, make sure
there is no other sensor in the immediate vicinity (1m),
as this could otherwise connect with the second bicycle
computer�
Connecting the product to the sensor
Use the magnet (6) to turn the sensor (4) on� The speed
trend (22) shows a curve to confirm successful connec-
tion� The product is now ready for use�
If the connection fails, follow the steps in the section
‘Troubleshooting’ and reset all basic settings� You will
then have to reconnect the product with the sensor�
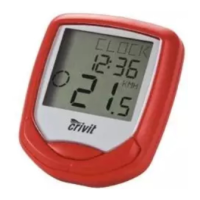
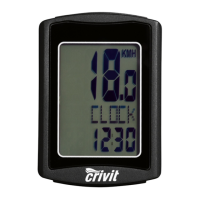
Functions (Fig. K)
• ADVANCE mode: you can select the following
function displays by pressing the ‘MODE’ button
(15): CLOCK > TOTALODO > TOTAL-TM > TRIPDIST
> MAXSPEED > AVGSPEED > TRIPTIME > TEMP >
STPWATCH > CAL RATE > CALORIE > ETASTART >
KM+/- > TIME+/- > SCAN
GB