Section 2 Detective+Battery charging Detective+
V. Battery Charging
The built in Sealed Lead Acid battery pack has sufficient capacity to power the
instrument for over 36 hours (including a 30 minute period in the Alarm condi-
tion). The unit incorporates a two stage charging circuit that is powered from
the local main supply, using the appropriate Crowcon charging lead that is sup-
plied with the instrument.
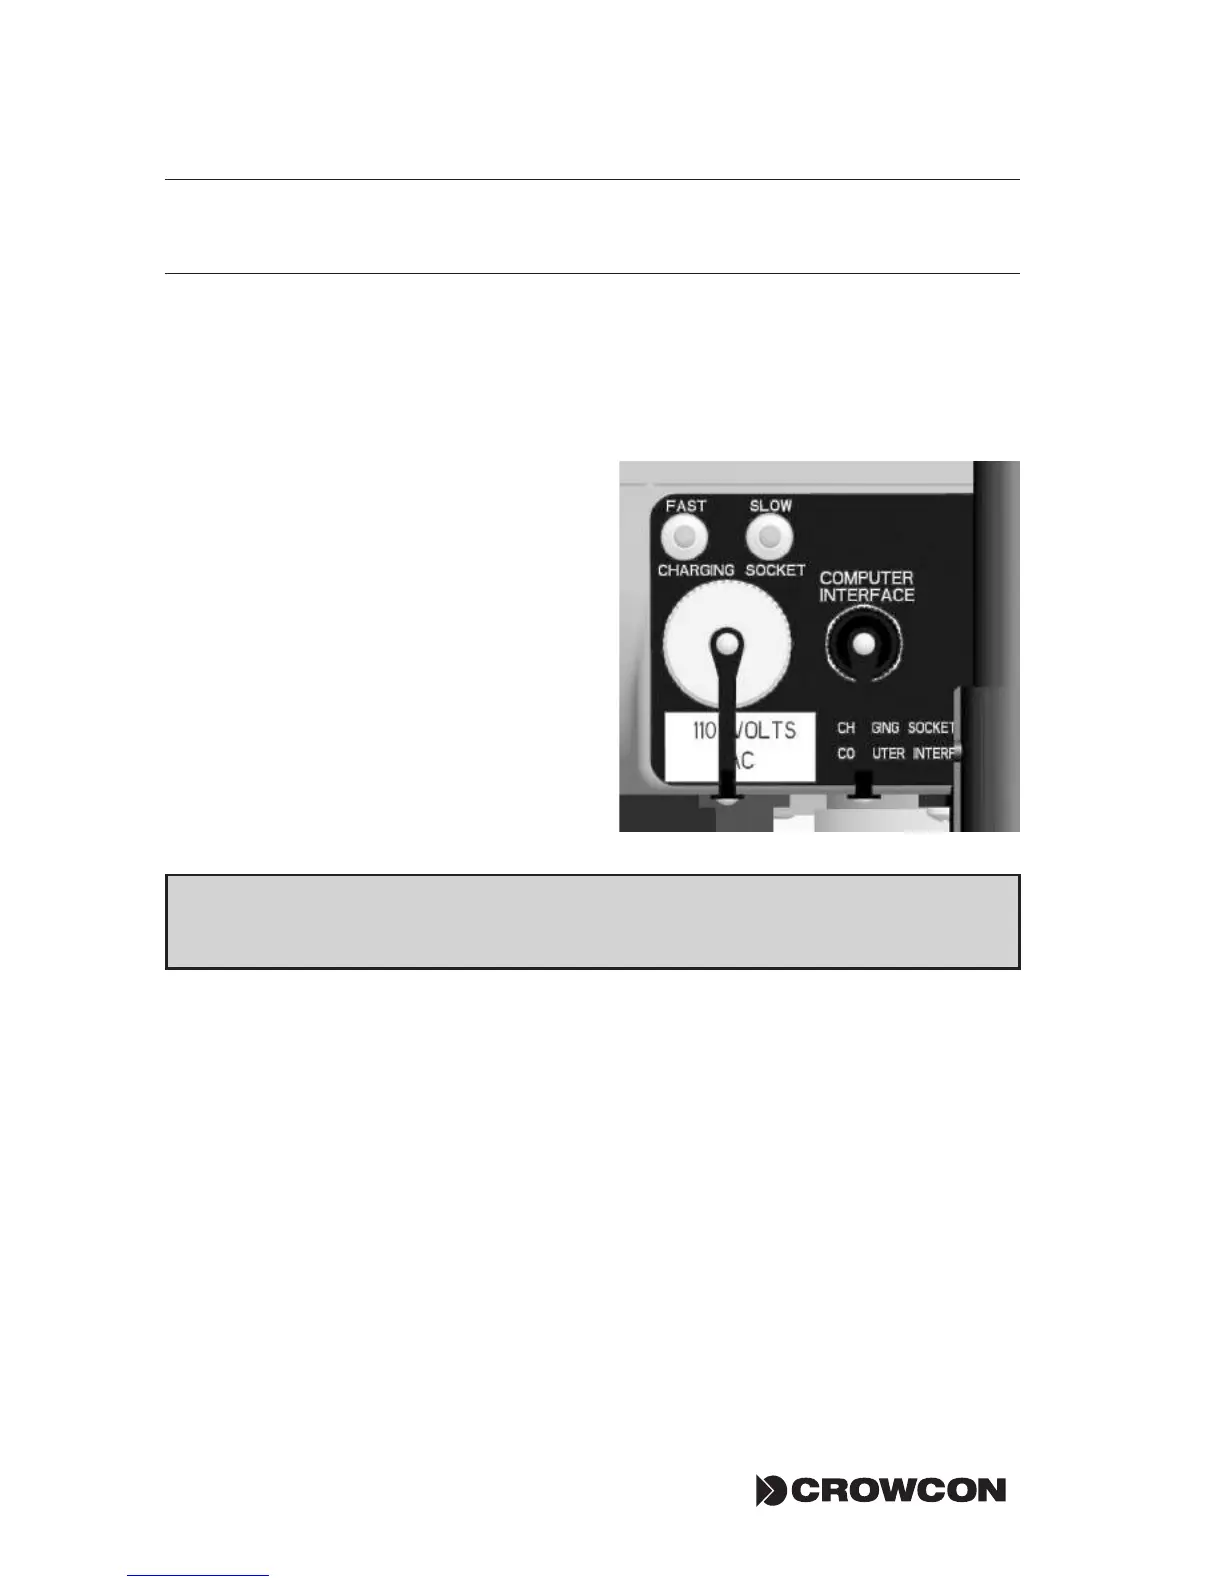
The charging input socket is located at
the rear of the unit, and is protected by
a steel cover, which is held in place by a
retaining grub screw.
Depending on the factory setting, the Detective+ charger input rating which
will be either:-
250 V AC, 150 mA, 50-60 Hz or 110 V AC, 300 mA, 50-60 Hz.
This is indicated on the yellow rating label situated immediately below the
charging socket. Before connecting the unit, ensure that the locally available
supply is suitable for the indicated rating.
If the supplied charging lead is not fitted with a plug to connect to the local
mains supply, ensure that a suitably trained person fits the appropriate mains
plug to the lead, making sure to comply with all relevant local wiring and health
and safety regulations.
To begin charging, in a safe area, loosen the grub screw on the charging socket
cover and remove the cover. Attach the supplied charging lead to the socket
ensuring that it is firmly secure. Plug the other end of the lead to the local sup-
UNDER NO CIRCUMSTANCES MUST THE COVER BE REMOVED OR THE CHARGING
LEAD BE CONNECTED TO THE UNIT WHEN IT IS LOCATED IN A HAZARDOUS AREA.