EasyManua.ls Logo

CTEK MXT 14 User Manual

CTEK MXT 14
6 pages
To Next Page IconTo Next Page
Page #1 background imageLoading...
Page #1 background image
EN
EN • 3
CHARGING
1. Connect the charger to the battery.
2. Connect the charger to the wall socket. The power lamp will indicate that the mains
cable is connected to the wall socket. The error lamp will indicate if the battery clamps
are incorrectly connected. The reverse polarity protection will ensure that the battery
or charger will not be damaged.
3.Press the MODE-button to select charging program.
4. Follow the indication lamps through the charging process.
The battery is ready to start the engine when
is lit.
The battery is fully charged when is lit.
5. Stop charging at any time by disconnecting the mains cable from the wall socket.
MANUAL
ABSORPTION, READY TO USE
ANALYSE
NORMAL
BATTERY
PROGRAM
ERROR LAMP
RECOND
PROGRAM
SUPPLY
PROGRAM
POWER
LAMP
MODE-
BUTTON
DESULPHATION
SOFT START
BULK
FLOAT, FULLY CHARGED
PULSE, MAINTENANCE CHARGING
TEMPERATURE
SENSOR
INDICATOR
24V/14A
MXT 14
MODE
SUPPLYNORMAL RECOND
RECOND
SUPPLY
24V/14A
MXT 14
MODE
SUPPLYNORMAL RECOND
RECOND
SUPPLY
SUPPLY PLUG*
L: 2000 mm
TEMPERATURE
SENSOR
CONGRATULATIONS
to the purchase of your new professional switch mode battery
charger. This charger is included in a series of professional
chargers from CTEK SWEDEN AB and represents the latest
technology in battery charging.
MAINS CABLE
*Supply plugs may differ to suit your wall socket.
20015551E MXT 14, Manual EU, Print file 001.indd 3 2013-07-23 11:31:02
Question and Answer IconNeed help?

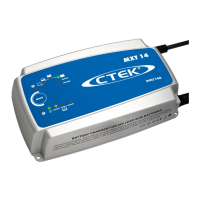
Do you have a question about the CTEK MXT 14 and is the answer not in the manual?

CTEK MXT 14 Specifications

General IconGeneral
Input voltage220-240 V
Input frequency50/60 Hz
Battery voltage2 V
Cable colorBlack
Operating temperature (T-T)-20 - 50 °C
Number of batteries supported-
Product colorBlue, Silver
Weight and Dimensions IconWeight and Dimensions
Depth235 mm
Width130 mm
Height65 mm
Weight1900 g

Summary

MANUAL

CHARGING

Step-by-step guide on how to connect and operate the charger for battery charging.

CHARGING PROGRAMS

ERROR LAMP

Explains the meaning of the error lamp and potential causes for its activation.

TEMPERATURE SENSOR

Details the function and placement of the external temperature sensor.

POWER LAMP

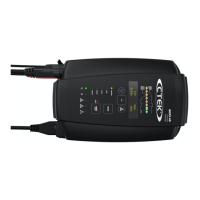
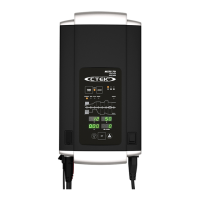
Describes the power lamp states: steady light and flashing light.

READY TO USE

Provides estimated charging times for various battery capacities.

STEP 1 DESULPHATION

Removes sulphate from battery plates to restore capacity.

STEP 2 SOFT START

Tests battery's ability to accept charge, preventing damage to faulty batteries.

STEP 3 BULK

Charges at maximum current until approximately 80% battery capacity.

STEP 4 ABSORPTION

Declines current to reach 100% battery capacity.

STEP 5 ANALYSE

Tests if the battery can hold charge; may indicate replacement needs.

STEP 6 RECOND

Adds a step for controlled gassing to improve battery performance.

STEP 7 FLOAT

Maintains battery voltage at maximum with constant voltage charge.

STEP 8 PULSE

Maintains battery at 95-100% capacity via pulse charging.

CONNECT THE CHARGER TO A BATTERY

INFO

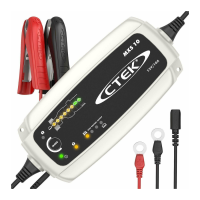
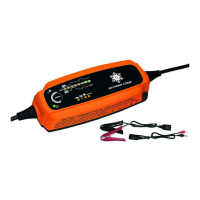
Information regarding reverse polarity protection and clamp connection.

For batteries mounted inside a vehicle

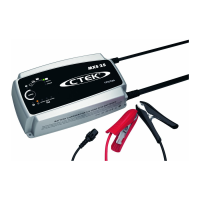
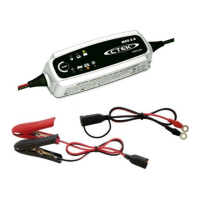
Step-by-step guide for connecting the charger to a vehicle battery.

Some vehicles may have positively earthed batteries

Instructions for connecting to vehicles with positively earthed batteries.

TECHNICAL SPECIFICATIONS

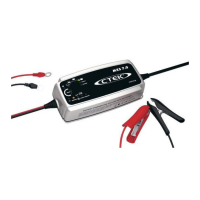
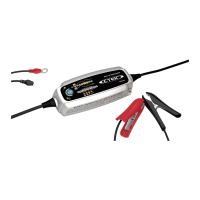
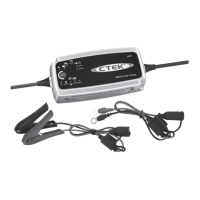
Detailed technical data and specifications for the battery charger.

SAFETY

LIMITED WARRANTY

Details the terms and conditions of the product's limited warranty.

SUPPORT

Provides contact information and resources for customer support.

Related product manuals