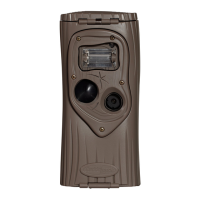
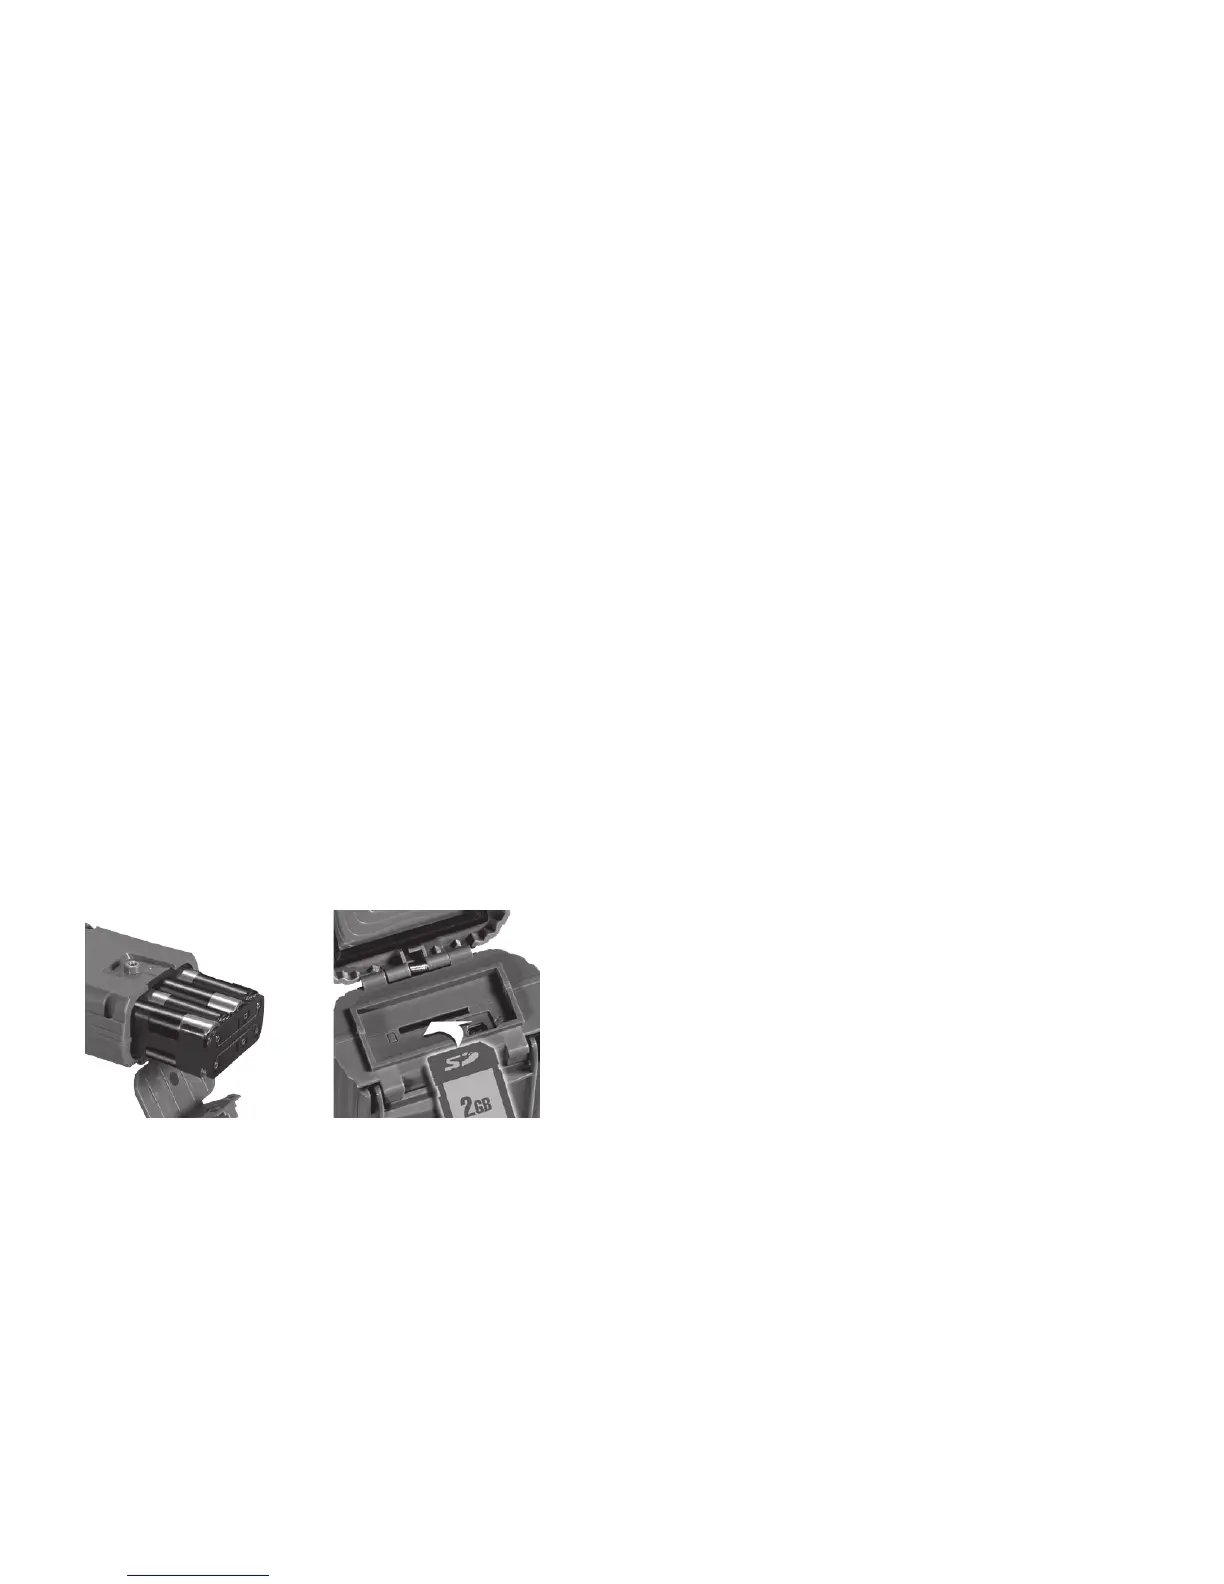
Step 2 – Installing Batteries and SD Card
1) TurntherotaryknobtotheOFF position.
2) Loosenthebatterythumbscrewandopenthe
batterycompartmentdoor.Install8-AAalkalineor
8-AAlithiumbatteries.Lithiumbatterieswill
provide longer battery life and better night IR images.
Make sure to observe correct polarity. Close the
door and tighten the thumb screw completely.
3)
A series of numbers displayed. These are the Ambush
®
camera’s
hardware and software version numbers.
4) WaituntiltheLCDdisplaygoesblankandthe
greenandredLEDsareoff.
5) InstallyourSDcard.Besuretoobservethecorrect
polarity with clipped corner on the card to the right.
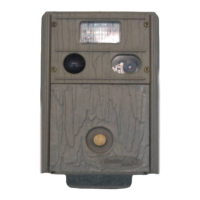
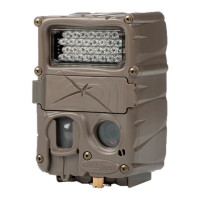
Bottom View
Battery Install SD Card Install
7
Step 3 – Setting up the Ambush
®
1) TurntherotaryknobtoTime position,
press A and B to set. Time is AM/PM format.
2) TurntherotaryknobtoDate position,
press A and B to set.
3) TurntherotaryknobtoYear position,
press A and B to set.
4) LateryouwillreadStep 8 – More Features
forinformationontheMENUpositions.
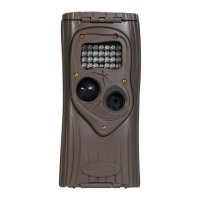
Step 4 – Attaching Ambush
®
to a Tree
1)
We recommend you first try your Ambush
®
camera
at home.
2) Foroptimumdetectionofdeer-sizedanimalswe
recommend mounting Ambush
®
about
30to36inches
offtheground(thisisaboutwaisthightoslightly
higher).
3) Forbestimagequality,install
Ambush
®
about10to
15feetfromwhereanimalsareexpected
.
Ambush
®
will detect animals at distances
from directly in front
ofthecameratoabout25feet.
Note that detection
distance varies greatly with
air temperature, animal
size, and the speed the animal is moving.
6