6
ASSEMBLY
INSTRUCTIONS
Before First Use
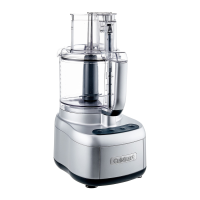
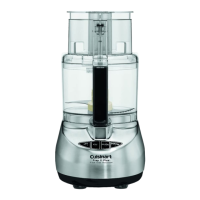
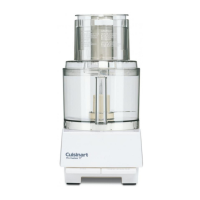
Before using your Cuisinart Elemental 11 Food
Processor for the first time, wash the work bowl,
work bowl cover, pusher, blade and discs (see
Cleaning instructions on page 9).
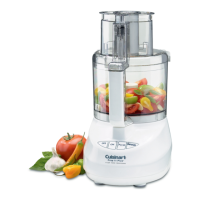
1. Place the food processor base on a dry, level
countertop with the controls facing you. Do
not plug the unit in until it is fully assembled.
2. With the bowl on the base, use the handle to
turn the work bowl clockwise to lock it onto
the housing base.
CHOPPING/MIXING/DOUGH BLADE
1. Place the work bowl on top, with the work
bowl handle just to the right of center. Turn the
work bowl clockwise to lock it onto the
housing base.
2.
Carefully lift and place the blade over the work
bowl accessory adapter. Blade should rest on
the bottom of the work bowl.
3. Plug in the housing base.
4. Add desired ingredients to work bowl.
5. Place work bowl cover on work bowl, with
the feed tube just to the right of center. Turn
clockwise to lock onto work bowl.
6. Align pusher with the feed tube opening on
the work bowl cover and slide down to the
bottom.
7. You are now ready to operate the machine.
ADJUSTABLE SLICING AND
REVERSIBLE SHREDDING DISCS
1. Place the work bowl on top of the base, with
the work bowl handle just to the right of
center. Turn the work bowl clockwise to lock it
onto the housing base.
2. Choose desired disc.
3. Insert stem adapter.
4. Carefully place disc over stem adapter, with
the side being used facing up. If using slicing
disc, adjust to desired thickness.
5. Place work bowl cover onto work bowl, with
the feed tube just to the right of center. Turn
clockwise to lock onto work bowl.
6. Align pusher with the feed tube opening on the
work bowl cover and slide down to the
bottom.
7. Plug in the housing base.
8. You are now ready to operate the machine.
MACHINE CONTROLS
High and Low Control Buttons
The High and Low controls are buttons that allow
the machine to run until Off is selected.
1. Properly assemble and engage the machine.
2. Add ingredients to the work bowl, either through
the feed tube or directly into the bowl.
3. Press the High or Low button. The blue LED
light will illuminate and the motor will start.
4. Press the Off button when finished.
Pulse Button
The Pulse control is a button that allows the
machine to run only while it is being pressed. This
capability provides more accurate control of the
duration and frequency of processing. Unless other
-
wise specified, a pulse should be about one second.
With the machine properly assembled and engaged,
and ingredients in the work bowl, press the Pulse
button repeatedly as needed. The blue LED High
light will illuminate upon activation.
MACHINE FUNCTIONS
Using the Chopping/Mixing/Dough
Blade
Chopping
• For raw ingredients: Peel, core and/or remove
seeds and pits. Food should be cut into even,
½- to 1-inch (12.5 to 25 mm) pieces. Foods cut
into same size pieces produce the most even
results.
•
Pulse food in 1-second increments to chop. For
the finest chop, either hold the Pulse button
down or press High or Low to run the machine
continuously. Watch ingredients closely to
achieve desired consistency and scrape the work
bowl as necessary. Low speed is recommended
for making doughs and batters. High speed is
recommended for most other chopping,
processing and slicing/shredding tasks.