Technical Support: 1-800-721-9243 (M-F 8:00 am - 4:30 pm CST)
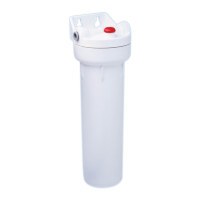
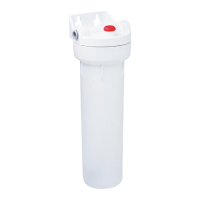
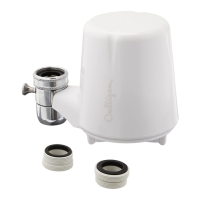
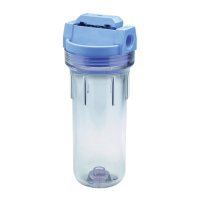
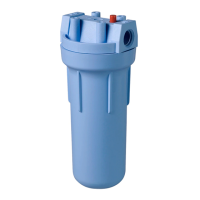
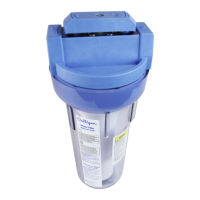
Under-Sink Water Filter
Installation and Operating Instructions
Model US-600A
Before proceeding with installation, choose the appropriate filter cartridge and install in
housing according to the cartridge replacement instructions (p. 2). See Filter Cartridge
Selection Guide on p. 3 to determine the best cartridge for your filtration needs.
Specifications
Pressure Range: 30–125 psi (2.1–8.6 bar)
Temperature Range: 40–100°F (4.4– 37.7°C)
Parts Included
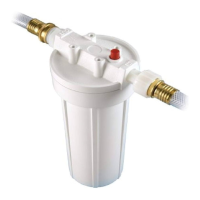
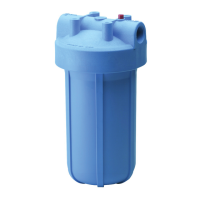
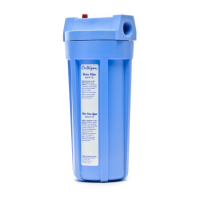
• filter housing assembly with built-in mounting bracket and quick-connect fittings
•
3
⁄8 inch (10 mm) tubing
• (2) quick-connect elbows
• SW-5A housing wrench
• D-20A cartridge
Precautions
Do not use with water that is microbiologically unsafe or of unknown
quality without adequate disinfection before or after the system. Systems certified for
cyst reduction may be used on disinfected waters that may contain filterable cysts.
Filter must be protected against freezing, which can cause cracking of the
filter and water leakage.
The rubber O-ring provides the water-tight seal between the cap and the
bottom of the housing. It is important that the O-ring be properly seated in the groove
below the threads of the housing or a water leak could occur.
Because of the product’s limited service life and to prevent costly repairs or
possible water damage, we strongly recommend that the bottom of all plastic housings
be replaced every ten years. If the bottom of your housing has been in use for longer
than this period, it should be replaced immediately. Date the bottom of any new or
replacement housing to indicate the next recommended replacement date.
NOTE:
• For cold water use only.
• Make certain that installation complies with all state and local laws and regulations.
• The contaminants or other substances removed or reduced by the selected cartridge
are not necessarily in your water. Ask your local water municipality for a copy of
their water analysis, or have your private well tested by a reputable water testing
lab.
• After prolonged periods of non-use (such as during a vacation) it is recommended
that the system be flushed thoroughly. Let water run for 5–6 minutes before using.
• The filter cartridge used with this system has a limited service life. Changes in
taste, odor, color, and/or flow of the water being filtered indicate that the cartridge
should be replaced.
Tools Required
• screwdriver
• file
• pencil
• pipe cutter or hacksaw
Optional Materials
• faucet (FCT-1) for use with D-40A filter
cartridge
• Some harmless bacteria may attack cellulose media cartridges (such as the D-10).
If your cartridge seems to disintegrate or develops a musty or moldy odor, switch to
a synthetic media cartridge or call Technical Support.
Installation
NOTE:
• For standard under-sink installation on
3
⁄8 inch (10 mm) cold water line (copper or
PVC pipe).
• Please read all instructions and precautions before installing and using your
US-600A under-sink filter.
• Install filter cartridge in filter housing before proceeding with installation (see Filter
Cartridge Replacement on p. 2).
• Numbered diagrams correspond with numbered steps.
1. (A) Turn off cold water supply and open nearest faucet to release pressure in pipes
before starting installation. Place a tray or towels under the cold water line to catch
excess water. (B) Select location under sink where filter is to be mounted. Use
mounting bracket as a template to mark screw locations. Mount filter in marked
location using mounting bracket.
NOTE: (C) Allow 1
1
⁄2 inches (33 mm) clearance below housing to enable filter
cartridge changes.
2. Using a pipe cutter or hacksaw, remove a 3-inch (76 mm) section of pipe (A) from
the
3
⁄8 inch (10 mm) cold water line. Deburr ends of remaining pipe with a file. (B)
Push a quick-connect elbow onto each end of remaining cold water line. Be sure to
push elbow onto pipe until you hit a hard stop.
3. Determine the lengths of tubing needed to connect the inlet and outlet sides of
filter to the quick-connect fittings on the cold water line. Measure tubing short
enough to prevent kinking. Cut the tubing squarely between the closest set of
black guide arrows. Assemble as shown in Figure 3 on page 2, inserting tubing into
appropriate inlet or outlet quick-connect fitting until it stops (inlet and outlet are
marked “IN” and “OUT” on cap).
NOTE: When cut between a set of black guide arrows, the tubing should be pushed
The US-600A with D-20A has been tested and certified by NSF International against
NSF/ANSI Standard 42 for the reduction of Aesthetic Chlorine Taste and Odor.
Systems tested and certified by NSF International with cartridges D-10, D-20A, D-30A,
and D-40A. See Performance Data Sheet, in manual, for specific claims.
01020691 REV A 06/09
1
A
B
C
1
1
⁄2"
2
A
B