INSTALLATION WALKTHROUGH:
For more information log onto www.curtmfg.com, & for helpful towing tips log onto www.hitchinfo.com
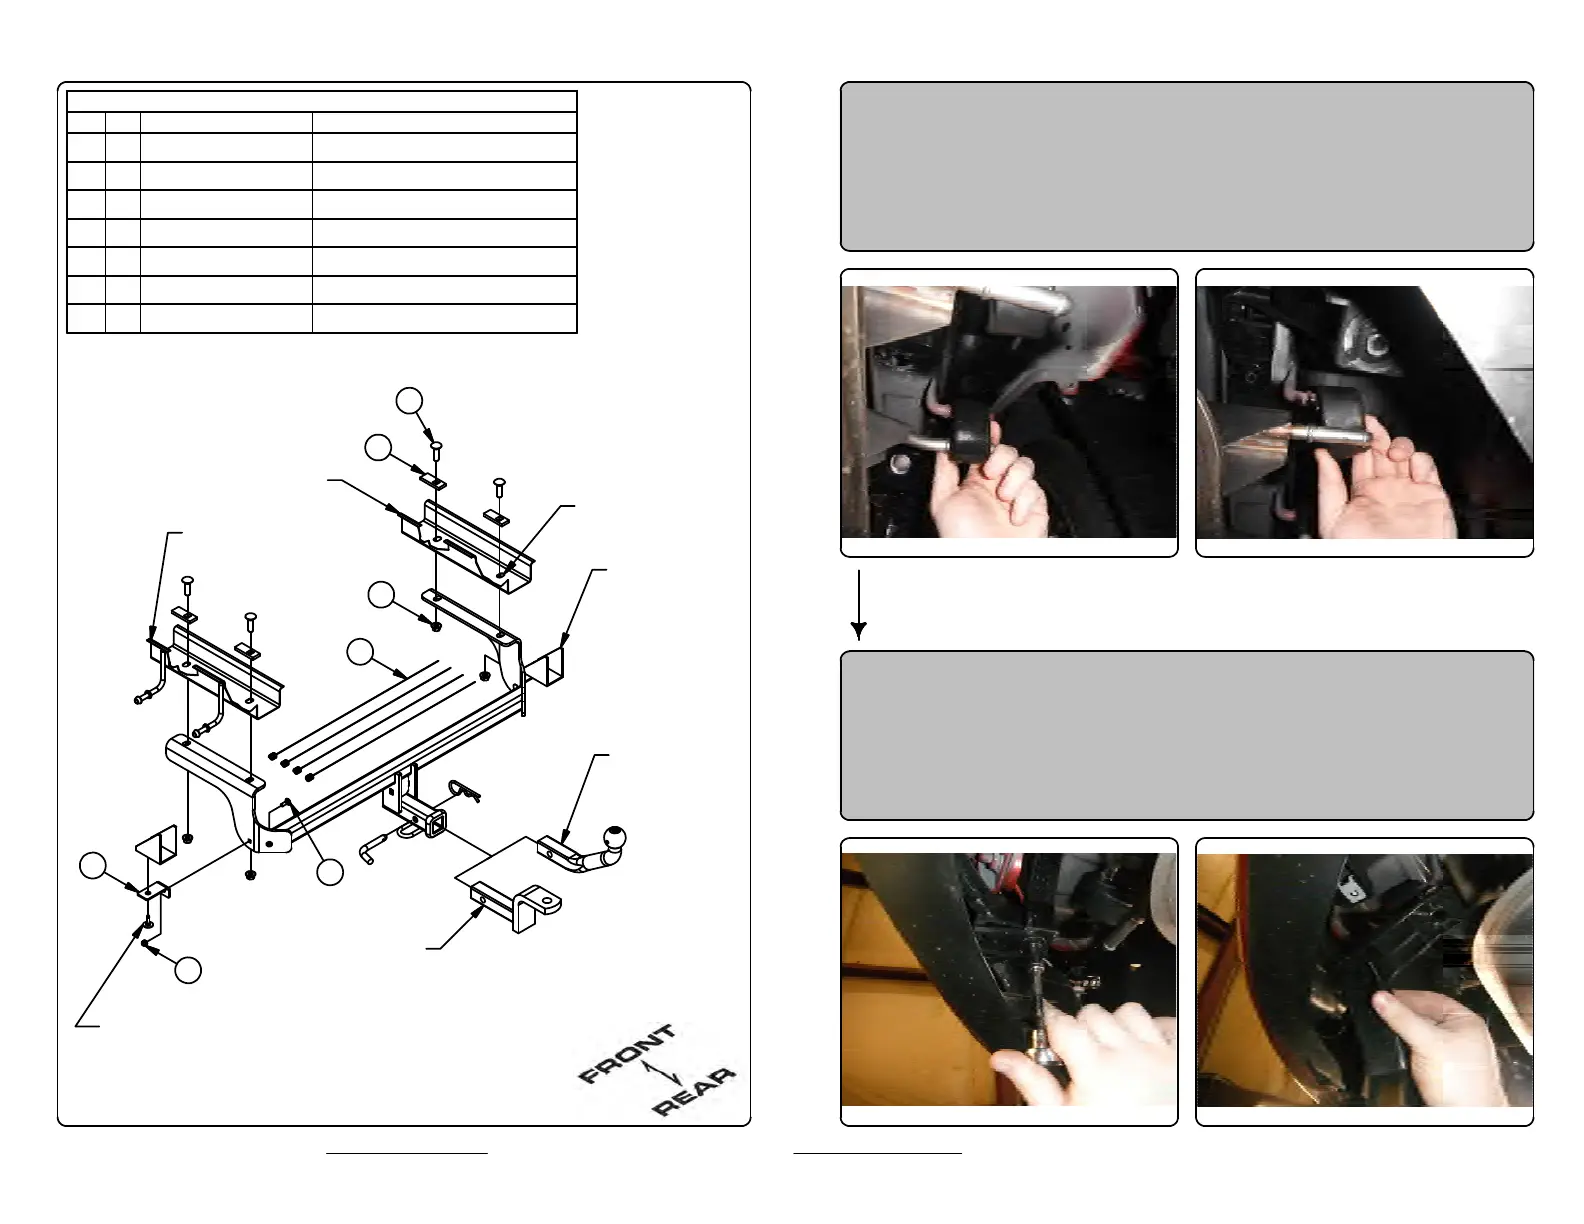
Parts List
DESCRIPTION
PART NUMBER
QTY
ITEM
FASCIA TAB11435-FT21
CARRIAGE BOLT1_4 - 20 x 3_4 CARRIAGE
22
NYLOCK HEX NUT1_4 - 2023
CARRIAGE BOLT7/16-14 x 1 1/244
HEX FLANGE NUT7/16-14
45
.250 x .88 x 2.25" SQUARE HOLE SPACERCM-SP246
7/16" FISHWIRE7_16 FISHWIRE4
7
EXISTING FASCIA
SUPPORT SCREW
(BOTH SIDES)
EXISTING FASCIA
SUPPORT TAB
(BOTH SIDES)
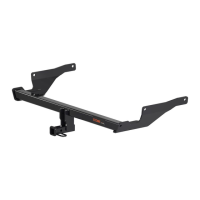
DESIGNED FOR USE WITH
BALL MOUNT # 45521
EURO MOUNT
OPTION AVAILABLE
# 45571 ( 1 7/8" BALL)
# 45572 (2" BALL)
PASSENGER SIDE
FRAME RAIL
DRIVER SIDE
FRAME RAIL
4
6
5
7
3
2
1
1. Lower exhaust by detaching (5) exhaust hangers. (4) hangers are
located on the muffler and (1) hanger is located forward of the muffler.
2. Using a 10mm socket, remove plastic fascia tab supports attaching
fascia tab to bottom of frame rails on driver and passenger corners of
vehicle. Return both supports and (2) support screws to vehicle owner.
Retain the remaining (2) support screws for reinstallation.
ENLARGE HOLE
(BOTH SIDES)


 To Next Page