INSTALLATION WALKTHROUGH:
For more information log onto www.curtmfg.com, & for helpful towing tips log onto www.hitchinfo.com
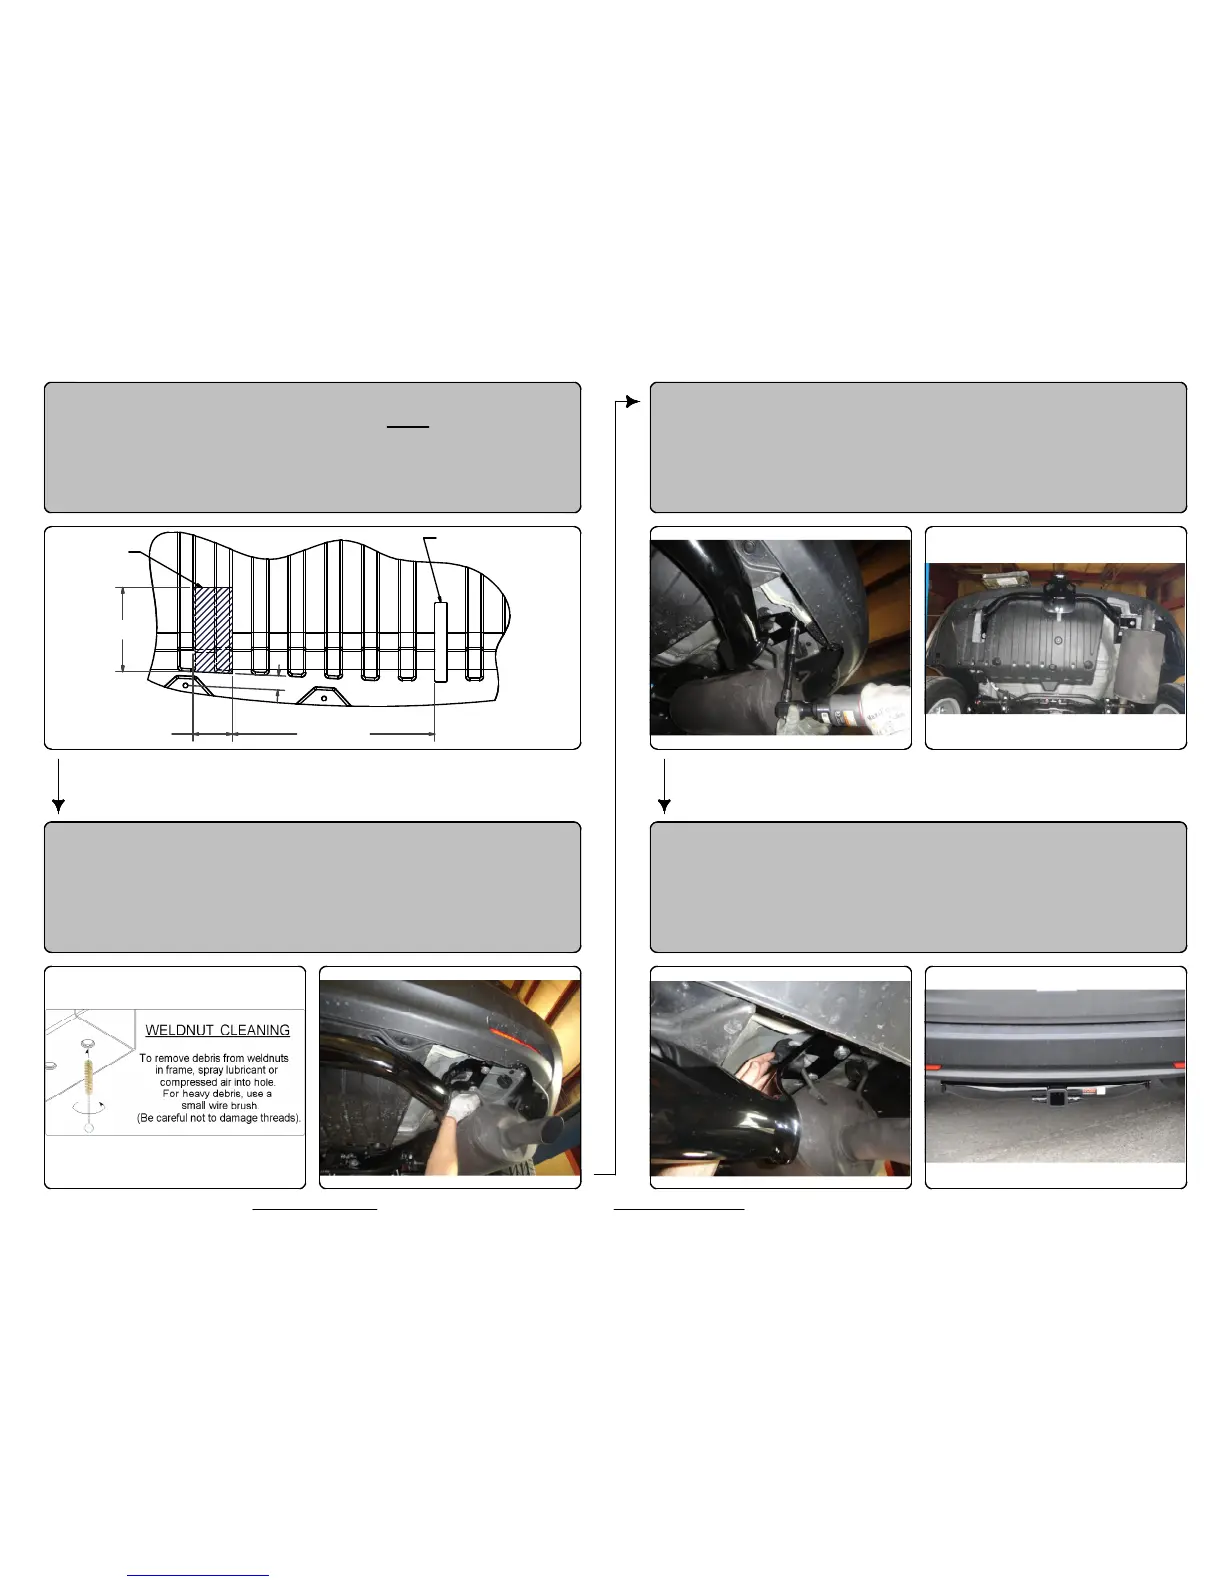
3. Mark and trim underbody panel. Reattach underbody panel
using fasteners removed in Step (1). Note: Dimensions are
approximate, confirm fit prior to trimming. Use ribs of the
underbody panel as cutting guides.
EXISTING TOW
LOOP CUT-OUTTRIM
1.50 in
7.00 in
3.25 in 16.50 in
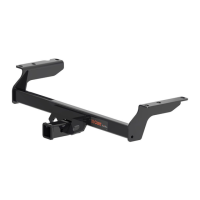
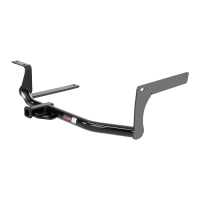
4. Insert 7/16" U-bolt through tow hook, as shown. Raise hitch
into position and secure using 7/16" flange nuts to the U-bolt
and 10mm bolts with 7/16" conical toothed washers to the
weldnuts in the frame rails.
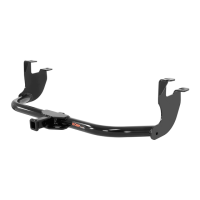
5. Torque all 7/16" hardware to 50 ft-lbs.
Torque all 10mm hardware to 48 ft-lbs.
6. Raise exhaust back into position.