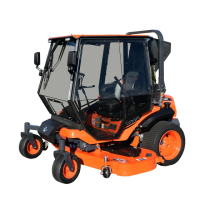
CAB INSTALLATION
6 of 35
Fig. 1.11 (Right Drive Lever Filler)
Fig. 1.9 (Right Side Drive Lever Cover)
Fig. 1.12 (Drive Lever Filler Orientation)
Install Shoulder
Screw
Fig. 1.10 (Drive Lever Cover Velcro)
Screws
Screw,
Washers
& Nut
Velcro
Velcro Seam
Fastener Slot
1.9 See fig. 1.9. Remove the fasteners securing the
right side drive lever cover. Remove drive lever
cover by lifting up and over the drive lever. Set
aside hardware for later use. Note: Lower screw
only needs to be loosened to prevent losing any
hardware.
1.10 See fig. 1.10. Thoroughly wipe the outside of the
drive lever cover with isopropyl alcohol. Once dry,
adhere the supplied Velcro along the edge around
the entire opening as shown.
1.11 See fig. 1.11. Locate the supplied drive lever filler
labeled V-00075-R, make a cone shape by
attaching one side to the other via the factory
sewn-on vinyl.
1.12 See fig. 1.12. Align the filler’s Velcro seam with
corner opening near the cover’s fastener slot. Slip
the cone shaped drive lever filler up through the
drive lever cover. Fold the filler over and attach it
to the drive lever cover.
1.13 Repeat steps 1.9 through 1.12 on the left side of
the vehicle.

 Loading...