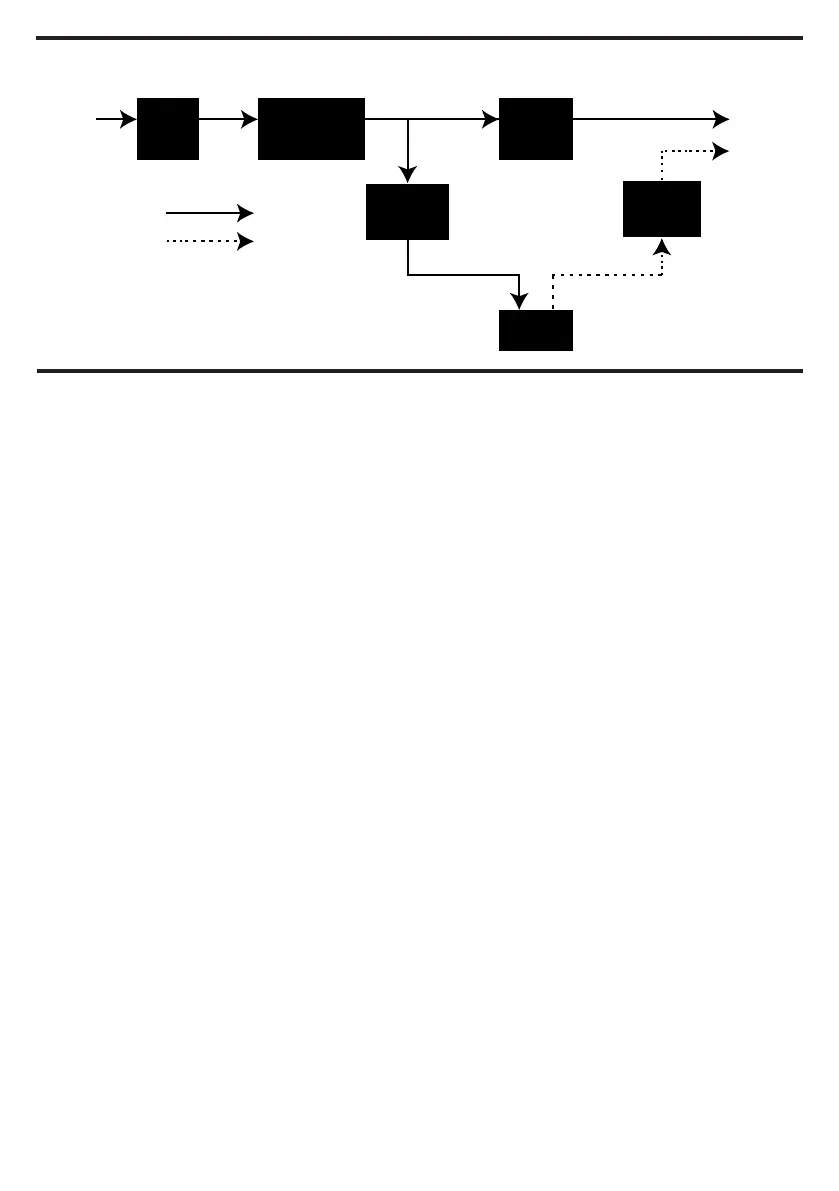
Input EMI
Filter
Surge
Suppressor
Inverter
Charger
AC / DC
AVR
Output
Normal Mode
Battery Mode
SYSTEM FUNCTION BLOCK DIAGRAM
Battery
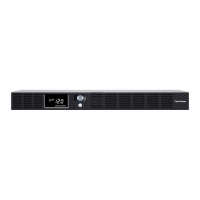
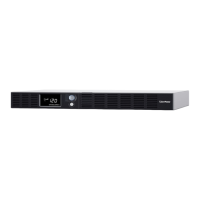
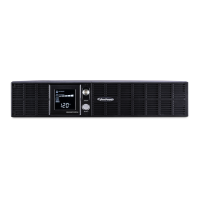
BASIC OPERATION
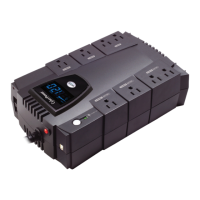
1. Battery and Surge Protected Outlets
The unit has six battery powered and surge
protected outlets to ensure temporary
uninterrupted operation of your equipment
during a power failure. (DO NOT plug a
laser printer, paper shredder, copier, space
heater, vacuum cleaner, sump pump,
or other large electrical device into the
“Battery and Surge Protected Outlets.”
The power demands of these devices will
overload and possibly damage the unit.)
2. Full-Time Surge Protection Outlets
The unit has six surge suppression outlets.
3. Power Switch
Used as the master on/o switch for
equipment connected to the battery power
supplied outlets. To turn the UPS ON, press
the power button for approximately 2
seconds - you will hear a constant tone
(1 second) - and release after a short beep.
To turn the UPS OFF, press the power
button for approximately 2 seconds - you
will hear a constant tone (1 second) - and
release after two short beeps.
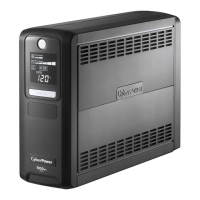
Alarm setting (LE1000DG): The audible
alarm can be turned O or On by quickly
pressing the POWER button twice. The
default setting is for the Alarm On. To turn
the Alarm O, quickly press the power
button twice. You will hear two short beeps
when the Alarm is turned O. To turn the
Alarm back On, quickly press the power
button twice. You will hear a single short
beep when the Alarm is turned On. *When
the Alarm is turned O, there will be no
audible notification when the UPS reaches
a low battery state.
4. Power On Indicator
This LED is illuminated when the utility
power is normal and the UPS outlets are
providing power, free of surges and spikes.
5. Mute Button (LE850G)
Press the button for 2 seconds to enable
the audible alarm (beeps once) or disable
(beeps twice) the audible alarm.
6. Fault Indicator (LE850G)
This LED is illuminated if there is a problem
with the UPS.
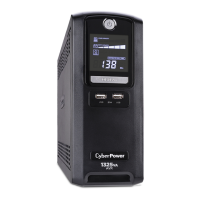
7. Mode Switch (LE1000DG)
Press the Mode Switch for approximately 3
seconds to enter setup mode to select three
functions: Utility High Voltage Range, Utility
Low Voltage Range, and LCD sleep ON/OFF.
When a function is selected, press Mode
Switch for 3 seconds to view options. When
an option is selected, wait for 8 seconds
for the setting to be confirmed. After the
setting has been confirmed the LCD screen
will leave setup mode and go back to status
display. If there is no action for 8 seconds
during setup, the LCD will also leave setup
mode and go back to the status display.
a. Utility High Voltage Range:
Adjust the value of high voltage range.
b. Utility Low Voltage Range:
Adjust the value of low voltage range.
c. LCD: L1/L0 (ON/OFF):
- When LCD is set to L1, LCD will be always
ON. When LCD is set to L0, LCD will dim if
untouched for 1 minute.
- In battery mode, LCD is always on
regardless if the setting is L1 or L0.
- continued
 Loading...