3
A
B
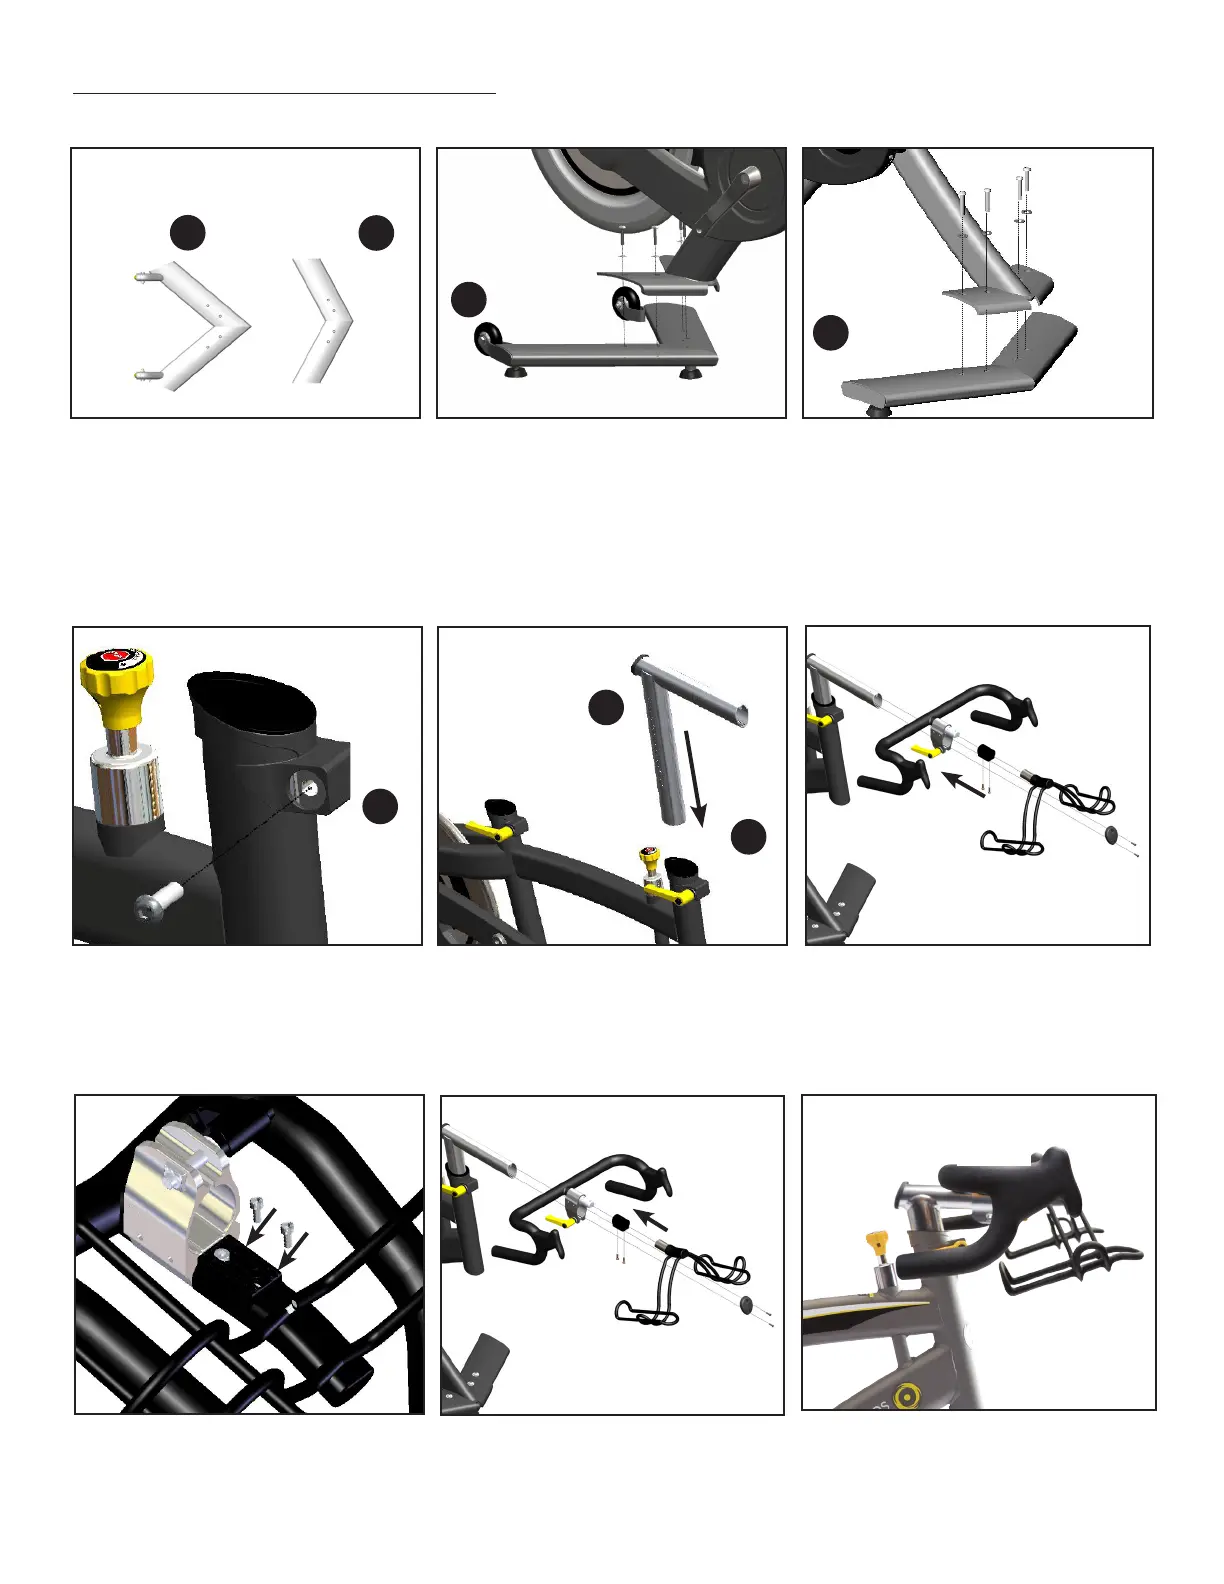
1. Note the difference between the front
and rear stabilizers. The larger stabi-
lizer with wheels goes in the rear of the
indoor cycle (under the ywheel).
3. Attach the front stabilizer to the
front of the main frame with four 5mm
stabilizer bolts and stabilizer washers
using the 5mm Allen wrench. Tighten
the inner bolts rst, and then proceed
to the outer bolts to ensure the foot is
secured properly and evenly.
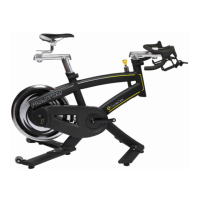
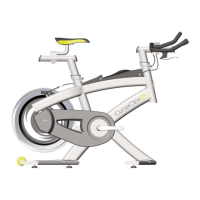
CHAPTER 3: INDOOR CYCLE ASSEMBLY
Attach Stabilizer Feet
1. Remove 6mm bolt in main frame as-
sembly using 6mm Allen wrench. The
6mm bolt can be kept in place of the
large L handle for a more permanent
placement of the handlebar height.
2. Insert the handlebar post into the
head tube and secure it by inserting
the large L handle into the main frame
assembly on the right side of the in-
door cycle (chain guard side).
D
Attach Handlebar
A
2. Attach the rear stabilizer to the
rear of the main frame with four 5mm
stabilizer bolts and stabilizer washers
using the 5mm Allen wrench. Tighten
the inner bolts rst, and then proceed
to the outer bolts to ensure the foot is
secured properly and evenly.
Handlebar post
Rear stabilizer
Front stabilizer
M
Large L
handle
C
Main frame
assembly
A
B
Rear stabilizer
Front stabilizer
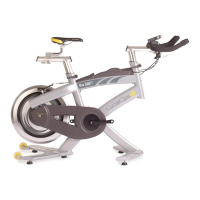
3. Slide the water bottle holder and
water bottle spacer onto the road style
handlebar.
Water bottle holder
Handlebar
Water
bottle
spacer
Water
bottle
holder
Handlebar
4. Secure the water bottle holder and
handlebar together using the previ-
ously removed, two 4mm spacer bolts
and washers, on the underside of the
handlebar.
Water bottle
spacer
5. Carefully slide the road style
handlebar assembly onto the handlebar
post. Secure the plastic end cap to the
handlebar post using two end cap screws
with the Phillips screwdriver side of the
6mm Allen wrench.
6. Once the road style handlebar is in
place, secure it with the small L handle
on the right side of the indoor cycle
(chain guard side).
Small L
handle
Handlebar post
Handlebar
End cap