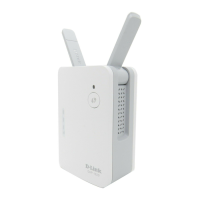
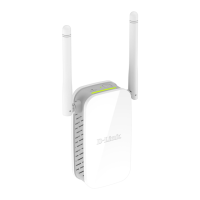
DAP-1520
Wi-Fi Dual Band Range Extender
If any of the above items are missing, contact your reseller.
Package Contents
• DAP-1520 Wi-Fi Dual Band Range Extender
• Wi-Fi Conguration Card
• Quick Install Guide
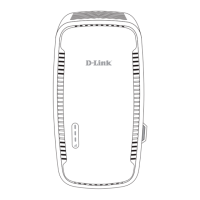
Product Overview
Recommended Placement
LED Color Status Description
Power/Status LED
Green
Solid Successfully connected to a wireless router or AP.
Blinking
The device is processing a connection when the
WPS button is pushed.
Amber
Solid The device has a poor connection to the router
Blinking Not connected to a wireless router or access point.
Red Solid The device is booting up.
O
The device is not receiving power. Try a dierent
outlet.
Connect to Your Router Using WPS
Thank you for purchasing the DAP-1520 Wi-Fi Dual Band Range
Extender. Follow the easy steps in this guide to set up your extender.
1
Find an available outlet near your wireless router. Plug the
DAP-1520 in and wait until the LED is blinking amber.
2
Press the WPS button on your wireless router or access point.
Within one minute, press the WPS button on your DAP-1520.
The LED will start to blink.
3
4
When the LED turns solid green, this indicates that the DAP-1520 is
securely connected to your wireless router or access point.
You can now unplug and move the DAP-1520 to a location
between your wireless router and the area that you need
wireless coverage.
If the LED is solid amber after the connection process has nished, the
DAP-1520 has established a poor quality connection to the router. To
improve the connection quality, the DAP-1520 should be relocated to
an outlet closer to the wireless router or AP.
5
Reset Button
Wi-Fi Protected Setup
(WPS) Button
From your wireless device, go to the Wireless Utility to display
the available wireless networks and select the Wi-Fi Network
Name (SSID) for the DAP-1520.
When using WPS to connect to the router, the SSID on the
DAP-1520 will automatically be assigned the following:
• 2.4GHz: (Your Router’s SSID)-EXT
• 5GHz: (Your Router’s SSID)-EXT5G
The Wi-Fi password for your router will be the same password
for the DAP-1520.
To connect additional Wi-Fi devices to the DAP-1520, repeat
this step.
6
Your device is now connected to the DAP-1520. If you want
to change your network settings, password, etc., follow the
steps under Congure the DAP-1520 Using a Web Browser to
connect and congure the DAP-1520.
Your setup is complete!
Before You Begin
• Make sure the area that you want to plug the extender into has a solid
connection to your router. Use a wireless laptop, tablet, or mobile phone
in that area to test the connection to verify.
• If your wireless router or access point does not support WPS, follow the
steps under Congure the DAP-1520 Using a Web Browser to connect
to the DAP-1520 and run the Setup Wizard. If you are not sure how to
enable WPS on your wireless router, please refer to your router user
manual.
Connect Your Wireless Devices
Poor
location
Ideal
location
!
!!