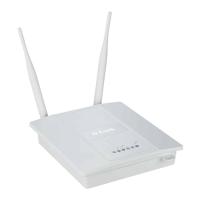
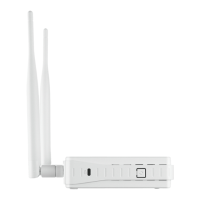
DAP-400P Quick Installation Guide
12. Wait for about 20-30 seconds. After the connection is established, the
network icon will be displayed as a dot with curved lines indicating the
signal level.
Now you can connect to the web-based interface of DAP-400P for configuring
all needed parameters. To gain access to an external network (to the Internet),
you also need to specify the default gateway and the addresses of DNS servers.
!
If you perform initial configuration of the access point via Wi-Fi
connection, note that immediately after changing the wireless default
settings of the access point you will need to reconfigure the wireless
connection using the newly specified settings.
16