2 D-Link NetDefend Firewall
ENGLISH
About This Guide
This guide contains step-by-step instructions
for setting up the D-Link DFL-1660/DFL-2560/
DFL-2560G Firewall. Please note that the
model you have purchased may appear slightly
different from those shown in the illustrations.
Unpacking the Product
Open the shipping carton and carefully unpack
its contents. Please consult the packing list
located in following information to make sure all
items are present and undamaged. If any item
is missing or damaged, please contact your
local D-Link reseller for replacement.
- One (1) DFL-1660 or DFL-2560(G)
NetDefend UTM Firewall
- One (1) Power Cord
- One (1) Console Cable
(RS232)
- One (1) Ethernet Cable (CAT5 UTP/Straight-through)
- One (1) Ethernet Cable (CAT5 UTP/ Cross Over)
- One (1) Reference CD
(Contains documentation in PDF format)
- Two (2) Rack Mounting Brackets
- [Option] One (1) 12-Month IPS Subscription
for UTM service bundle SKU only
- [Option] One (1) 12-Month Anti-Virus
Subscription for UTM service bundle SKU
only
- [Option] One (1) 12-Month Web Content
Filtering Subscription for UTM service bundle
SKU only
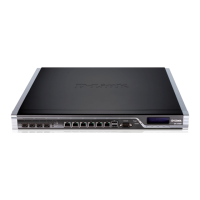
Product Overview
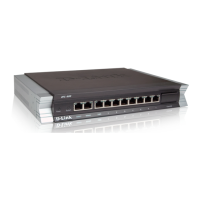
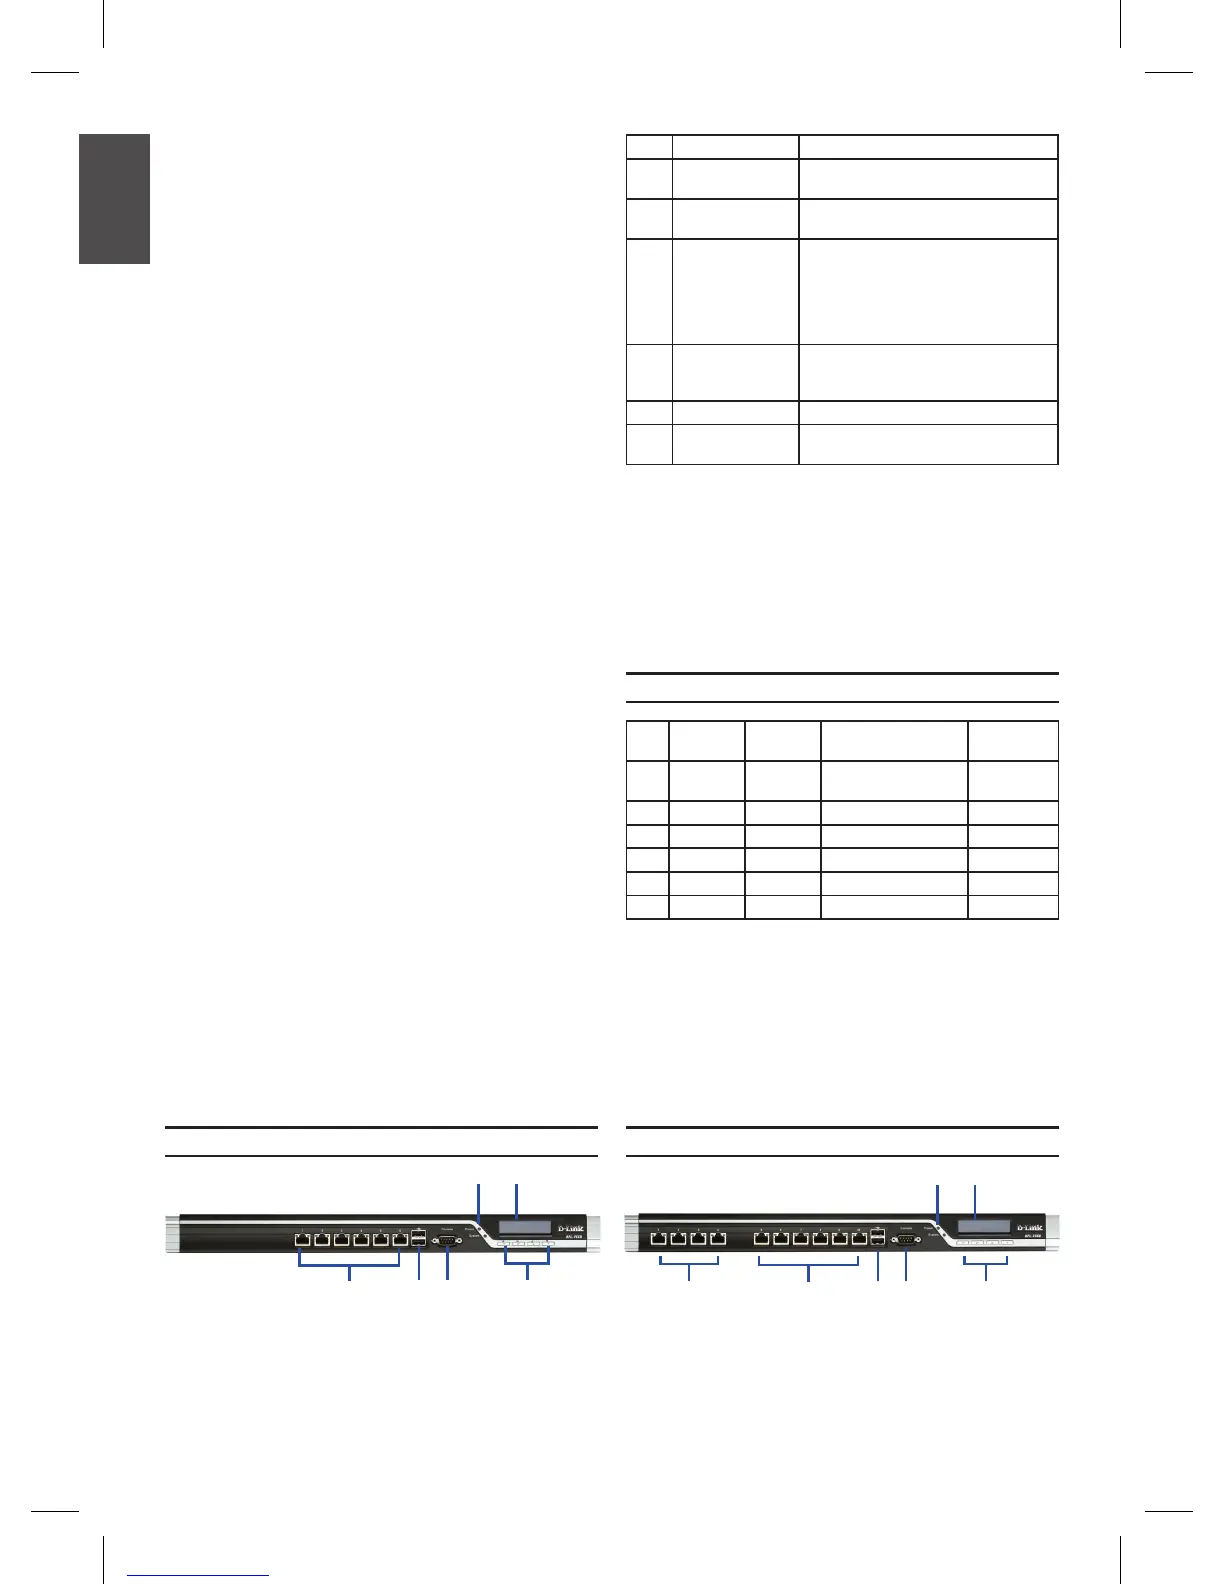
Front Panel - DFL-1660
Figure 1. DFL-1660 Front Panel
BF DE
A
C
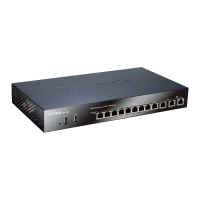
Front Panel - DFL-2560 and DFL-2560G
BG F DE
A
C
Figure 2. DFL-2560/DFL-2560G Front Panel
Item Feature Description
A LCD Panel Used to display status and operation
messages.
B Keypad These keys are used in conjunction with
the messages on the LCD Panel.
C LEDs Power LED (top): Indicates that the
NetDefend UTM rewall is powered on.
System LED (bottom): Indicates the
system status of the NetDefend UTM
rewall
D Console Port Used to access the NetDefendOS
Command Line Interface (CLI) via
RS-232 Cable.
E USB Ports (2) Reserved for future use.
F 10/100/1000Mbps
Ethernet Ports*
The assigned numbers for the ports are
1 to 6 (from left to right).
Table 1. DFL-1660 Front Panel Descriptions
* Congurable Gigabit Ethernet ports with autosensing
duplex and auto MDI/MDIX. When conguring one of the
ports, reference the interface name that corresponds to
the location of the port. For the default interface name
bindings for each Ethernet port, see Table 2 “Default
Interface Assignment”.
Port
Interface
Name
Interface
Type IP Address
Web-Based
Mgmt
1 WAN1 DHCP
Client
0.0.0.0/0 Disable
2 WAN2 Static IP 192.168.120.254/24 Disable
3 DMZ Static IP 172.17.100.254/24 Disable
4 LAN1 Static IP 192.168.10.1/24 Enabled
5 LAN2 Static IP 192.168.20.1/24 Disable
6 LAN3 Static IP 192.168.30.1/24 Disable
DFL-1660 Default Interface Settings
Note: D-Link NetDefend Firewalls only allow
Web GUI access from the LAN1 port by default
for security reasons. That means the Web GUI
access is only allowed on port No. 4 of front
plate by default for DFL-1660.
Table 2. Default Interface Assignment
 Loading...