2D-Link DGS-1024D Quick Install Guide
Package Contents
If any of the above items are missing, please contact your reseller.
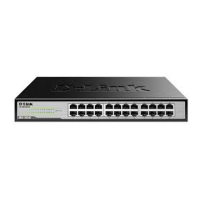
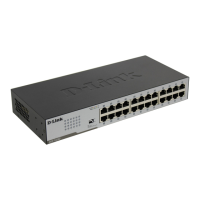
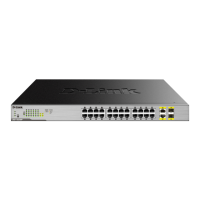
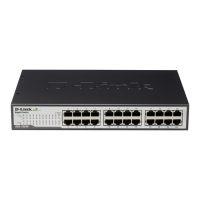
• DGS-1024D 24-Port Gigabit Desktop Switch
• Power Cord
• Rack Mounting Kit
• Quick Install Guide
The setup of the Switch can be performed using the following steps:
• Visually inspect the power jack and make sure that it is fully secured to the
power cord.
• Do not cover the ventilation holes on the sides of the Switch, and make sure
there is adequate ventilation around it.
• Do not place heavy objects on the switch.
• Place the Switch in a cool and dry environment.
Before You Begin
Connecting the Switch
Step 1
Plug the supplied power cord into the Switch and the other end into a power
outlet, power strip, or surge protector (recommended). Verify the Power indicator
is lit on the Switch.
Step 2
Connect one end of an Ethernet cable in the device you want to connect to the
Switch and the other end into one of the Ethernet ports on the Switch. Check
the Link lights (LEDs) on both the Switch and the device to verify that the cable
is good and that there is a valid connection.
Introduction
Get the blazing speed of Gigabit Ethernet with the D-Link® DGS-1024D, a 24-Port
Gigabit Switch that delivers power, performance, and reliability in one cost-eective,
space-saving design. Increase the speed of your network server and backbone
connection, or make Gigabit to the desktop a reality.
 Loading...