xStack DGS-3400 Series Layer 2 Gigabit Managed Switch CLI Manual
2
USING THE CONSOLE CLI
The Switch supports a console management interface that allows the user to connect to the Switch’s management agent via a serial
port and a terminal or a computer running a terminal emulation program. The console can also be used over the network using the
TCP/IP Telnet protocol. The console program can be used to configure the Switch to use an SNMP-based network management
software over the network.
This chapter describes how to use the console interface to access the Switch, change its settings, and monitor its operation.
Note: Switch configuration settings are saved to non-volatile RAM using the save command. The
current configuration will then be retained in the Switch’s NV-RAM, and reloaded when the Switch is
rebooted. If the Switch is rebooted without using the save command, the last configuration saved to
NV-RAM will be loaded.
Connecting to the Switch
The console interface is used by connecting the Switch to a VT100-compatible terminal or a computer running an ordinary
terminal emulator program (e.g., the HyperTerminal program included with the Windows operating system) using an RS-232C
serial cable. Your terminal parameters will need to be set to:
• VT-100 compatible
• 115200 baud
• 8 data bits
• No parity
• One stop bit
• No flow control
You can also access the same functions over a Telnet interface. Once you have set an IP address for your Switch, you can use a
Telnet program (in VT-100 compatible terminal mode) to access and control the Switch. All of the screens are identical, whether
accessed from the console port or from a Telnet interface.
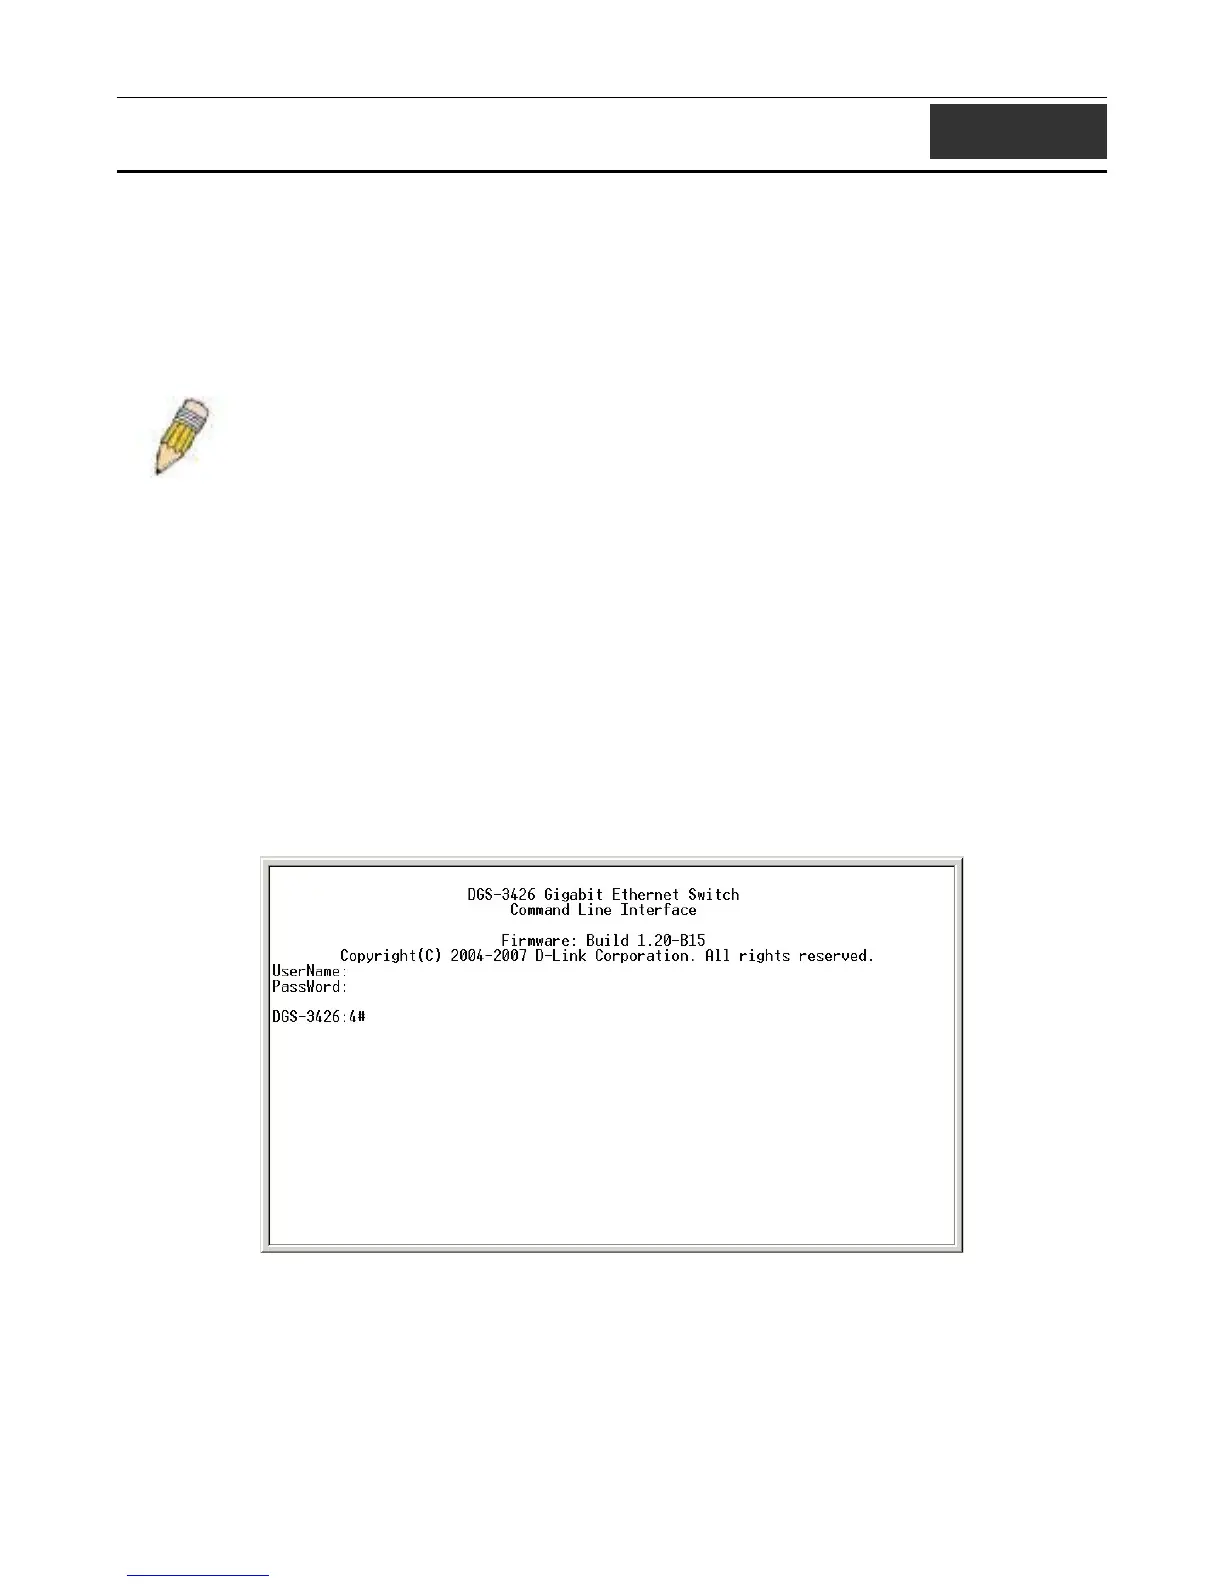
After the Switch reboots and you have logged in, the console looks like this:
Figure 2- 1. Initial Console Screen after logging in
Commands are entered at the command prompt, DGS-3400:4#.
There are a number of helpful features included in the CLI. Entering the ? command will display a list of all of the top-level
commands.
4