Do you have a question about the DAB PULSAR and is the answer not in the manual?
Storage instructions for pumps, emphasizing indoor, dry, vibration-free, and dust-free environments.
Guidelines for safely transporting electropumps, avoiding jolts and never lifting by power cables.
Information on where to find the electropump's weight, typically on the adhesive label.
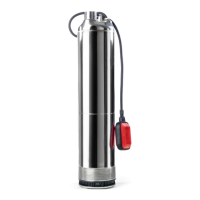
Crucial safety precautions including not running dry, avoiding pools with people, using correct lifting methods, and qualified personnel for repairs.
Procedure to check motor shaft rotation if the motor is not working, involving disconnection and manual turning.
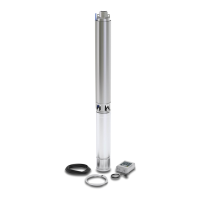
Steps to verify PULSAR DRY motor shaft rotation when the pump is not working, requiring disconnection and manual check.
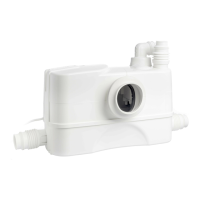
Detailed steps for cleaning the PULSAR filter, including filter cover removal and cleaning internal parts.
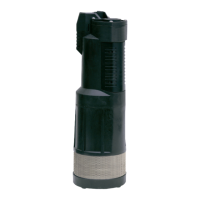
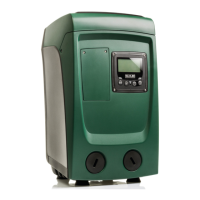
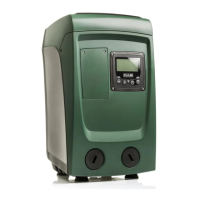
Guidance on selecting a suitable installation site for the PULSAR, ensuring it's free from sediment and properly positioned.
Specifies optimal working conditions for the PULSAR, including water temperature, immersion depth, and operation without dryness.
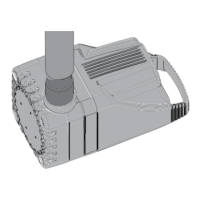
Advice on installing the PULSAR DRY, emphasizing solid anchoring, pipe support, and positioning near the liquid source.
Defines working conditions for PULSAR DRY, noting it cannot operate dry and specifying installation in pits free from frost.
Instructions for hydraulic connections, including pipe types, diameter, float switch considerations, pit sizing, and pump lowering.
Procedure for priming the PULSAR DRY pump before operation, including filling with liquid and repeating if necessary.
Instructions for adjusting the float switch cable to regulate the pump's stop level, ensuring free movement.
| Type | Submersible pump |
|---|---|
| Protection class | IP68 |
| Frequency | 50 Hz |
| Application | Domestic |
| Liquid temperature range | 0°C - 35°C |
| Insulation class | F |
| Inlet/Outlet Size | 1" |