This document is a Quick Start Guide for the Dahua HD Mini IR Waterproof Bullet Network Camera, providing essential information for its installation, configuration, and maintenance.
Function Description
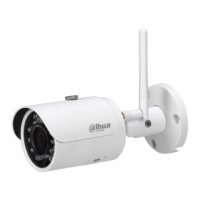
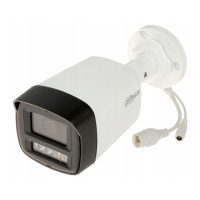
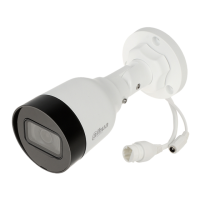
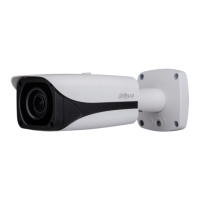
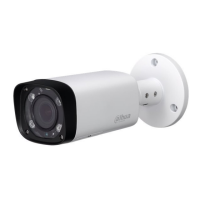
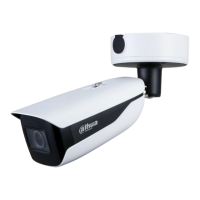
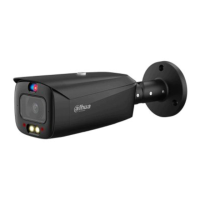
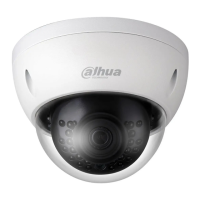
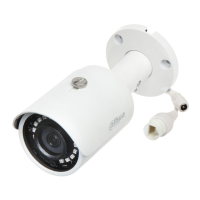
The Dahua HD Mini IR Waterproof Bullet Network Camera is a network camera designed for surveillance applications. It features infrared capabilities for low-light conditions and a waterproof design, making it suitable for outdoor use. The camera connects to a network via an Ethernet cable and can be powered by a DC 12V input. Some models may support Power over Ethernet (PoE). The device allows for remote monitoring and configuration through a web interface, enabling users to adjust settings, view live streams, and manage recorded data. It also supports SD card storage for local recording.
Important Technical Specifications
- Power Input: DC 12V (Some devices may not support PoE). Incorrect power supply can damage the device.
- Network Connectivity: Standard Ethernet port.
- Storage: SD card slot (optional, requires installation).
- Dimensions: Approximately 164.7 mm (6.48") in length, 92 mm (3.62") in width, and 71.6 mm (2.82") in height. The front diameter is 70 mm (2.76"), and the base diameter is 56 mm (2.2"). Mounting holes are 3-Ø4.5 mm (Ø0.18").
- Operating Environment: Designed for outdoor use with waterproof features. Specific temperature and humidity ranges for transport, use, and storage are recommended.
- Password Requirements: Passwords must be 8-32 digits, a combination of numbers, letters, and symbols (excluding ' " ; : &).
- Default IP Address: 192.168.1.108 (for initialization).
Usage Features
- Installation:
- SD Card Installation (Optional): Requires cutting off power, loosening a screw on the lower cover, inserting the SD card into the elastic slot, and then re-securing the cover.
- Device Fixing: Involves digging holes on the mounting surface, inserting expansion bolts, and then fixing the device with self-tapping screws. The mounting surface must sustain at least 3 times the weight of the bracket and camera.
- Cable Connection: Connects power and network cables. For outdoor use, a waterproof connector must be installed on the network cable. This involves assembling the rubber rings, crystal connector, and waterproof fastening cover onto the network cable, then securing the main body of the waterproof connector to the network port.
- Angle Adjustment: The device's monitoring direction (UDLR - Up, Down, Left, Right) can be adjusted by loosening an adjusting screw with a cross screwdriver, setting the desired angle, and then tightening the screw firmly.
- Network Configuration:
- Device Initialization: Necessary for first-time use or after a factory reset. This is done using the "Quick Configuration Tool" (ConfigTool.exe). Users set a new password, confirm it, and optionally enter an email address for password reset. The tool indicates successful or failed initialization.
- IP Address Modification: Also performed via the "Quick Configuration Tool." Users can search for devices, set a new network segment, login credentials, and then modify the IP address. The mode can be set to Static (manual IP, subnet mask, gateway) or DHCP (automatic IP acquisition from a DHCP server).
- WEB Interface Login: Access the camera's settings and live view by entering its IP address into an IE browser. After entering the username and password, users may need to download and install a plug-in for full functionality.
- Safety Guidelines:
- All electrical installation and operation must comply with local electrical safety codes.
- The power source should meet SELV standards and Limited Power Source requirements (IEC60950-1).
- A readily accessible disconnect device must be incorporated into the building wiring.
- Prevent damage to power cables from trampling or pressing.
- Avoid aiming the device at strong light sources to prevent over-brightness, light marks, and damage to the CCD/CMOS.
- Do not place the device in damp, dusty, extremely hot/cold environments, or areas with strong electromagnetic radiation or unstable lighting.
- Keep the camera away from water or other liquids.
- Ensure good ventilation to prevent heat accumulation.
- Transport, use, and store the device within allowed humidity and temperature ranges.
- Avoid heavy stress, violent vibration, or water splash during transport, storage, and installation.
- Pack the device using standard factory packaging or equivalent materials for transport.
- Installation should be performed by professional staff in areas inaccessible to non-professionals during normal operation.
Maintenance Features
- Desiccant Replacement: If the desiccant (not provided by default) turns green, contact after-sale service for replacement.
- Lightning Protection: Recommended to use the device with a lightning arrester and ensure grounding holes are grounded for enhanced reliability.
- Lens Cleaning: Do not directly touch the CCD or CMOS optical components. Use an air blower to remove dust or dirt. For stubborn dust, gently wipe with a dry cloth wetted with alcohol.
- Device Cleaning: Use a dry, soft cloth. For difficult dirt, use a clean cloth slightly wetted with mild detergent, then dry. Avoid volatile solvents (alcohol, benzene, thinner, strong detergents with abrasiveness) as they can damage the surface coating or reduce performance.
- Dome Cover Cleaning: As an optical component, avoid touching or wiping the dome cover during installation/application. For dirt, use an oil-free soft brush or air blower. For grease/fingerprints, gently wipe with a soft cloth (water/oil), wait for it to dry, then use an oil-free cotton cloth or lens cleaning paper soaked in alcohol/detergent, wiping from the center outwards. An air gun can also remove dust.
- Firmware Updates: Regularly upgrade firmware to the latest version to enhance network security and address potential vulnerabilities. For older IP camera firmware, ONVIF passwords may need manual updating after the main system password is changed.
- Password Management: Modify the default password after initial login and regularly change passwords to prevent theft.
- Component Use: Use only standard components provided by the manufacturer.
- Laser Beam Protection: The image sensor surface should not be exposed to laser beam radiation.
- Power Supply: Do not provide two or more power supply sources to the device to avoid damage.
- Unauthorized Modification/Repair: The manufacturer is not liable for problems caused by unauthorized modification or attempted repair, which can also lead to water leakage or poor image quality.