User’s Manual
23
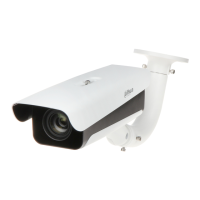
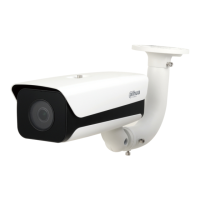
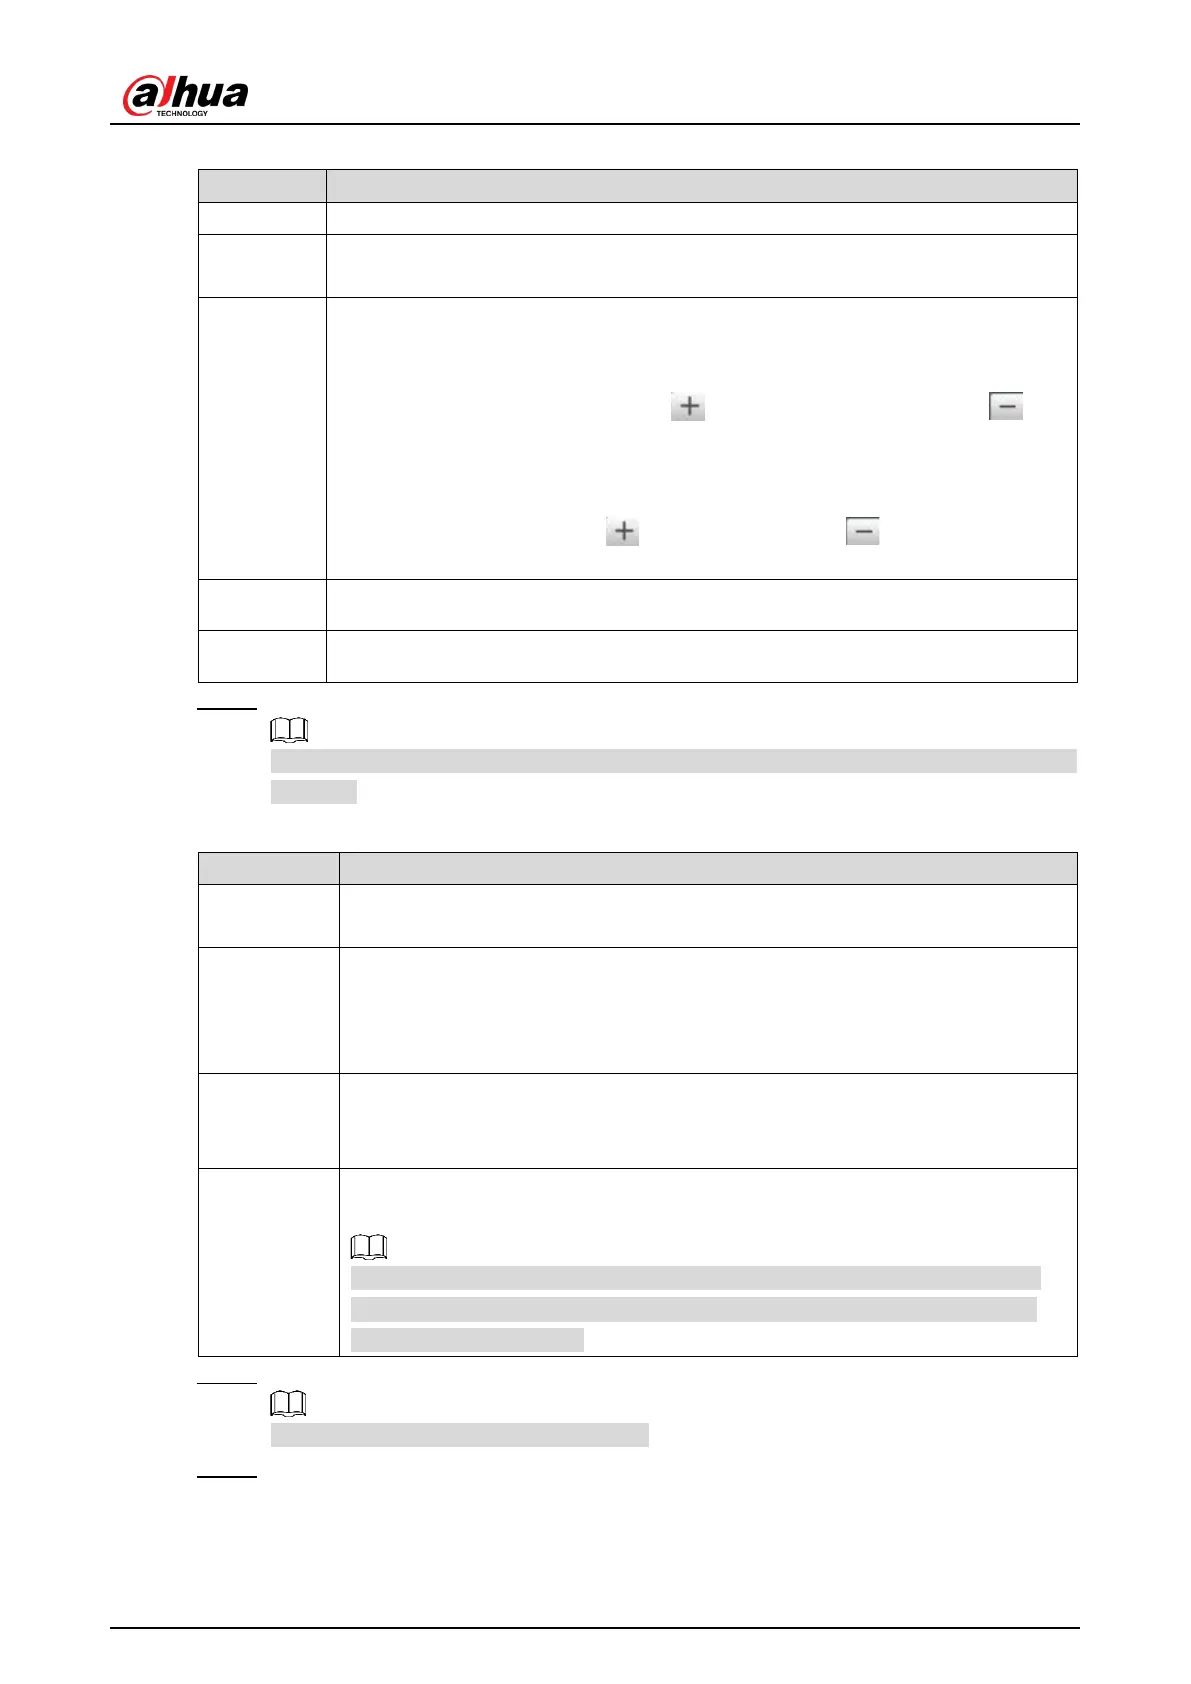
Table 4-7 Focus parameter description
Auto adjust camera lens and make the scenario clearly focused.
Regional
Click Regional, and then draw a box in the video image to focus the defined
Manual
Focus
Manually set focus parameter and make the camera focus on the vehicle.
Zoom:
Step length: There are totally 3 levels to be selected.
Zoom in, zoom out: Click and add a step length, click and
reduce a step length; Or directly drag adjustment bar and set zoom.
Focus:
Step length: There are totally 3 levels to be selected.
Focal length: Click to add a speed, click to reduce a speed;
or it can directly drag adjustment bar to set near and far focal length.
Restore All Restore all to initialized Settings.
Refresh Check the latest status.
Step 2 Select the config line type which needs to be drawn. Refer to Table 4-8 for more details.
The configured area line and detection line in Guide are displayed in the video
interface.
Table 4-8 Line parameters description
Iden Area
Click it and draw the area range which needs to be detected.
The recognition area line is displayed as red box.
Snap Line
Draw the detection line which triggers video capture, it is as functional as the
line in traffic. It will trigger and take snapshot when the vehicle crosses the
detection line.
Snap line is displayed as green line.
Shield Area
Set the area range which needs to be shielded. LPR is not implemented
within the shielded area. It supports setting max two shielded areas.
Area line is displayed as gray box.
Good Plate
Click it, and drag the yellow plate pixel box to the range of vehicle plate on the
video image.
If the plate within the yellow box is larger than the optimal plate size in the
example, zoom out the video image by clicking Manual Focus; if smaller,
zoom in the video image.
Step 3 Draw lines on the view interface.
Click Redraw to delete lines one by one.
Step 4 Adjust the vehicle snapshot location to yellow box.
Make sure that the location and size of plate is in accordance with that of the yellow
box.
 Loading...