Do you have a question about the Daikin DX17VSS241AA and is the answer not in the manual?
Provides critical safety information and symbols used in the manual.
Details hazards associated with refrigerants and necessary precautions to avoid injury or death.
Provides warnings and instructions for safely handling refrigerants, including cylinder usage.
Emphasizes correct grounding procedures and electrical wiring safety to prevent shock or fire.
Details the proper use, installation, and insulation of copper refrigerant lines.
Details the procedure for leak testing the system using nitrogen or a leak detector.
Outlines the general steps for initiating system operation after installation.
Covers high voltage warnings, grounding requirements, and proper electrical connections.
Guides on calculating the necessary refrigerant charge based on line set length and diameter.
Provides refrigerant charge data for CAPEA connections based on line set length and tonnage.
Provides refrigerant charge data for CHPE connections based on line set length and tonnage.
Details the procedure for connecting the air conditioner to the system, including opening valves.
Details how to initiate the system test on the thermostat for verification.
Explains to allow the system test to complete, noting its duration and importance.
Provides the procedure to set the thermostat to CHARGE MODE for system charging.
Describes the CHARGE MODE functionality for system charging and its duration.
Guides the user to select the CHARGE MODE option.
Details how to start the CHARGE MODE and the subsequent system operation.
Guides on adding or recovering refrigerant to adjust the system's charge level.
Describes how to measure subcooling to verify the correct refrigerant charge.
Details how to enable or disable BOOST MODE.
Details how to adjust the BOOST MODE activation temperature and available options.
Details how to enable or disable NIGHT MODE.
Covers adjustments for cooling performance variables like airflow and delays.
Details the diagnostics submenu for viewing fault codes and system status.
Describes the system verification test required after installation.
Critical warning about high voltage hazards during servicing or installation.
Safety warning regarding contact with charged capacitors and residual voltage.
Table detailing fault codes, PCB LED display, thermostat messages, probable causes, and corrective actions.
Details high-pressure faults and their associated causes and corrective actions.
| Cooling Capacity | 24, 000 BTU |
|---|---|
| SEER Rating | 17 |
| Energy Efficiency Ratio (EER) | 12.5 |
| Refrigerant | R-410A |
| Stages | Variable |
| Voltage | 208/230V |
| Phase | 1 |
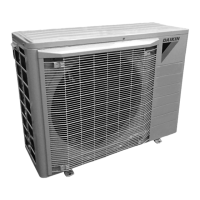
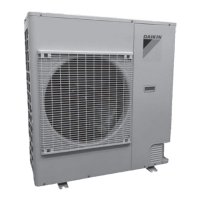
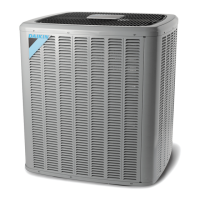
| Type | Air Conditioner |
| Compressor Type | Variable-Speed |
| Indoor Unit Noise Level | As low as 47 dBA |
| Outdoor Unit Noise Level | As low as 57 dBA |
| Warranty | 12-Year Limited Parts Warranty |
| Sound Level (Indoor) | As low as 47 dBA |
| Sound Level (Outdoor) | As low as 57 dBA |