8 English
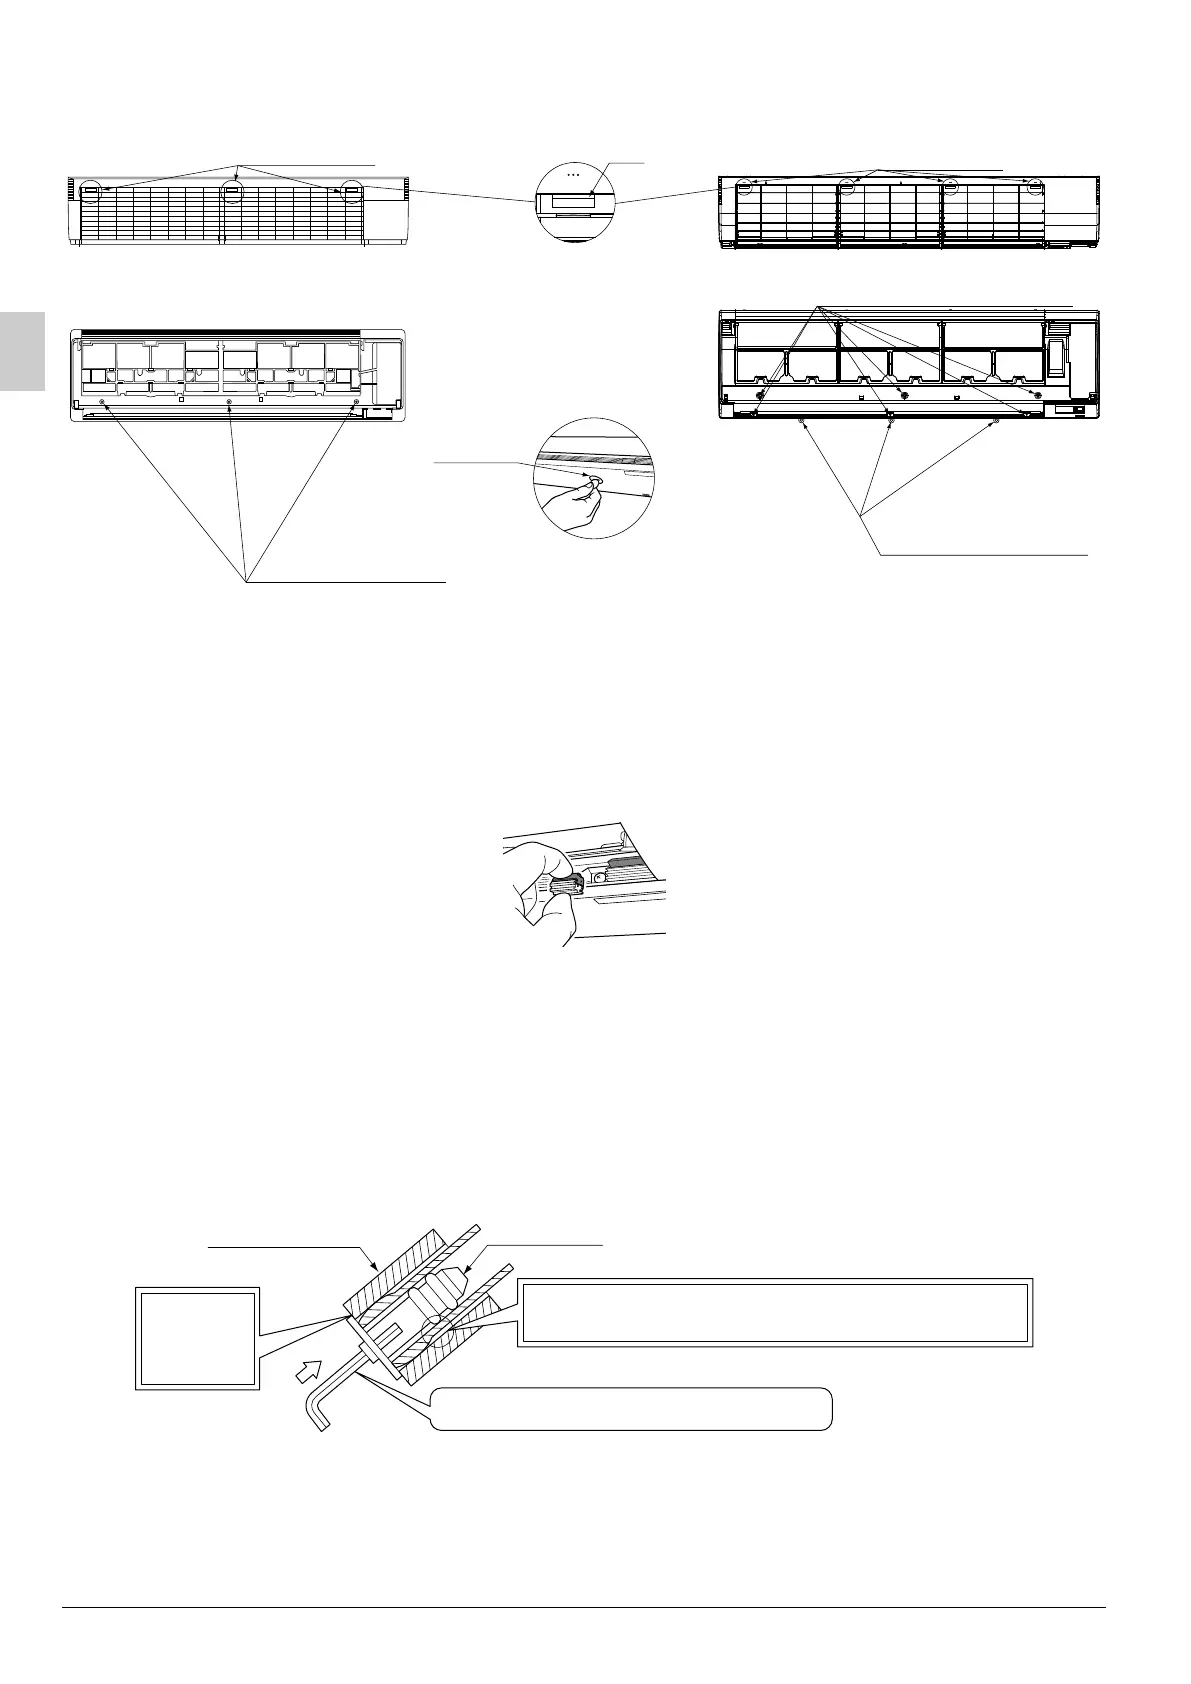
(2) Remove the front grille.
< How to attach the front grille (for 100 class only) >
Attach the screw cover (6) provided with the air outlet. (3 places)
• Remove the drain plug, the insulation tubing, and the drain hose from the drain pan and replace.
(Refer to Fig. 9)
• Mold the local refrigerant piping ahead of time, matching it to the liquid pipe and gas pipe marks
engraved on the installation panel (1).
< Replacing the drain hose and drain plug >
(1) Remove the drain plug and insulating tube.
(2) Remove the drain hose installation screws, and pull out the drain hose.
(3) Replace the drain plug and the insulating tube onto the right side.
(4) Replace the drain hose onto the left side, and secure the hose with the installation screws.
If the drain hose is not replaced, water is likely to be accumulated inside the unit. The occurrence of slime may
clog the hose and cause water leakage.
Tab position
(3 places)
Tab position
(4 places)
Screw position (6 places)
Screw position
(3 places)
Grille clamp
positions (3 places)
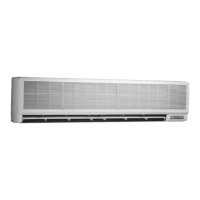
Fig. 8
Ta b
Front grille securing positions
for 71 class
Front grille securing positions
for 100 class
How to remove
grille clamps
(for 100 class only)
Remove the clamps
under the front grille
with a coin.
Coin, etc.
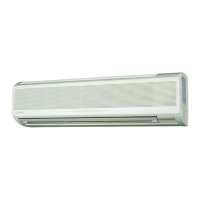
Drain plug
Insulating tube
Fig. 9
Do not place lubricant (refrigerant oil) when inserting.
This may cause deterioration and water leaks.
Insert using a hexagon wrench (4mm).
Make sure
there are
no gaps.
3P184443-9J_FM6.book Page 8 Wednesday, December 14, 2011 10:29 AM

 Loading...