6 | Installation
Installer and user reference guide
27
FXFQ20~125BVEB
VRV system air conditioner
4P561452-1B – 2021.07
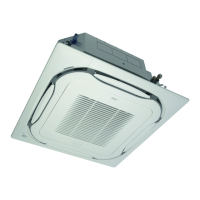
A In case of installation with standard decoration panel
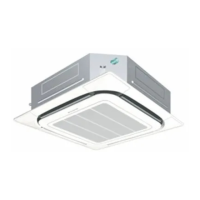
B In case of installation with fresh air intake kit
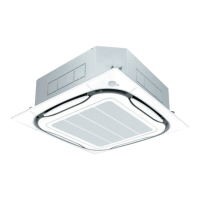
C In case of installation with self-cleaning decoration panel
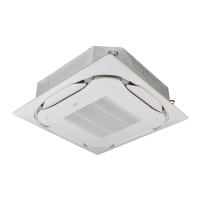
D In case of installation with design decoration panel
a Suspended ceiling
b Installation guide (accessory)
c Unit
▪ Level. Make sure the unit is level at all 4 corners using a level or a water-filled
vinyl tube.
a Level
b Vinyl tube
c Water level
NOTICE
Do NOT install the unit tilted. Possible consequence: If the unit is tilted against the
direction of the condensate flow (the drain piping side is raised), the float switch
might malfunction and cause water to drip.
6.2.3 Guidelines when installing the drain piping
Make sure condensation water can be evacuated properly. This involves:
▪ General guidelines
▪ Connecting the drain piping to the indoor unit
▪ Checking for water leaks
General guidelines
▪ Pipe length. Keep drain piping as short as possible.
▪ Pipe size. Keep the pipe size equal to or greater than that of the connecting pipe
(vinyl pipe of 25mm nominal diameter and 32mm outer diameter).
▪ Slope. Make sure the drain piping slopes down (at least 1/100) to prevent air
from being trapped in the piping. Use hanging bars as shown.
 Loading...