7 | Piping installation
Installer reference guide
39
4MWXM-A9
R32 Split series
4P708645-1 – 2022.09
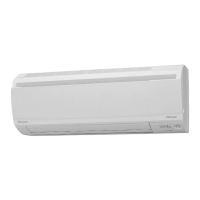
a Spanner
b Torque wrench
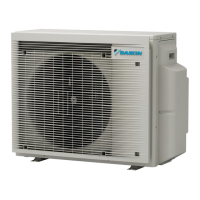
▪ When it is expected that the operating pressure will be low (e.g. when cooling
will be performed while the outside air temperature is low), sufficiently seal the
flare nut in the stop valve on the gas line with silicon sealant to prevent freezing.
Silicon sealant, make sure there is no gap.
To open/close the stop valve
1 Remove the stop valve cover.
2 Insert a hexagon wrench (liquid side: 4 mm, gas side: 6 mm) into the valve
stem and turn the valve stem:
Counterclockwise to open
Clockwise to close
3 When the stop valve CANNOT be turned any further, stop turning.
4 Install the stop valve cover.
Result: The valve is now open/closed.
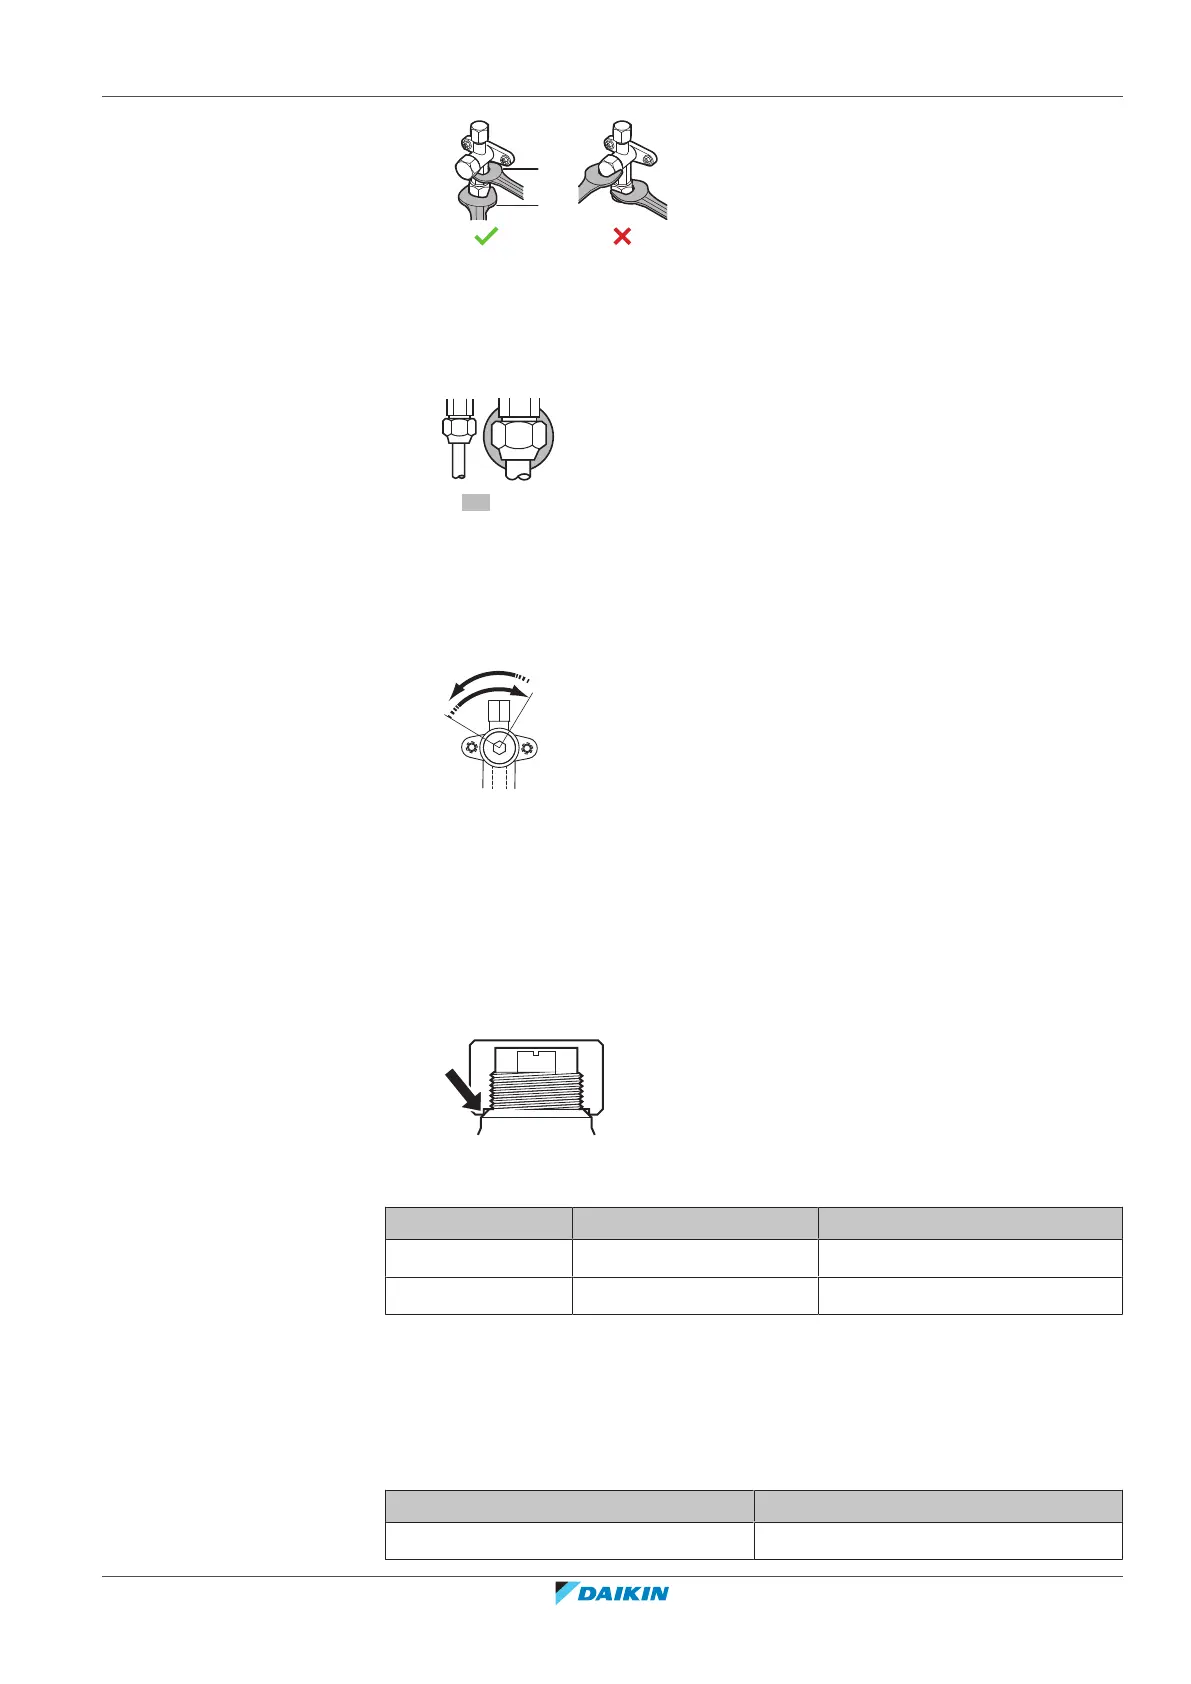
To handle the stem cap
▪ The stem cap is sealed where indicated with the arrow. Do NOT damage it.
▪ After handling the stop valve, tighten the stem cap, and check for refrigerant
leaks.
Stem cap Width across flats (mm) Tightening torque (N∙m)
Liquid side 19 18~20
Gas side 22 21~28
To handle the service cap
▪ ALWAYS use a charge hose equipped with a valve depressor pin, since the service
port is a Schrader type valve.
▪ After handling the service port, tighten the service port cap, and check for
refrigerant leaks.
Item Tightening torque (N∙m)
Service port cap 11~14