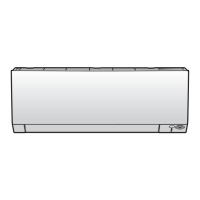
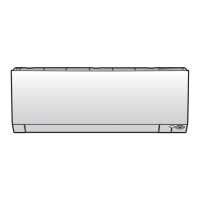
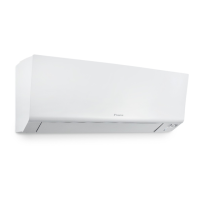
3 | Components
Service manual
158
RXM20~71R + ARXM25~71R + FTXM20~71R + ATXM25~50R +
FVXM25~50A
Split New Perfera R32
ESIE20-11 – 2021.01
a Front grille
b Tabs
Wall mounted units
CAUTION
Wear adequate personal protective equipment (protective gloves, safety glasses,…)
when installing, maintaining or servicing the system.
1 Remove the front panel to remove the air filter.
2 For class 50~71 remove the flap (horizontal blade). Push the blade on its left
side to the centre and unhook it. Push blade on its right side to centre to
unhook it from shaft. Disconnect the 2 centre connection points.
3 Remove 2 screws (class 15~42) or 3 screws (class 50~71) from the front grille.
4 Push down the 3 upper hooks marked with a symbol with 3 circles.
a Upper hook
b Symbol with 3 circles
5 We recommend opening the flap before removing the front grille.
6 Place both hands under the centre of the front grille, push it up and then
toward you.

 Loading...


