3 | Components
Service manual
163
RXM20~71R + ARXM25~71R + FTXM20~71R + ATXM25~50R +
FVXM25~50A
Split New Perfera R32
ESIE20-11 – 2021.01
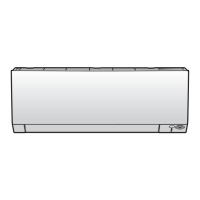
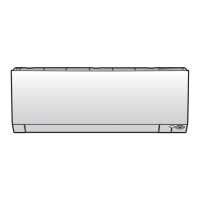
a Front grille
b 4 tabs
c White head screws (accessory)
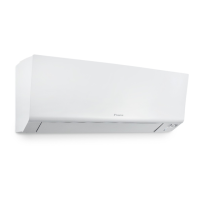
Wall mounted units
1 Install the front grille and firmly engage the 3 upper hooks.
2 Install 2 screws (class 15~42) or 3 screws (class 50~71) back on the front grille.
3 For class 50~71 re-install the lower flap (horizontal blade). Connect the 2
centre connection points. Hook the right side of the blade to the shaft. Hook
the blade on its left side.
4 Install the air filter, mount the front panel and close it.
To re-install the front panel
Floor standing units
1 Insert the front panel into the grooves of the unit (3 places) and attach the
string.
2 Close the front panel and slide both sliders until they click.
3 Push on the sides of the front panel to make sure the front panel is securely
fixed.

 Loading...


