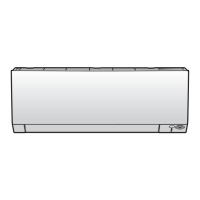
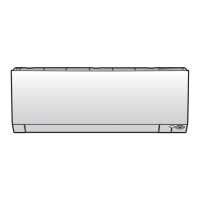
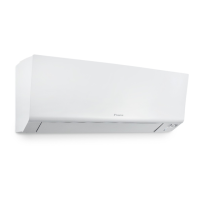
3 | Components
Service manual
72
RXM20~71R + ARXM25~71R + FTXM20~71R + ATXM25~50R +
FVXM25~50A
Split New Perfera R32
ESIE20-11 – 2021.01
1 Disconnect the damper motor connector S400 from the indoor unit main PCB.
2 Measure the resistance between the following pins of the damper motor
connector.
Result: The measurements MUST be as shown in the table below.
Pins Measured resistance (Ω)
1-2 139.5~160.5
1-13
1-14
1-15
2-13 279~321
2-14
2-15
13-14
13-15
14-15
Damper motor resistance
measurements are correct?
Action
Yes Return to the troubleshooting of the
specific error and continue with the
next procedure.
No Continue with the next step.
3 Remove the damper motor, see "Repair procedures"[473].
4 Measure the resistance between the following pins of the connector on the
damper motor.
Result: The measurements MUST be as shown in the table below.
Pins Measured resistance (Ω)
1-2 139.5~160.5
1-3
1-4
1-5
2-3 279~321
2-4
2-5
3-4
3-5
4-5
Damper motor resistance
measurements are correct?
Action
Yes Replace the damper motor wiring
harness, see "Repair
procedures"[473].

 Loading...


