6 | Unit installation
Installer reference guide
31
ARXM50-71+RXM42~71R2V1B + RXP50~71M2V1B + RXA42+50B2V1B +
RXF50+60B2V1B + RXF71A2V1B + RXJ50N2V1B + ARXF50~71A2V1B
R32 split series
4P513661-9J – 2020.05
6.3 Mounting the outdoor unit
6.3.1 About mounting the outdoor unit
When
The outdoor and indoor unit must be mounted before the refrigerant piping can be
connected.
Typical workflow
Mounting the outdoor unit typically consists of the following stages:
1 Providing the installation structure.
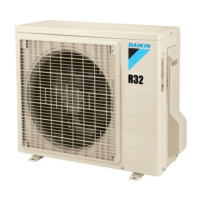
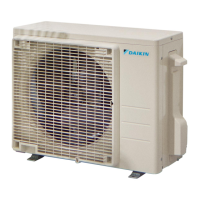
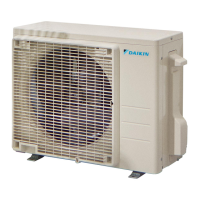
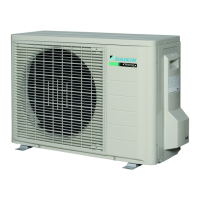
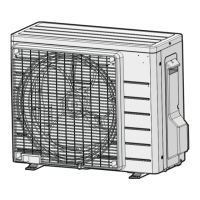
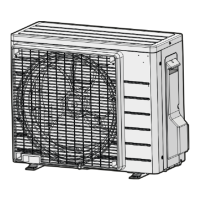
2 Installing the outdoor unit.
3 Providing drainage.
4 Preventing the unit from falling over.
6.3.2 Precautions when mounting the outdoor unit
INFORMATION
Also read the precautions and requirements in the following chapters:
▪ "2General safety precautions"[45]
▪ "6.1Preparing the installation site"[426]
6.3.3 To provide the installation structure
Check the strength and level of the installation ground so that the unit will not
cause any operating vibration or noise.
Use a vibration-proof rubber (field supply) in cases where vibrations may be
transmitted to the building.
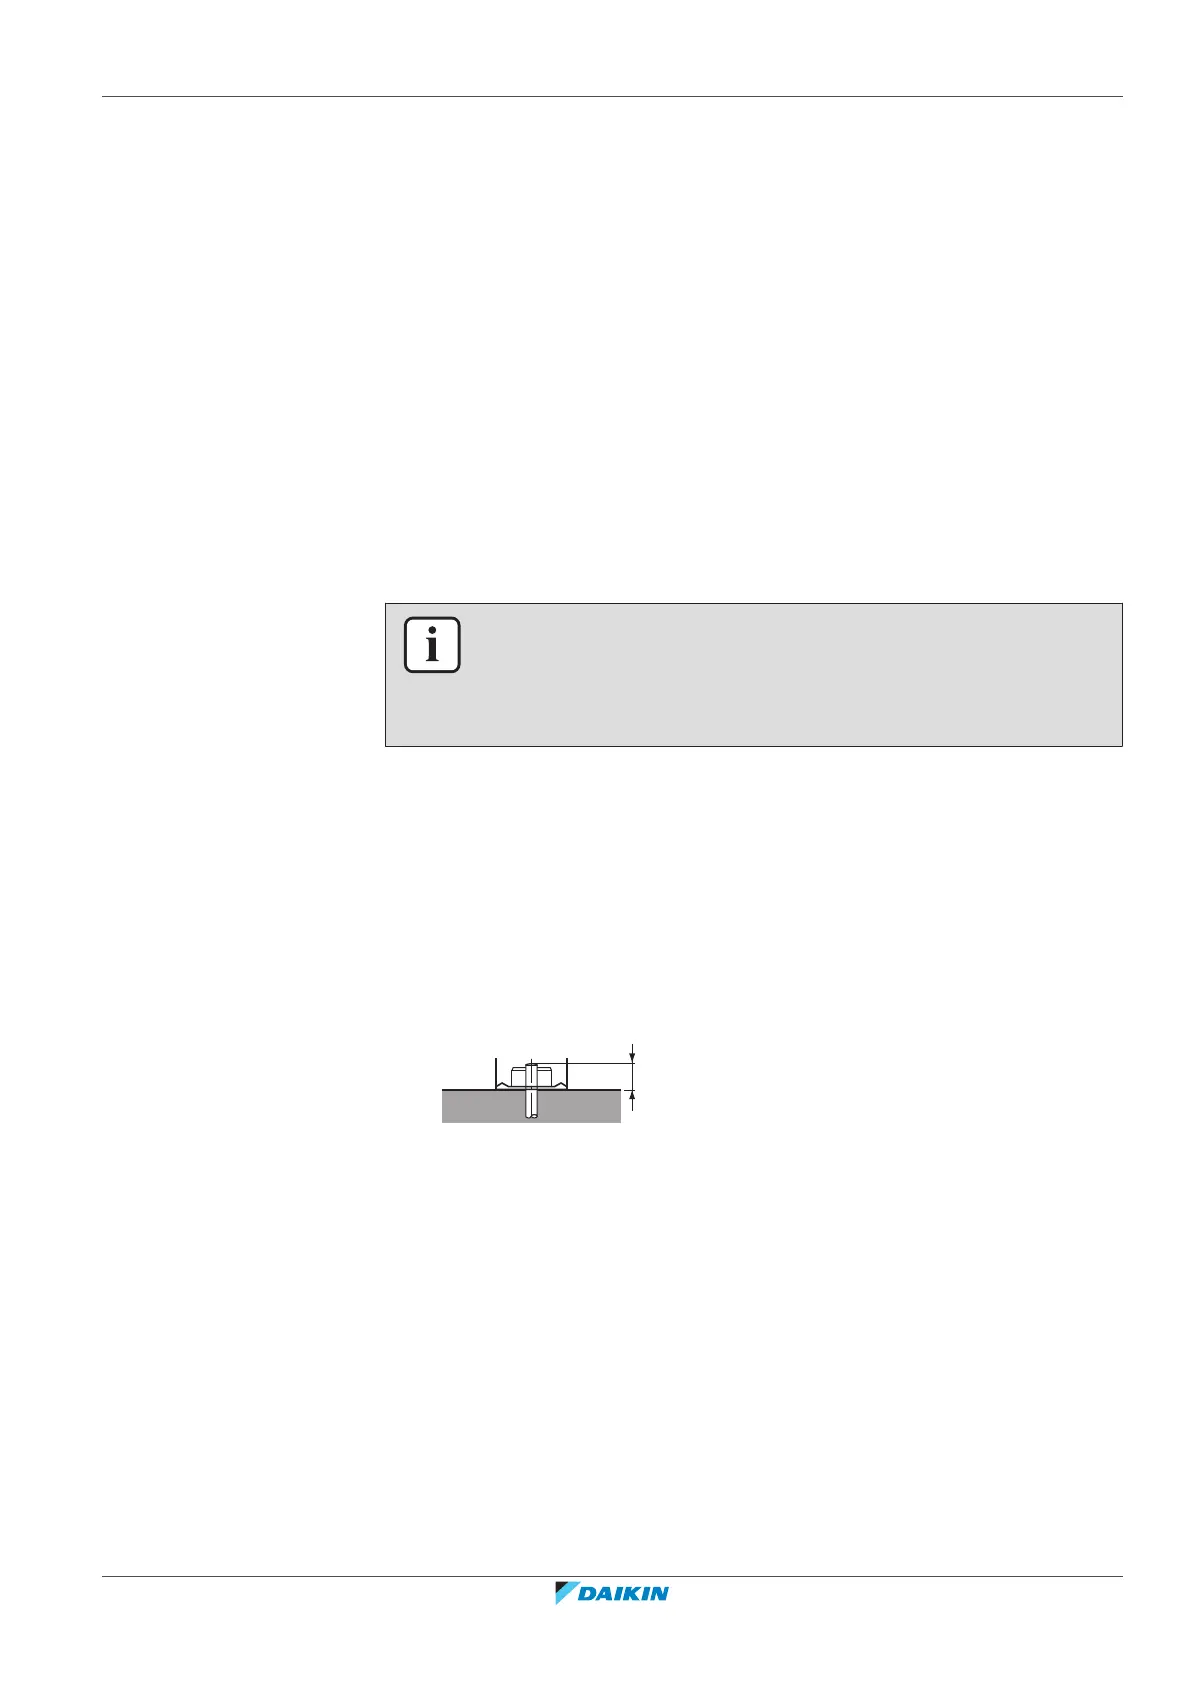
Fix the unit securely by means of foundation bolts in accordance with the
foundation drawing.
Prepare 4 sets of M8 or M10 anchor bolts, nuts and washers (field supply).



 To Next Page