Heat Pump 60Hz (RXYQ5~54P) SiEN34-705
300 Installation Manual
[How to Check How Many Units are Connected]
It is possible to find out how many indoor or outdoor unit in the system are turned on by
operating the push button on the PC-board (A1P) of outdoor unit (In case of multi system
master unit).
Follow the procedure below to check how many indoor or outdoor units are turned on.
Note: Press the “MODE button” (BS1) if you get confused while operating.
This returns to Setting Mode 1 (default).
2.11.2 Procedure of Adding Refrigerant Charging and Check Operation
Warning Electric Shock Warning:
! Make sure to close the EL. COMPO. BOX lid before turning on the power when performing
the refrigerant charging operation.
! Perform the setting on the PC-board (A1P) of the outdoor unit and check the LED display
after the power is on via the inspection door which is in the EL. COMPO. BOX lid.
! Use an insulated rod to operate the push buttons via the EL. COMPO. BOX’s inspection
door.
There is a risk of electric shock if you touch any live parts, since this operation must be
performed with the power on.
Caution: ! Make sure to use the protect tool (protective groves and goggles) when charging the
refrigerant.
! Due to a danger of liquid hammer, the refrigerant must not be charged over the allowable
maximum amount when charging the refrigerant.
! Do not perform the refrigerant charging operation under working for the indoor unit.
! When opening the front panel, make sure to take caution to the fan rotation during the
working.
After the outdoor unit stops operating, the fan may keep rotation for a while.
Note: ! If operation is performed within 12 minutes after the indoor and outdoor units are turned on,
H2P will be lit on and the compressor will not operate.
! In order to ensure uniform refrigerant distribution, it may take up to around 10 minutes for the
compressor to start up after the unit starting operating. This is not a malfunction.
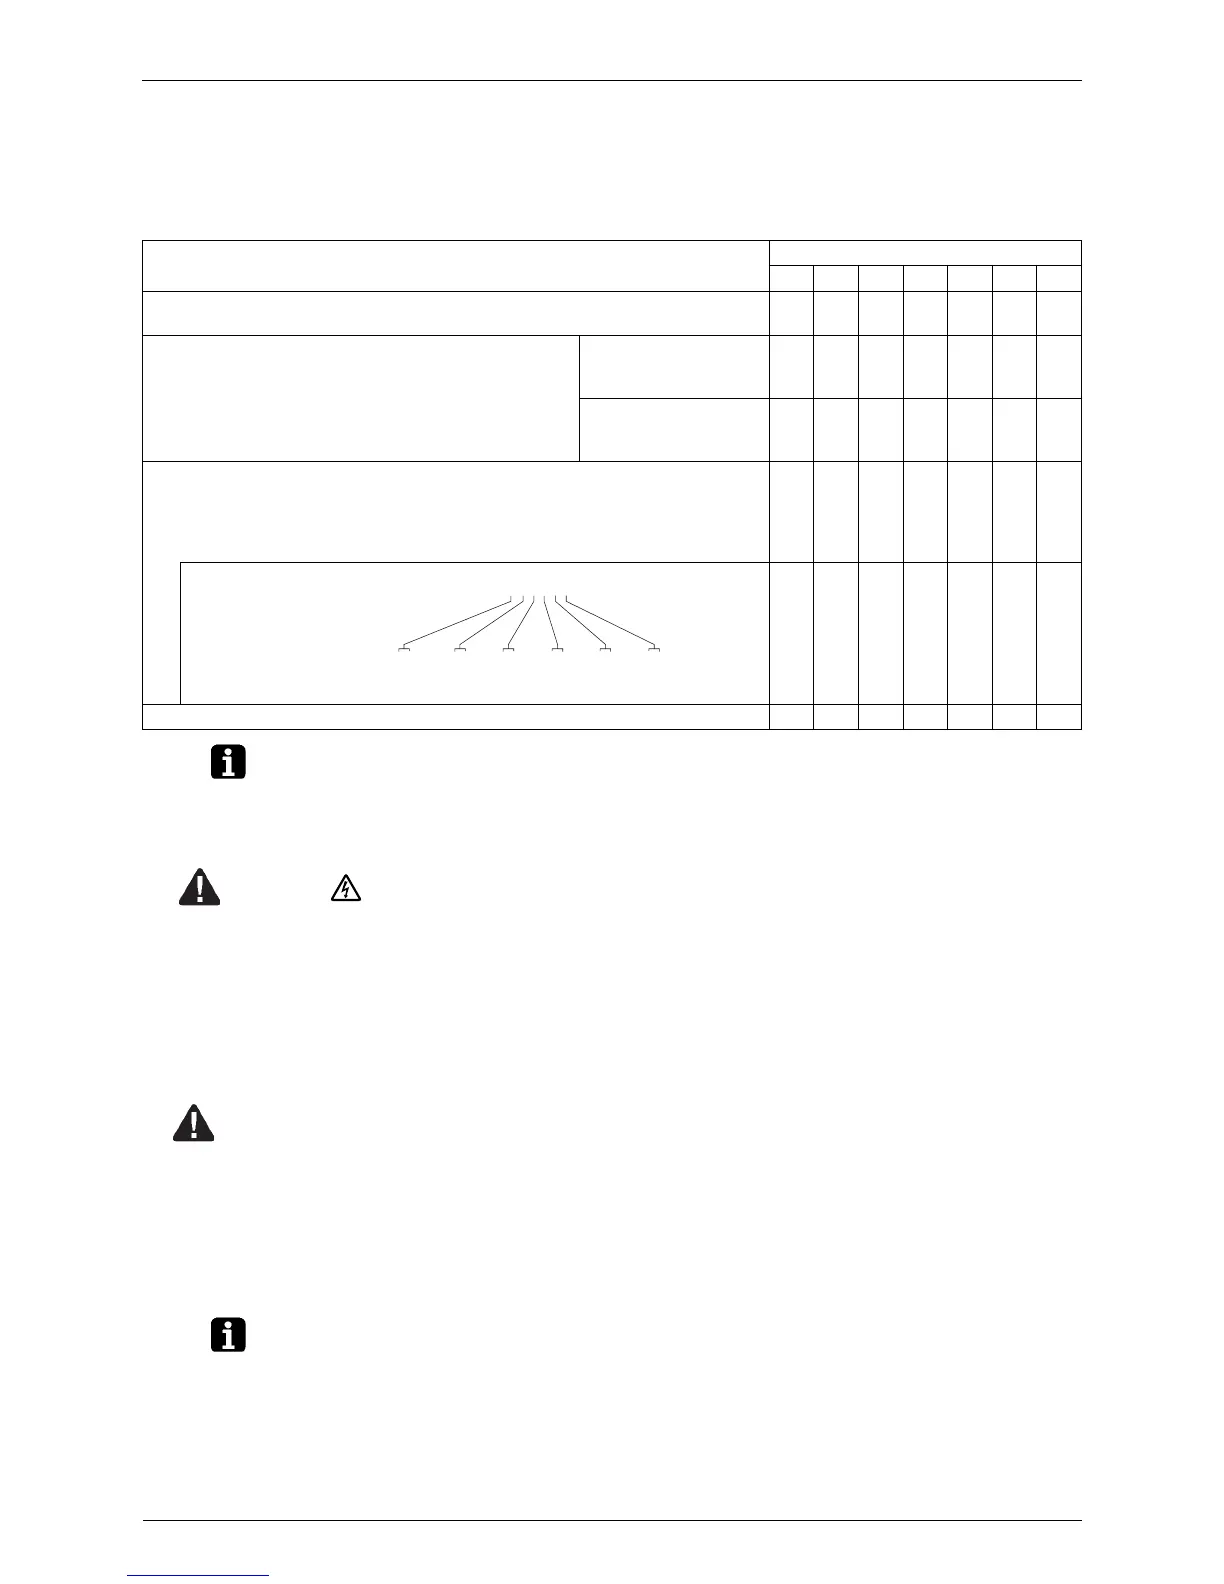
(LED display: 3 ...OFF 4 ...ON 5 ...Blinking ∗
...Uncertain)
LED display
H1P H2P H3P H4P H5P H6P H7P
(1) Press the MODE button (BS1) once, and set the MONITOR MODE (H1P:
Blinking).
5333333
(2) Press the SET button (BS2) the number of times until
the LED display matches that at right.
For checking the
number of outdoor
units: eight times
5334333
For checking the
number of indoor units:
five times
5333434
(3) Press the RETURN button (BS3) and read the number of units from the display
of H2P through H7P.
[Reading Method]
The display of H2P through H7P should be read as a binary number, with 5
standing for “1” and 3 standing for “0”.
5 ∗∗∗∗∗∗
5353553
(4) Press the MODE button (BS1) once. This returns to Setting Mode 1 (default). 3343333
Note: “000000” indicates 64 units.
32 × 0 + 16 × 1 + 8 × 0 + 4 × 1 + 2 × 1 + 1 × 0 = 22 units
Ex: For the LED display at right, this would be “010110”,
which would mean 22 units are connected.
 Loading...