WARNING:
Tip Over Hazard
• Do not use dishwasher until completely installed.
• Do not push down on open door.
• Doing so can result in serious injury or cuts.
DISHWASHER SAFETY
Safety Tips:
• Slowly open dishwasher door while someone grasps the rear of the dishwasher. Remove shipping materials, drain
hose and lower rack. Close dishwasher door until latched.
• Observe all governing codes and ordinances.
• Install this dishwasher as specifi ed in these instructions.
• Installation should be performed by a qualifi ed service technician. The dishwasher must be installed to meet all electri-
cal and plumbing national and local codes and ordinances.
INSTALLATION REQUIREMENTS
Tools and Parts:
Gather the required tools and parts before starting installation.
Tools Needed for All Installations Parts Needed for All Installations
• Phillips screwdriver • 90° elbow with 3/8” N.P.T. external threads on one
end. (The other end must fi t your water supply line).
• Flat - blade screwdriver • Thread seal tape
• 5/16" and 1/4" nut drivers • 3 UL listed wire nuts
• Measuring tape or ruler • One 1-1/2”-2” screw type clamp
• 6" adjustable wrench
• Small level Parts Needed for New Installations
• Flashlight • Copper tubing (3/8” recommended)
• Shallow pan • Clamp connector to fi t a 7/8” (22.2 cm) diameter hole
• One 1-1/2” -2” screw type clamp if connecting to
waste-tee
Tools Needed for New Installations
• Electric drill with 1/2”, 3/4” and 1-1/2” hole saw bits
• Small tube cutter
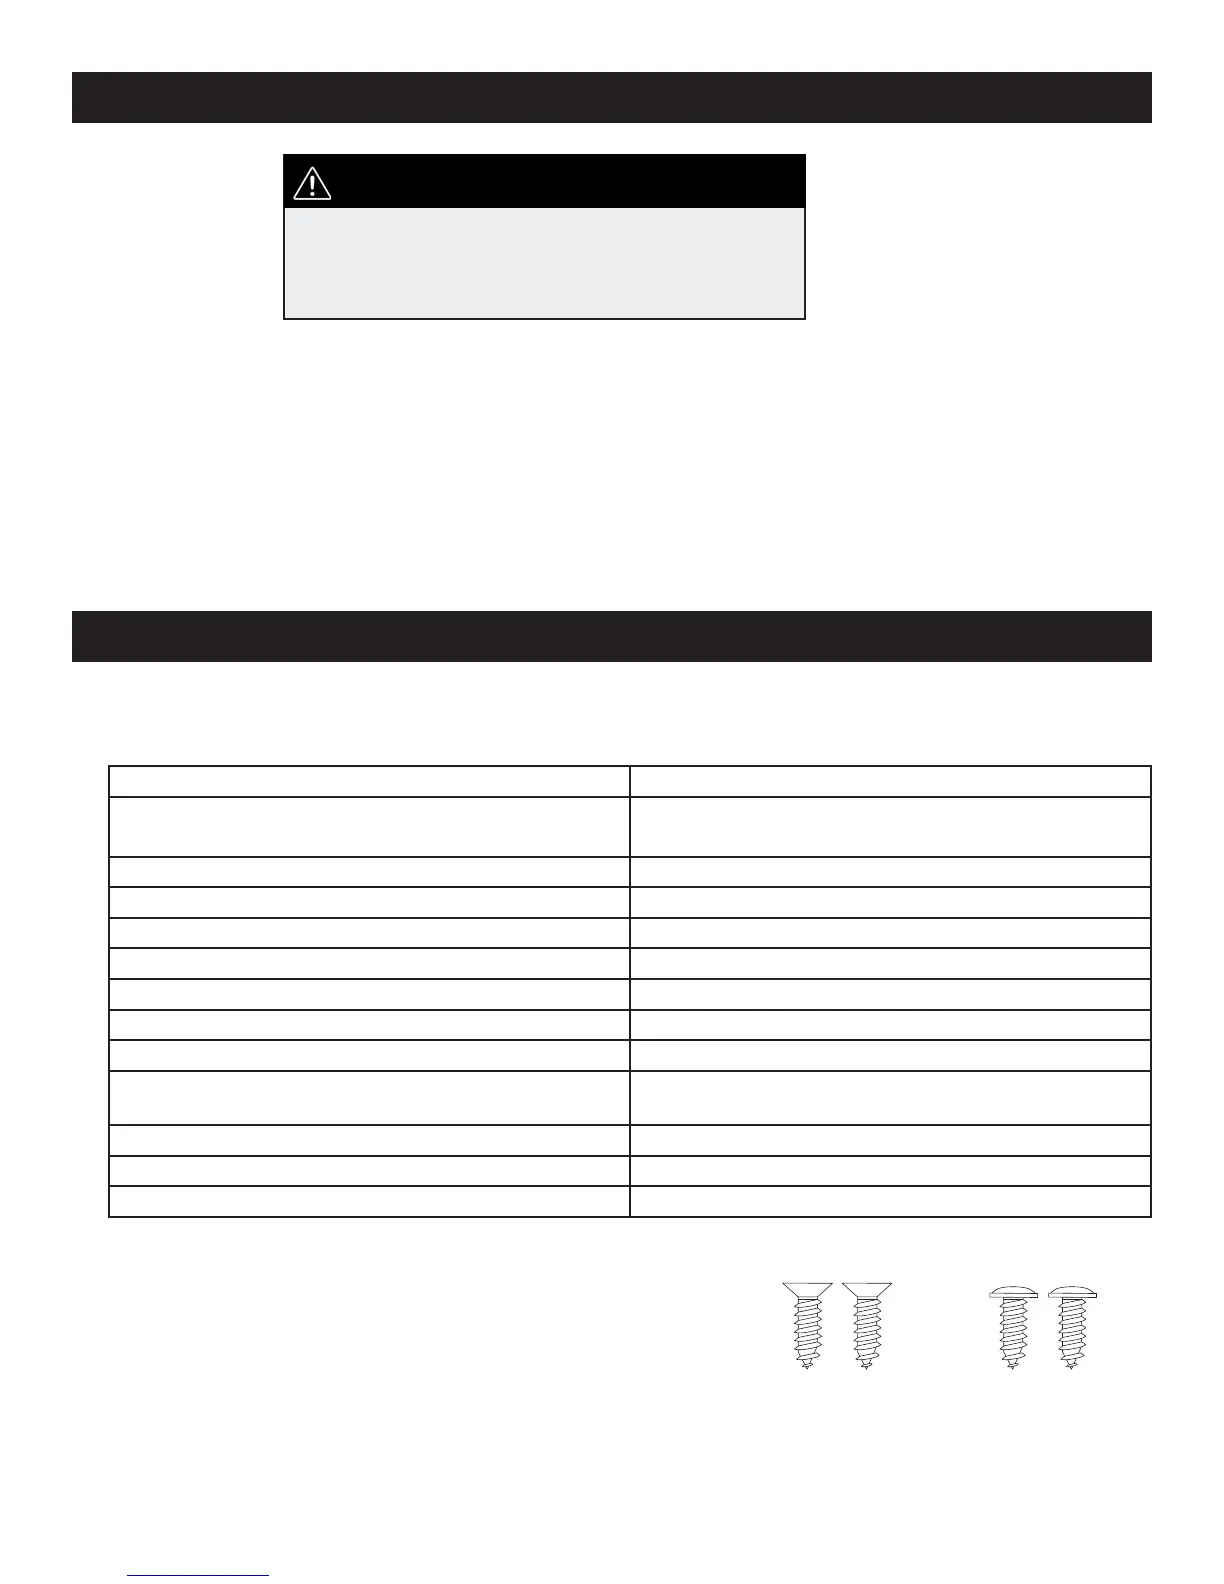
Parts Supplied:
A. 2 – # 8 x 5/8” Phillips fl at head wood screws
B. 4 – Phillips head, color matched toekick screws
Make sure these parts are included.
See separate parts list for accessories available for your dishwasher.
A
B
1