• Now move the fader to the “8” position screened alongside the channel faders and turn up the
master fader to the “10” position. Further volume adjustments can be made on the equipment your signal
is feeding, such as power-amps or transmitters.
• The other inputs are similarly adjusted, using the “CUE” switches to (pre fade) listen to the
connected sources. Use the input gain for precise adjustments.
Be carefully not to place the AIRMATE-USB near heavy power transformers such as power amps. Although the
AIRMATE-USB is constructed using a thick medal frame, this could cause hum.
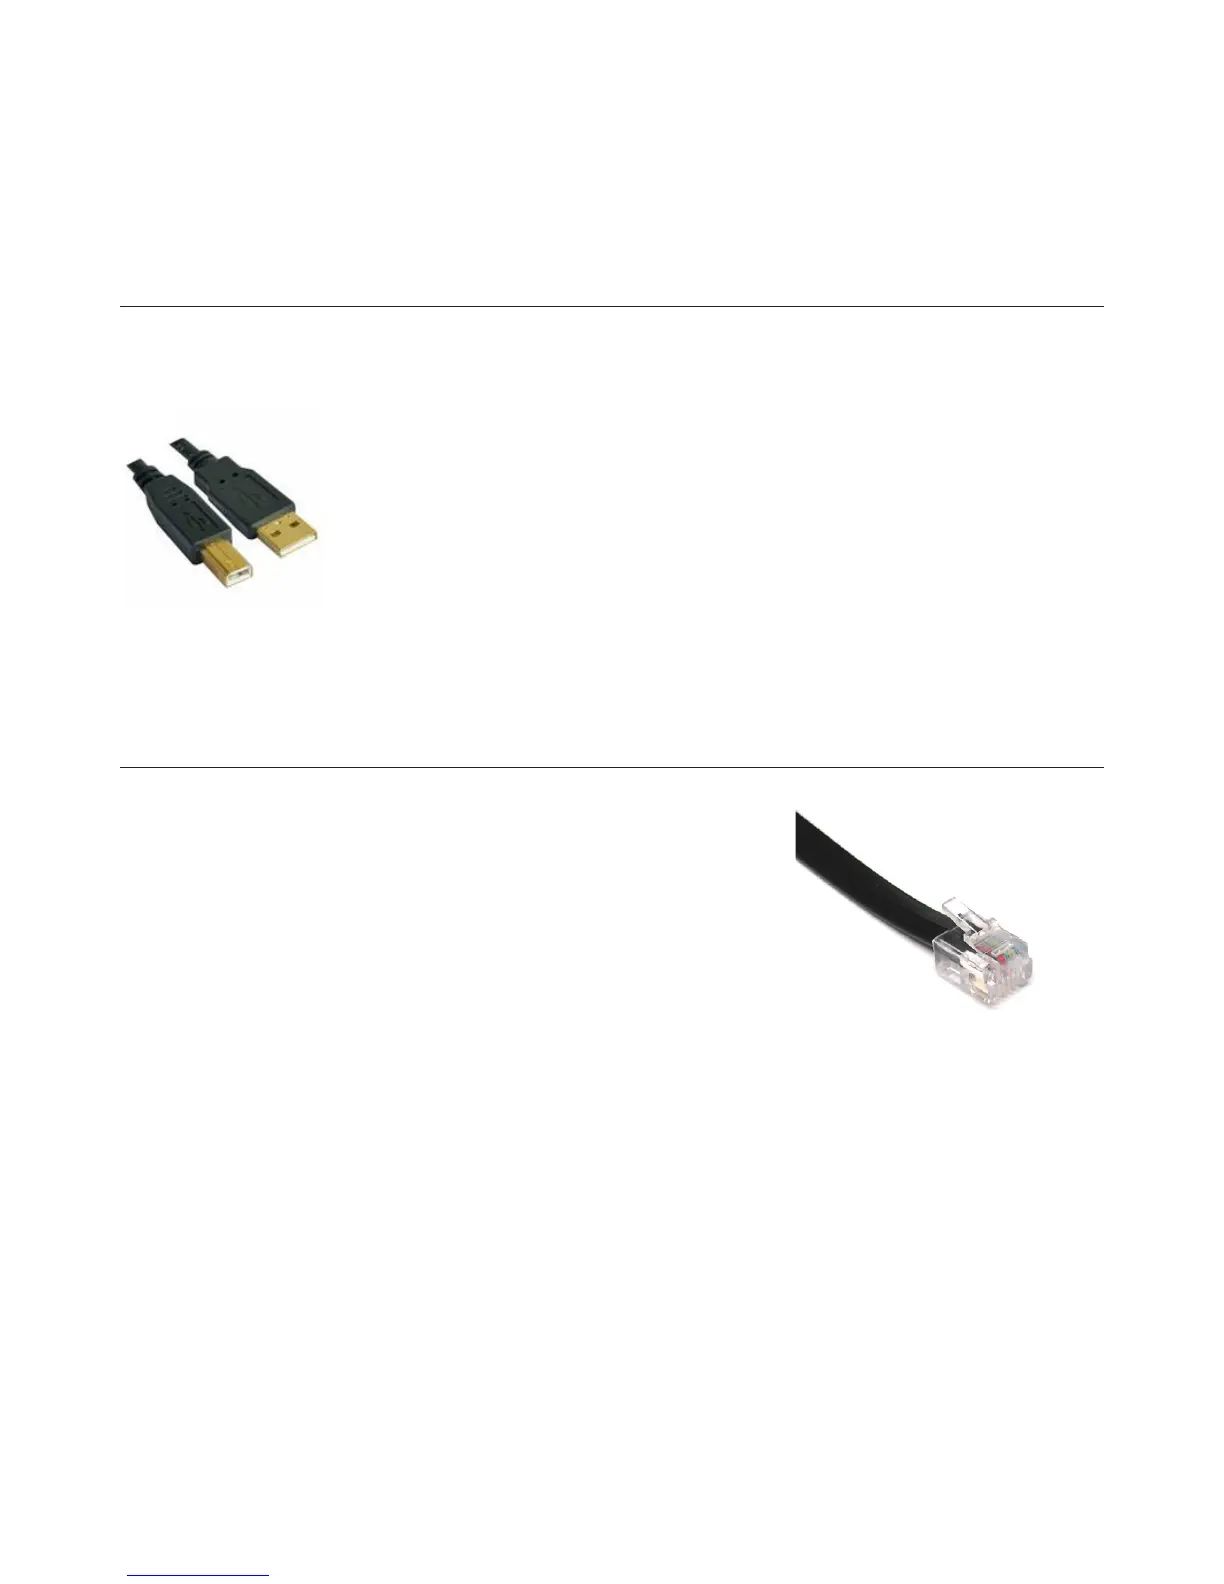
11. SETTING UP THE USB MODULES
Input modules 5 & 6 are identical to triple input modules 1 thru 4 except for line-B input is replaced with a USB
(stereo input and output circuit) connector on the back panel.
To be able to set up a connection with your PC, use a standard USB cable from a local computer shop. (See pic-
ture).
When connecting the Airmate-USB to your computer, the computer (PC or Mac) will recog-
nize the Airmate as new hardware and will establish a connection to any audio programs
needing audio hardware.
After establishing a connection, there is no need to download drivers or performing com-
plicated setup routines, just plug in the USB cable to your Windows or Mac computer and
start tracking!
If you rst want to know more about USB try this link http://en.wikipedia.org/wiki/Audio_Stream_Input/Output
If you are already familiar with digital audio recording, the latest versions of Kristal Audio Engine and Audacity are
available free of charge via the Internet. Use this link http://www.asio4all.com/ for third party downloads.
12. SETTING UP THE TELCO MODULES
Connect the two wires of the telephone line’s wall unit to the RJ-11 connector
labeled wall (LINE) and connect the telephone appliance itself to the RJ-11
connector labeled PHONE. Note that to originate calls, a local phone must be
connected to the Airmate-USB.
Now the internal hybrid is interfaced (fully balanced) between your telephone
appliance and its connection to the outside world. The hybrid can now split the
send and return signals.
Position both Telco send and gain potentiometers in the 12 o’clock positions.
If a local phone is connected, originate a call to a remote site (someone’s
phone). If no local phone is present, someone at a remote site must call you.
When a call comes in, the red RING LED (positioned between the CUE and ON switches) lights up each time the
phone rings. The line is picked up by pushing the CONN button.
If you want to hear the caller, press the CUE button to listen to the incoming call.
Adjust the Gain control to get a good input level from the telephone line.
To be able to talk to the caller press the TB (Talkback) button and… talk to him.
Adjust the Telco send potentiometer to increase or decrease the outgoing level to the caller.
Note: This is all happening outside of the broadcast.
If all is Ok and both parties know what to do, you can press the ON switch and fade up the caller ON-AIR, or, put
the fader in its “8” position and activate the ON switch to put the caller on-air.