7
New Installation
IMPORTANT NOTE
If the timeswitch to be replaced is listed below it may be worth
considering a FP715 as an alternative to the FP975. The FP715
offers wallplate compatablility for those models listed below,
although some re-wiring may be required.
If the new unit is replacing an existing time control
having an incompatible wiring confi guration, then the
wiring conversions (tables A & B, pages 12-19) will be of
assistance.
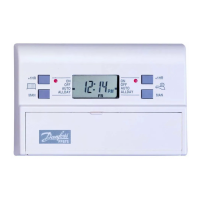
4. For wiring connections please refer to diagrams on pages
10-11. Please note, the FP975 does not require an earth
connection, although a terminal is provided for earth
continuity purposes.
5. Ensure that the two retaining screws on the top of the
timeswitch are fully unscrewed. Locate the retaining lugs
on the bottom inside surface of the plug-in module under
the wallplate base and hinge the unit upwards until the
module is pressed fully against the top of the wallplate.
Tighten the two screws on the top of the module to secure
the module to the wallplate.
MAKE MODELS
ACL LS2411, LS522, LS722, LP241, LP522, LP722
Drayton Tempus 3, Tempus 4, Tempus 7
Landis & Gyr RWB 2, RWB 2-9, RWB 200, RWB 252, RWB 20,
RWB 40
Glowworm Mastermind
Potterton Mini-Minder