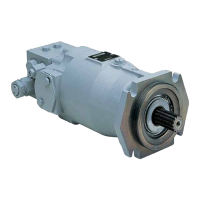
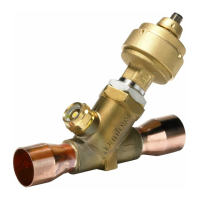
22
High pressure
103 relief valve 120
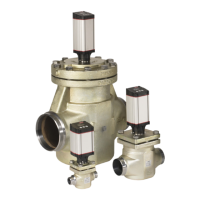
Disassembly and Assembly
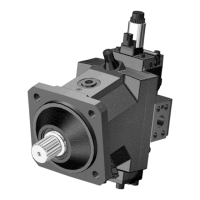
To repair the charge relief valve, remove the
hex-plug, spring and valve cone. Remove the
shims from the counter bore of the hex-plug. Do
not alter these shims unless new parts are used,
in which case the valve must be re-shimmed to
the proper setting. To re-install, insert the valve
cone, spring and plug, being certain the shims
are in place.
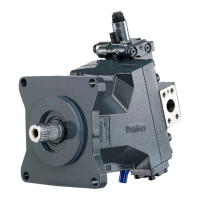
The high-pressure relief valves are car tridges that
are removed by unscrewing them from the
manifold. These valves are factory set and the
three (3) numbers of the pressure setting are
stamped on the end of the cartridge. These
valves are interchangeable and can be installed
in either side of the manifold, providing the
pressure settings are the same.
Hex-plug with shims
Spring Valve cone
Minor Repairs (continued)
Installation Torque Values
Installation torque values Nm [lbf•in], series 20
Frame size
033 052 070 089
Valve manifold assembly 21.7 [192] - 28.5 [252] 21.7 [192] - 28.5 [252] 21.7 [192] - 28.5 [252] 21.7 [192] - 28.5 [252]
End cap 36.6 [324] - 50.2 [444] 36.6 [324] - 50.2 [444] 36.6 [324] - 50.2 [444] 61.0 [540] - 73.2 [648]
Frame size 119 166 227 334
Valve manifold assembly 21.7 [192] - 28.5 [252] 90.9 [805] - 111.2 [984]* 90.9 [805] - 111.2 [984]* 90.9 [805] - 111.2 [984]*
End cap 90.9 [805] - 111.2 [984] 181.7 [1608] - 223.7 [1980] 325.4 [2880] - 393.2 [3480] 325.4 [2880] - 393.2 [3480]
* large valve, manifold assembly
 Loading...