5
7. Locate the module on the latches at the bottom of
the wallplate and hinge upwards to fully engage the
unit connectors into the wallplate. Tighten the two
fi xing screws to secure the unit to the wallplate.
8. Before setting the programme, check the unit and
circuit.
Switch on the mains supply and set the left-hand
rocker switch to the CONSTANT position and the
right-hand rocker switch to the HW + CH position.
The red LED should now be illuminated. Adjust any
remote thermostats to check the services operate
correctly.
9. Press the left-hand rocker switch to the OFF position
and check that both services do not operate.
10. Finally, return the left-hand rocker switch to TIMED
and the right-hand rocker switch back to HW + CH
(winter) or HW (summer).
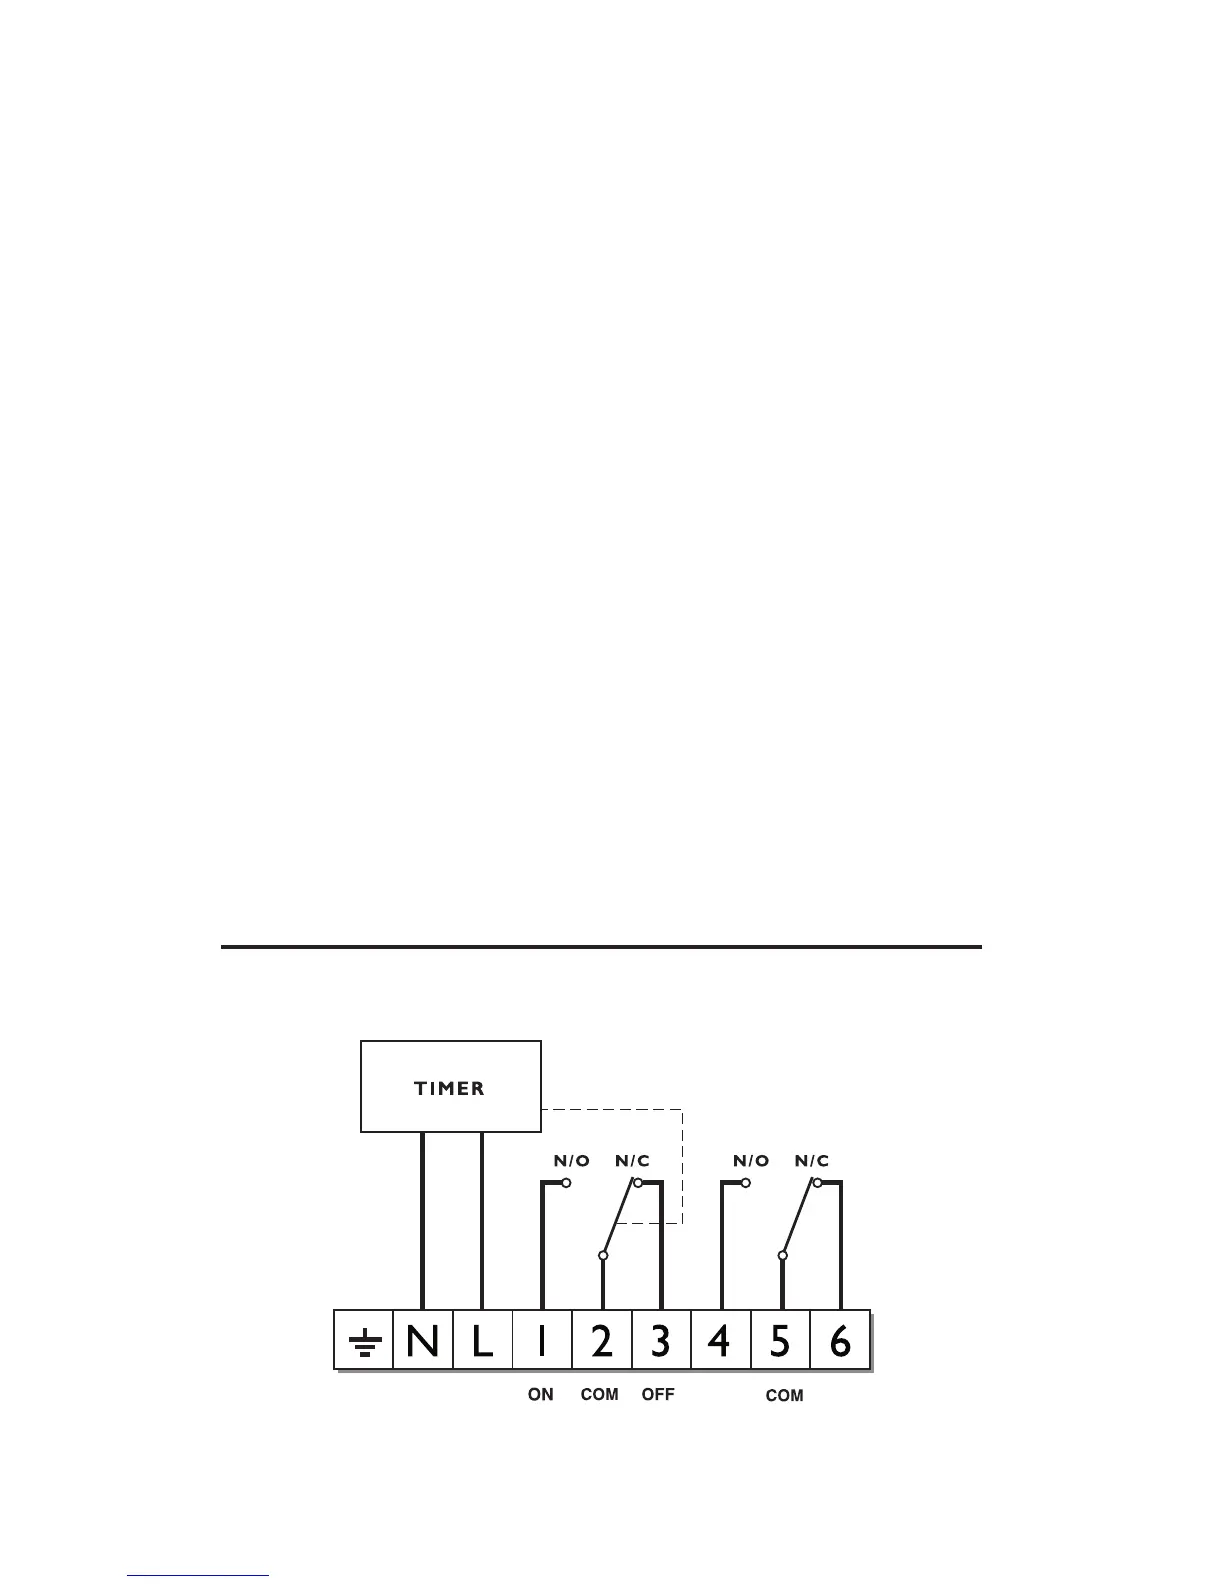
Wiring
Installation
DHW
HTG
SET2E 07/05
OFF
ON
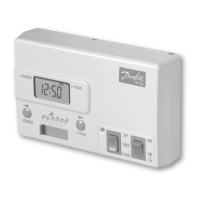
SET2E
NOTE: For mains voltage applications links must be fi tted between
terminals L and 2 and between 1 and 5.