4
EN
099241 • Version 1.2 • 08.02.2019
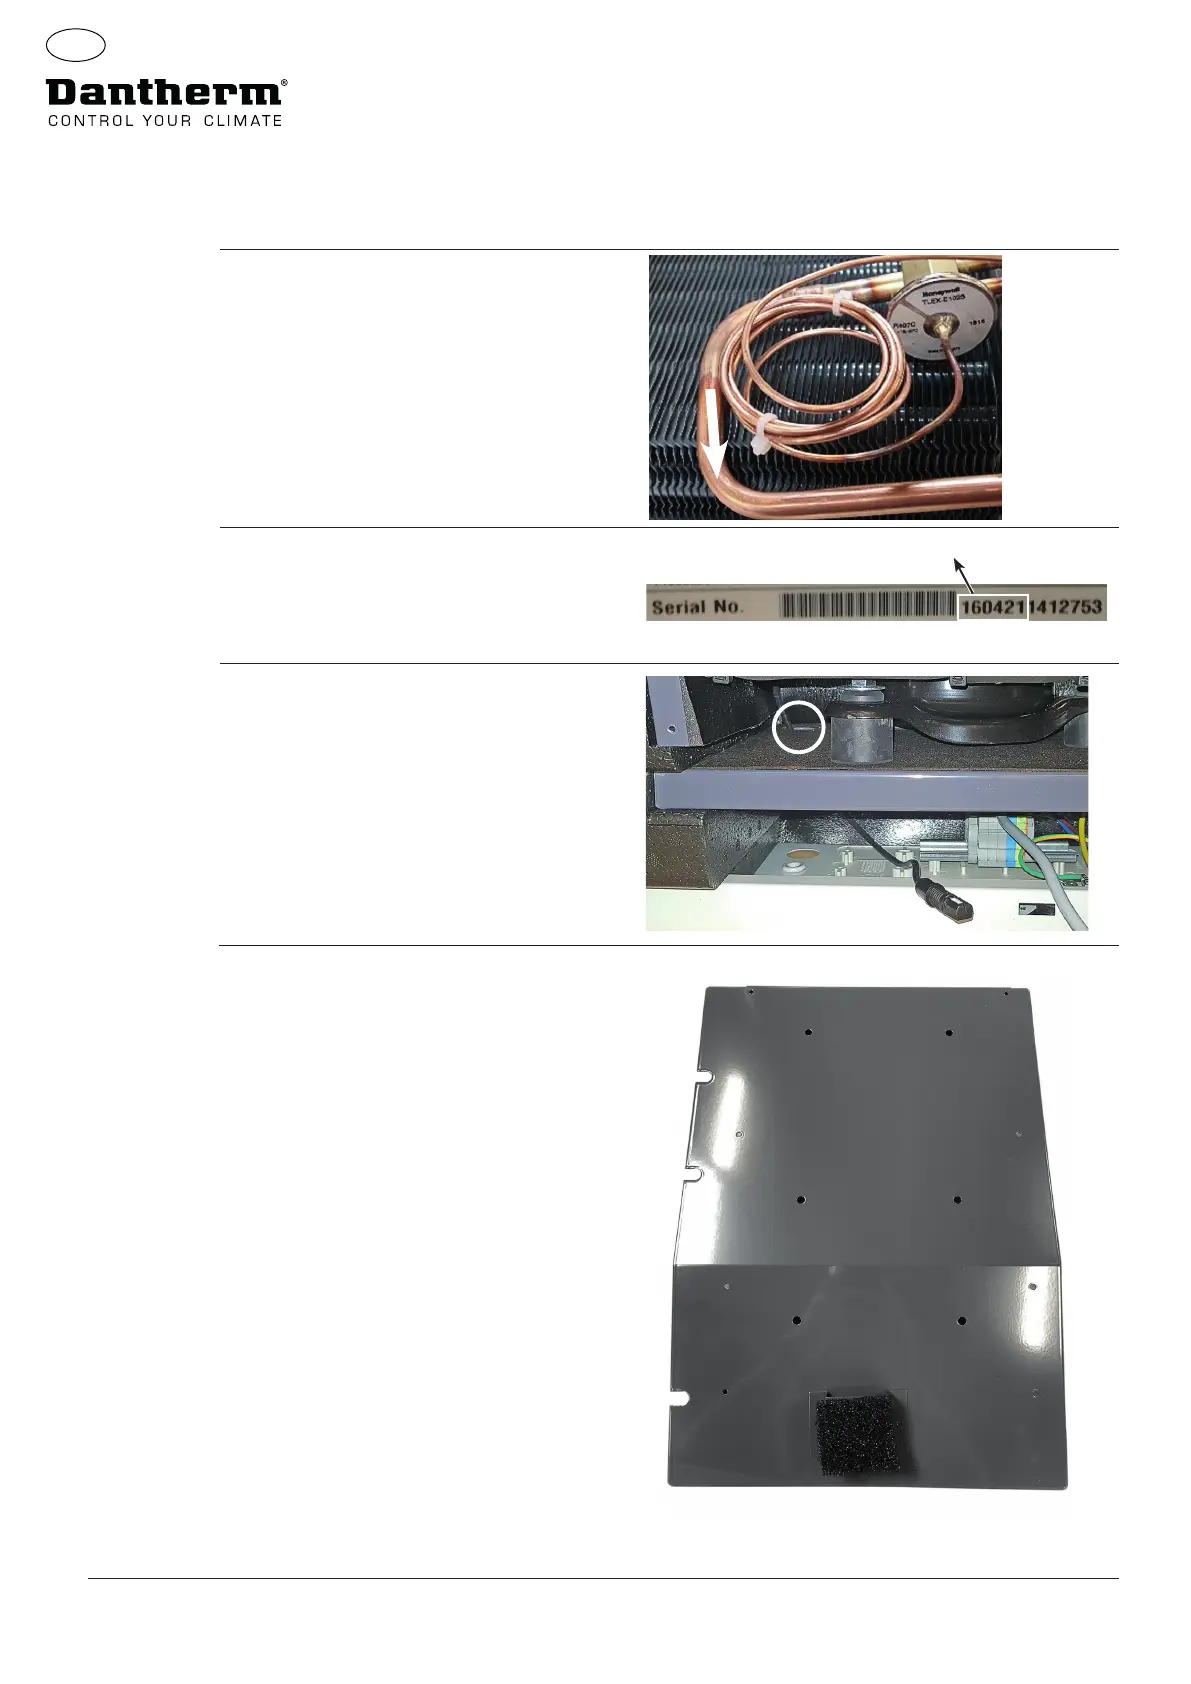
7.
Check that the coiled up tube from the thermo
valve is not too close to the fan. If so, secure with
strips and push it down as shown
8.
The rst 6 numbers of the serial no. (found on
the product type label) indicate the date of
production.
If 2017 model replace controller.
9.
Release humidity sensor from drip tray
and retract it back in to the compressor
compartment.
In the compressor compartment pull the sensor
through the rear hole in the bottom plate.
10.
Find the compressor compartment cover with
the pre-mounted bracket for the humidity
sensor.
Dismount the old cover.
Mount the new cover and move the sensor to
the front.
Note: The bracket is mounted o center to t the hole in
the PPI lter
e.g. 21.04.2016
YYMMDD
Instructions
 Loading...