Quick Installation G uide H B 51 Hybrid Inverter
Rev.1 ©2018 Darfon Electronics Corp. 3 | Page
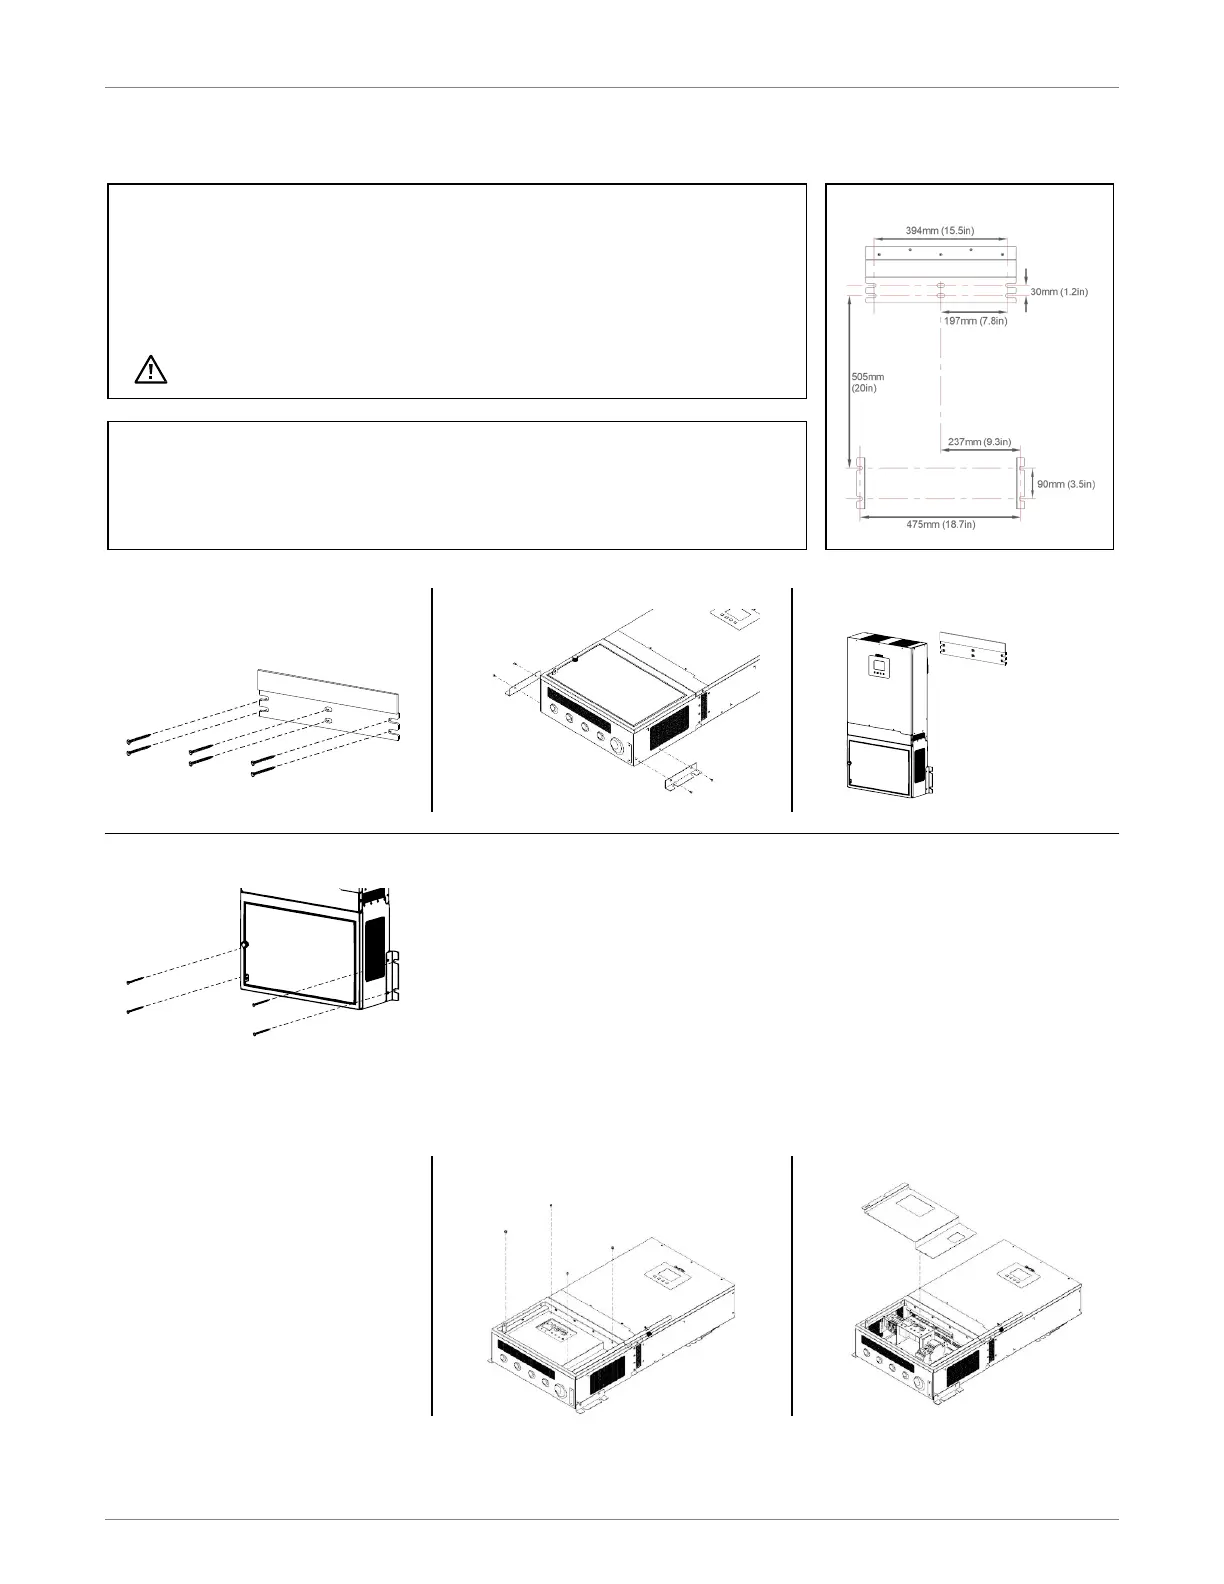
MOUNTING THE INVERTER
1. Mount the backplate onto the wall
using at least two screws; one on
each side of the backplate.
2. Install the brackets the inverter.
3. Hang the inverter onto the
backplate.
4. Secure the brackets to the wall using at least two screws; one on each side of the inverter.
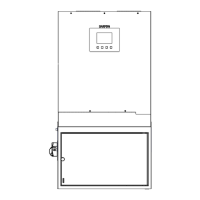
DEAD-FRONT COVER
Notes
The dead-front cover must be
removed when making or modifying
connections in the distribution box,
and reinstalled when connections
have been completed.
To remove the dead-front cover, use
the following steps.
Reverse the steps to reinstall the
dead-front cove r.
1. Remove the screws from the
dead-front cover.
2. Pull off the dead-front cover.
Stud: The inverter will need to be mounted to the wall using Unistrut. The Unistrut must be
secured to two studs in the wall. There should be two rows of Unistrut installed: one for the
backplate and the other for the side brackets.
Solid: Use the backplate and mounting dimensions to mark for screw locations.
The unit cannot be mounted on flammable construction materials.
Allow 20cm (8in) of clearance to the sides and 50cm (20in) to the top and bottom of the unit
for proper air circulation to dissipate heat.
The unit has an IP20 protection rating and a PD2 Pollution Degree rating. The unit is for
indoor applications only and must be mounted in a protected area that is dry, free of
excessive dust and has adequate air flow.
CAUTION. This inverter is heavy (74lb/33.6kg). Mounting should be handled by two
people. Do not place any additional weight onto the inverter.