Be sure to follow and perform the suggested Cleaning Schedule listed in
the Operator's Manual.
For more information on custom programming or any of the topics
referred to in this guide, see the Operator's Manual and Programmer's
Manual on the CD-ROM provided.
4
5
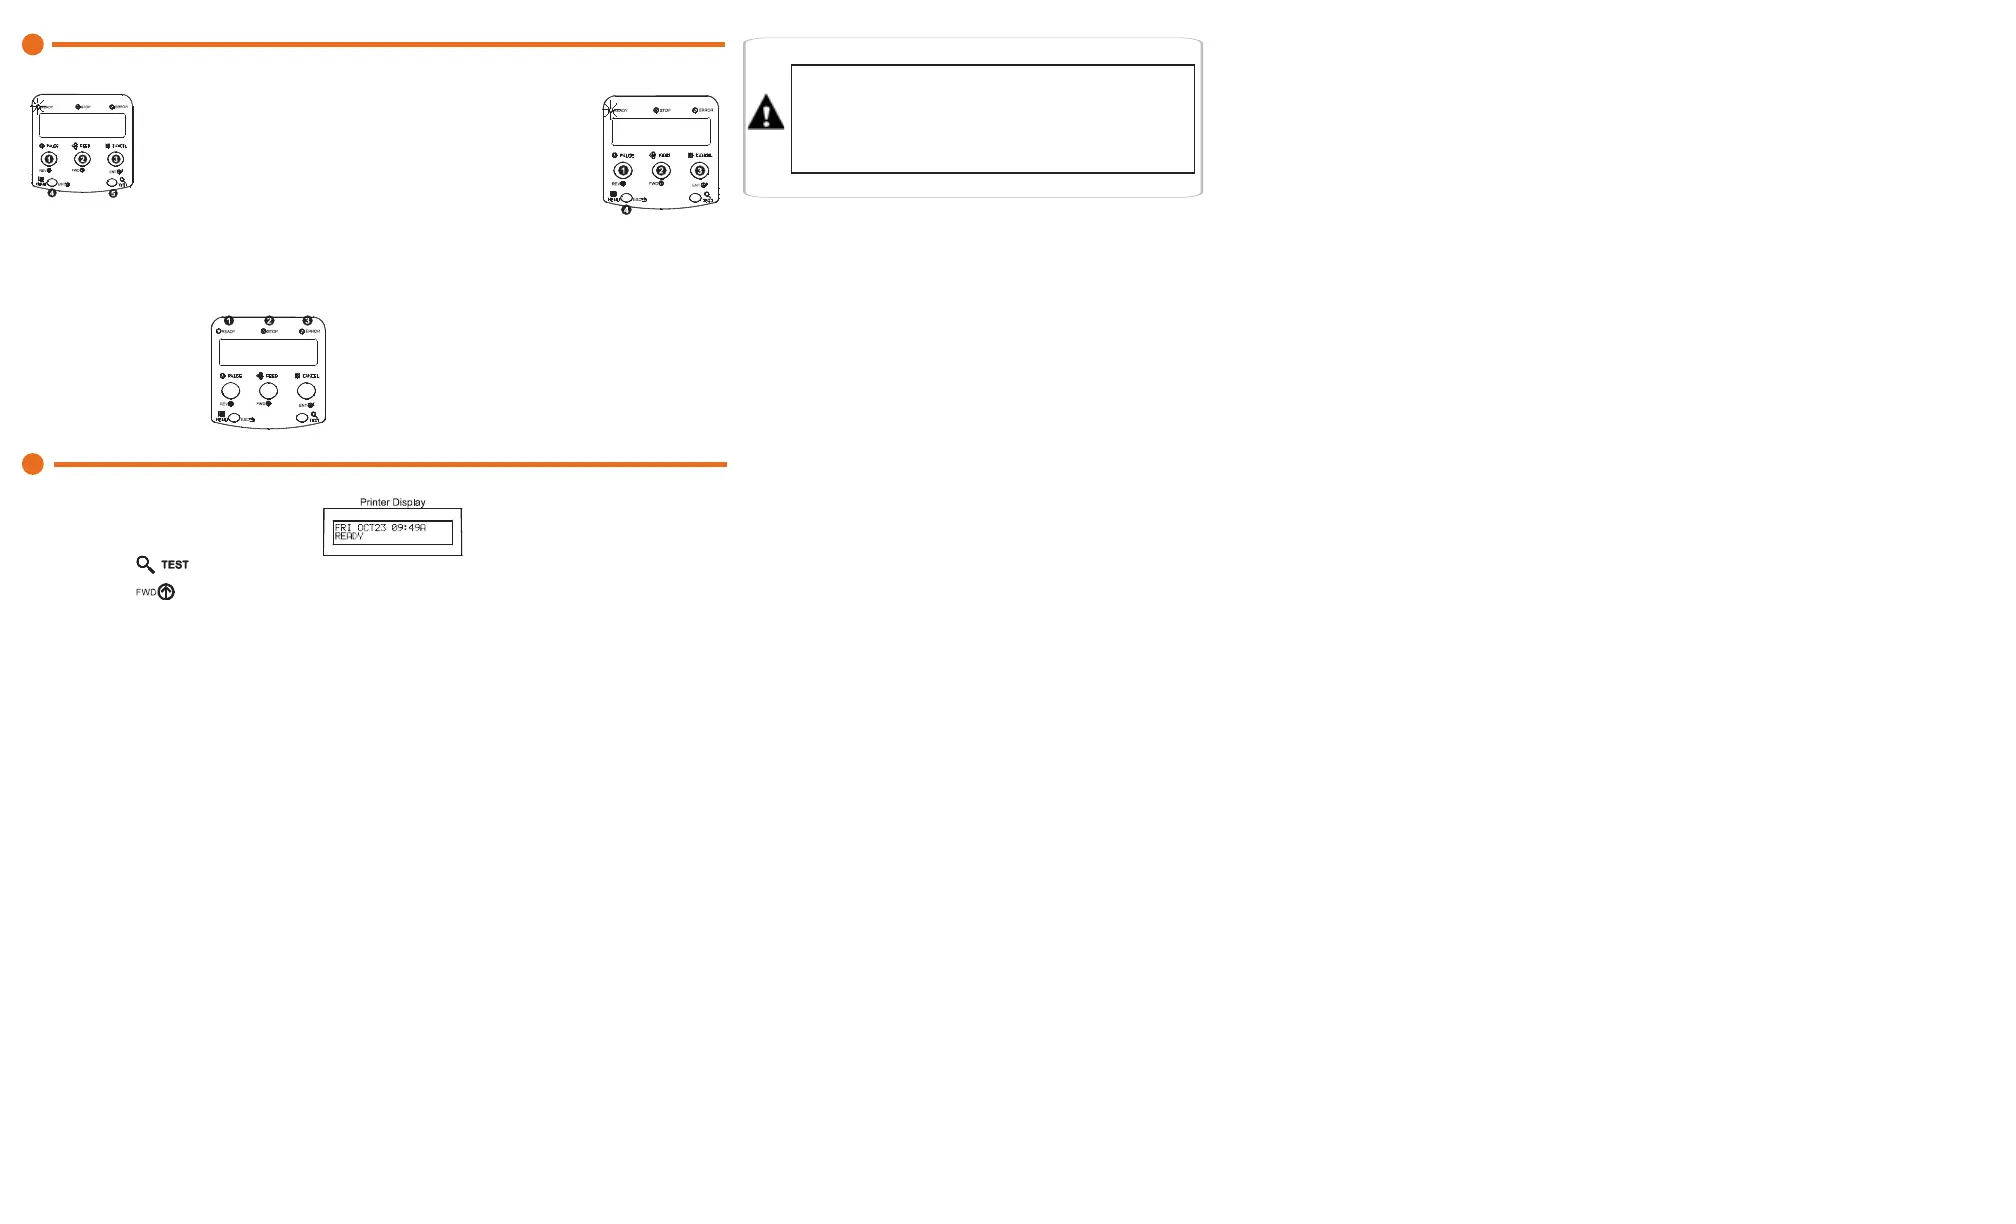
With the Printer On, and loaded with media (at least 4 inches wide):
Verify the printer is in the ‘Ready Mode’
Press the button.
Using the
button scroll to ‘Print Config Label’. Press the
Ready Mode:
Pause: Toggles the pause condition.
Feed: The FEED button feeds a
label, and clears any faults
that have been corrected.
Cancel: Cancels a job and pauses the
printer.
Menu: Toggles between the ready
and menu mode.
Test: Enables the quick test mode,
see the Operators Manual
for additional information.
Menu Mode:
Arrow
Up: Moves to the next item in the
menu tree, (increase values).
Arrow Down: Moves to the previous item in
the menu mode, (decrease
values).
Enter: Selects a displayed item or
value.
ESC: Moves to the previous menu
level.
Ready: On indicates ready, blinking
indicates menu mode.
Stop: On indicates paused state.
Error: On indicates a fault. To clear a fault
press the feed button.
Indicators:

 Loading...


